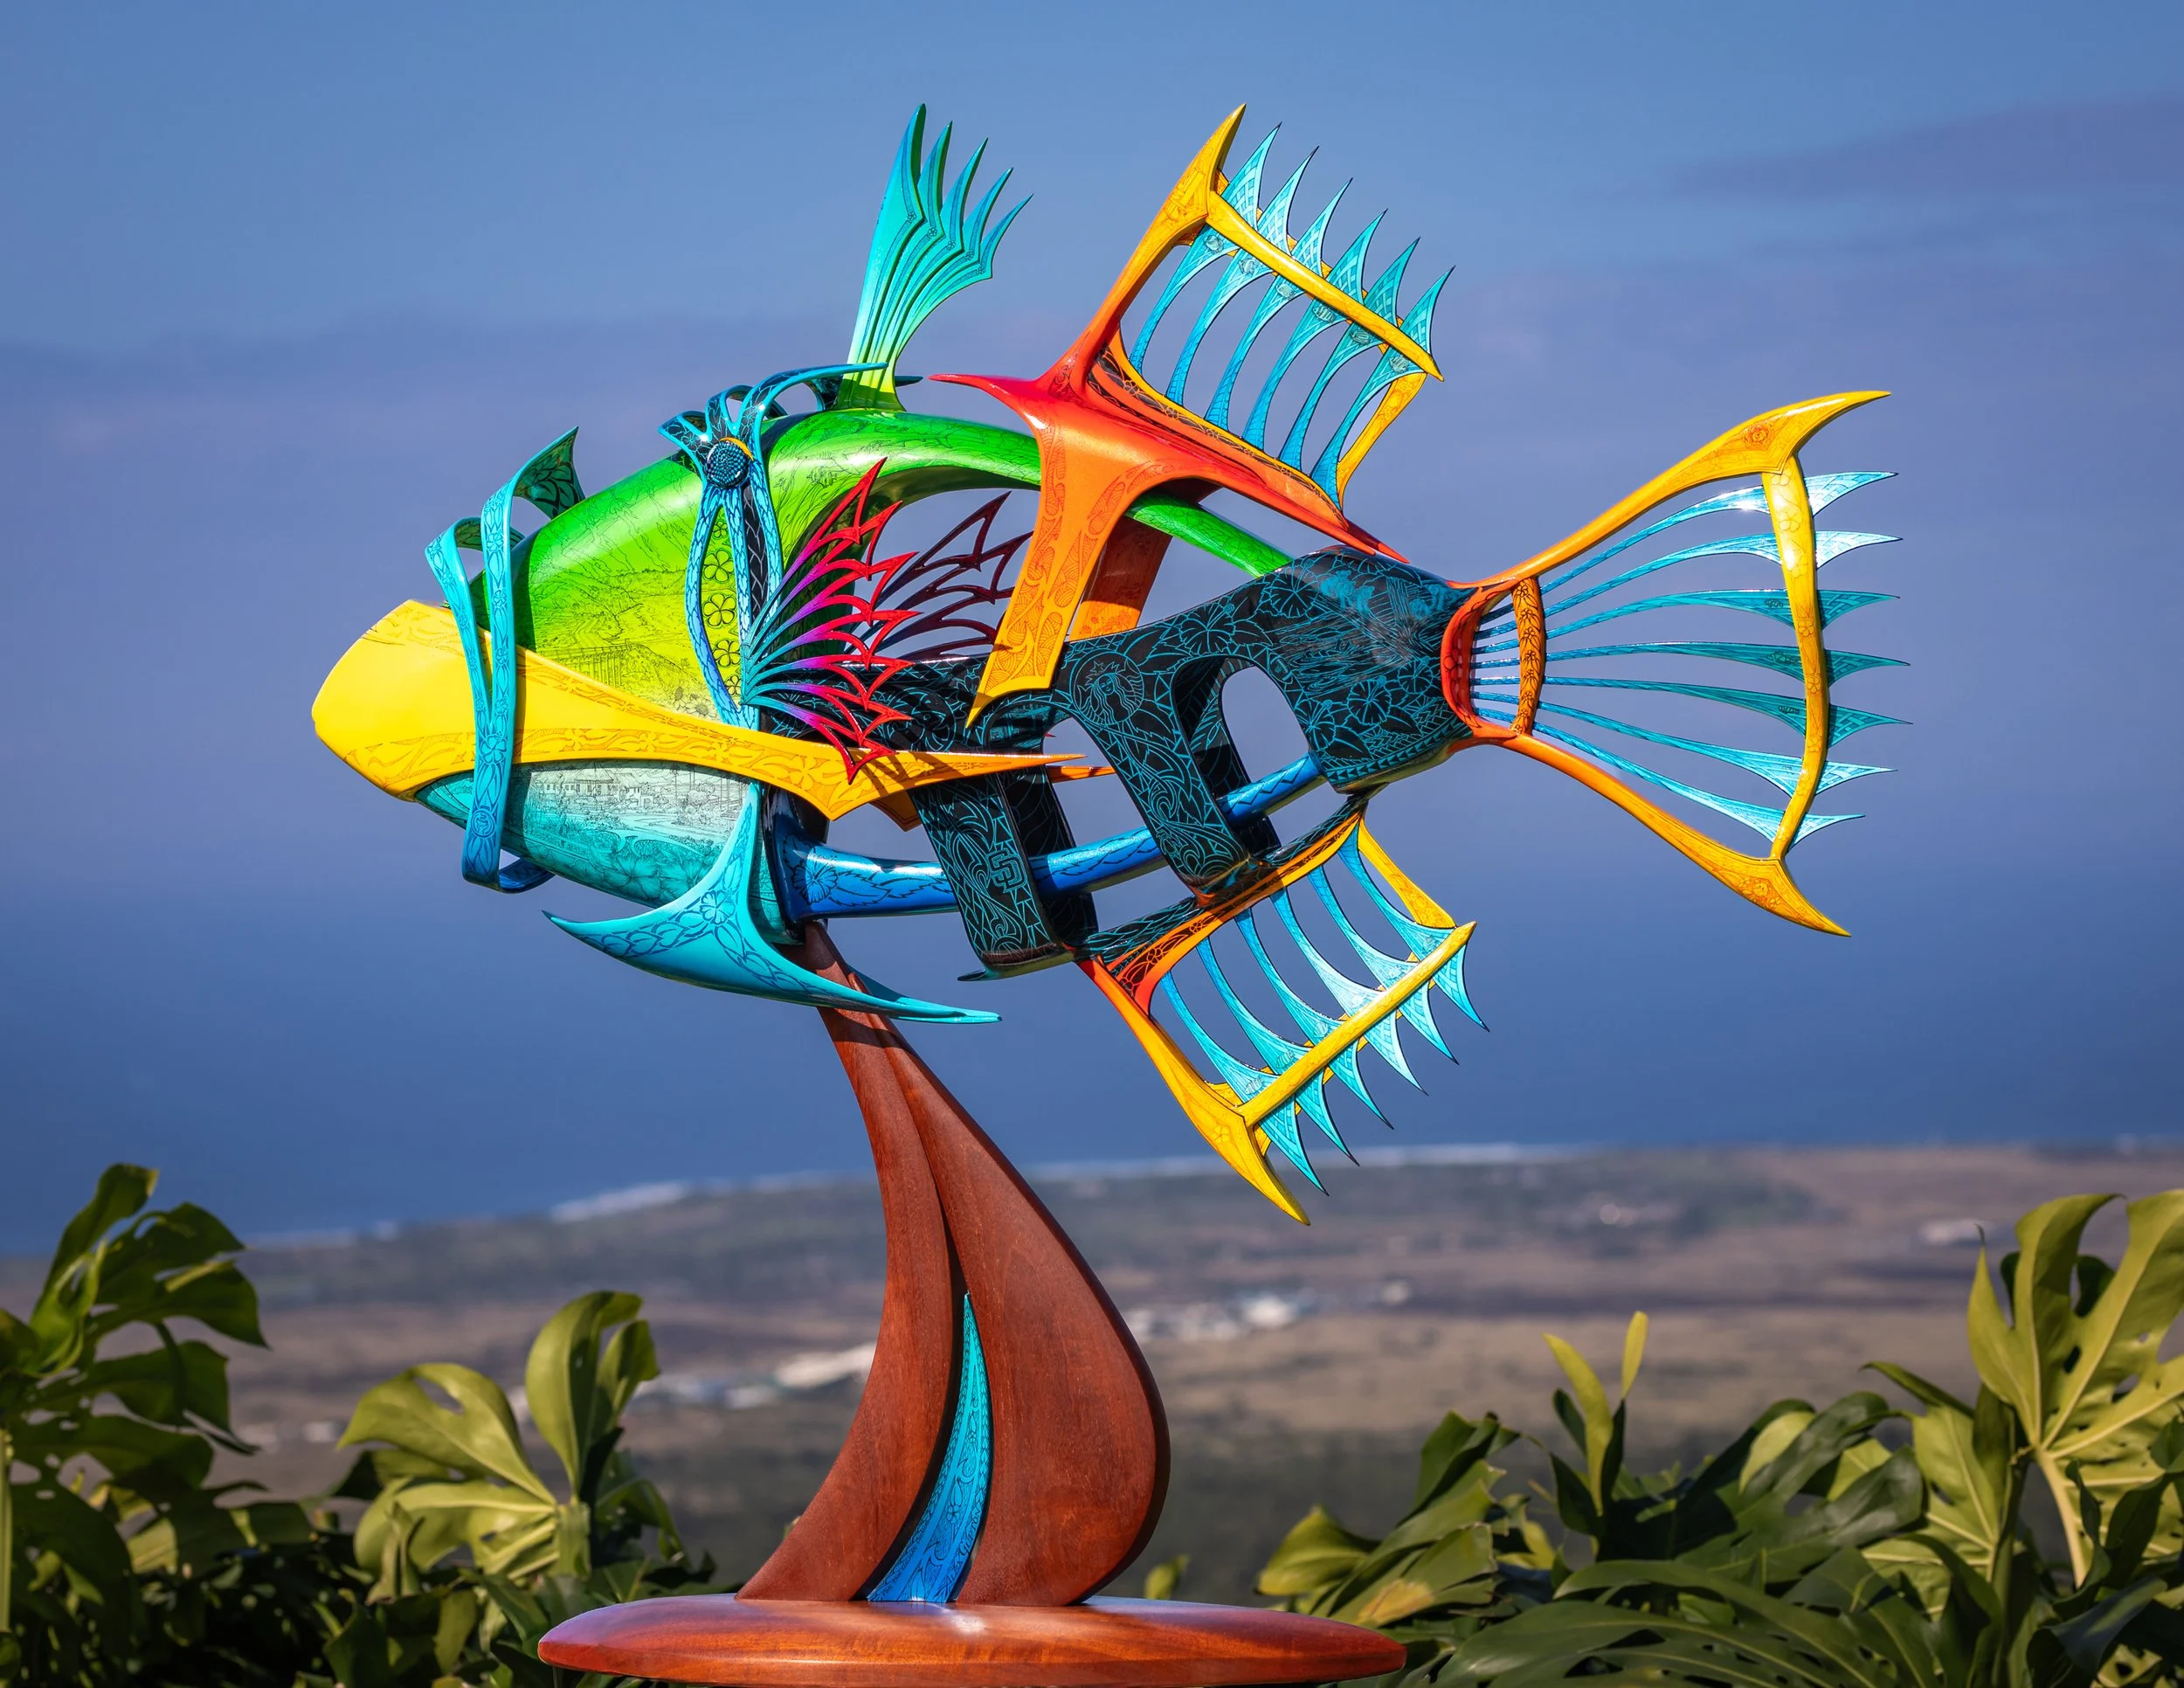
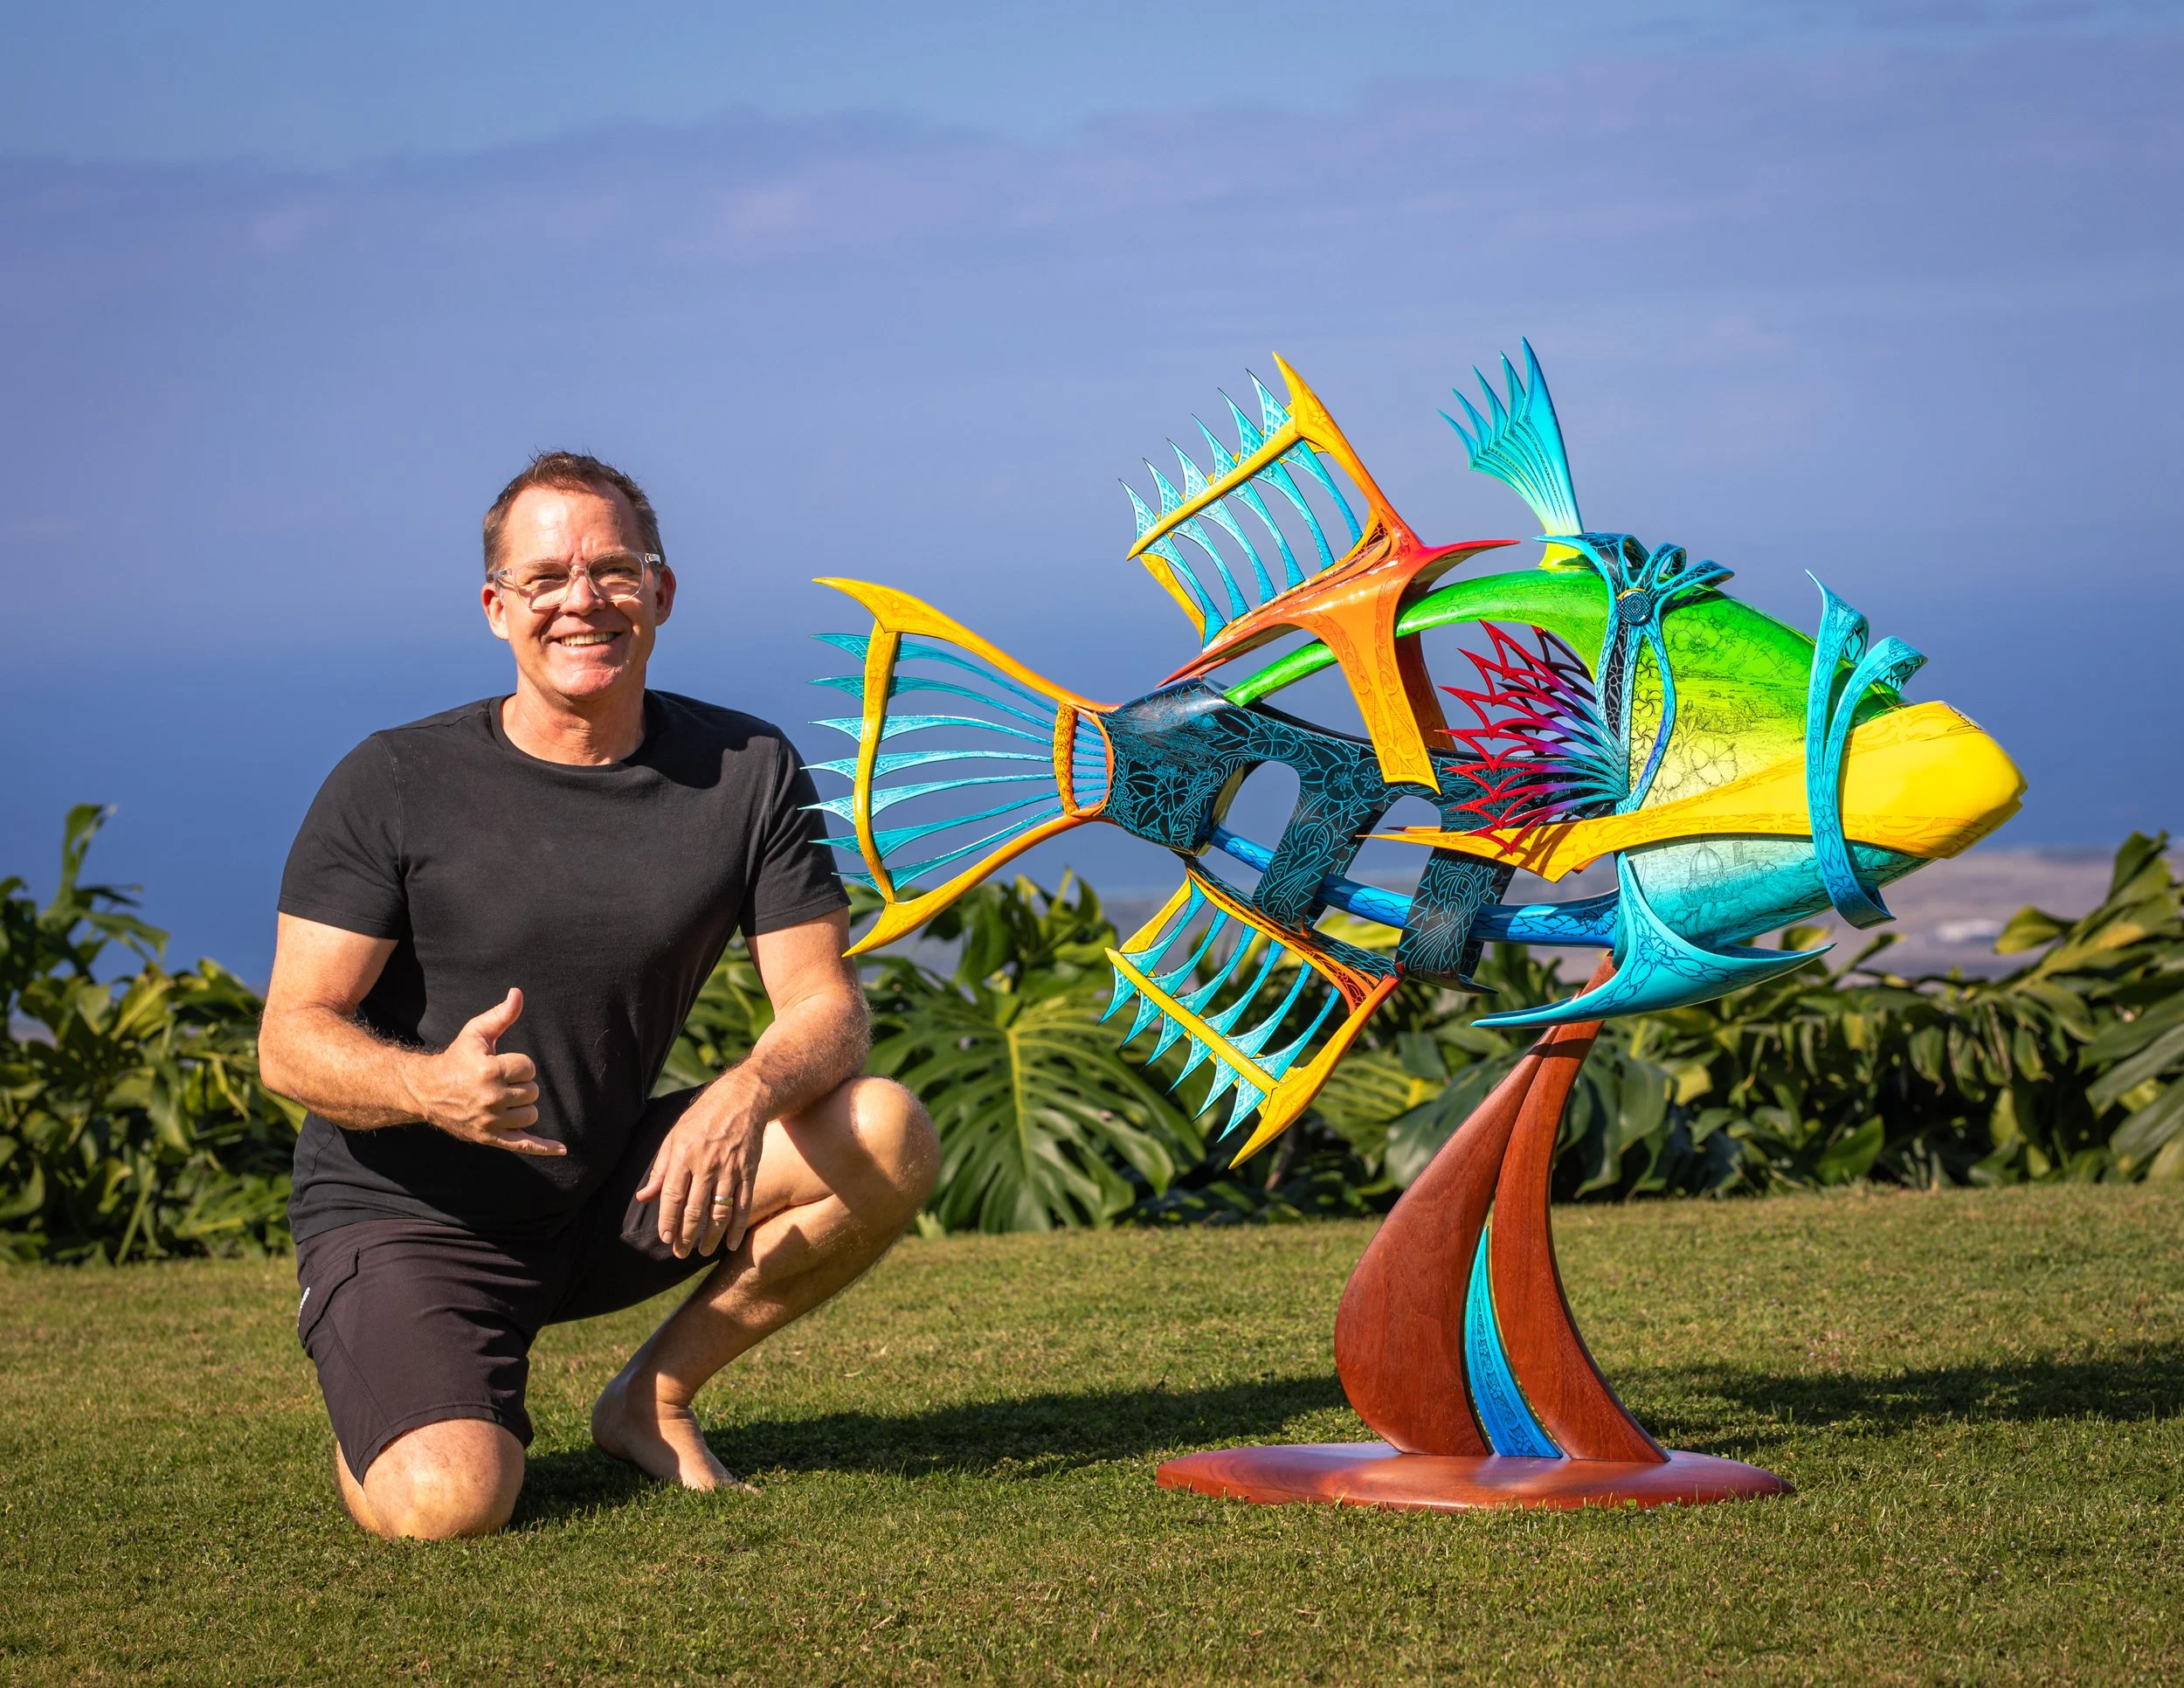
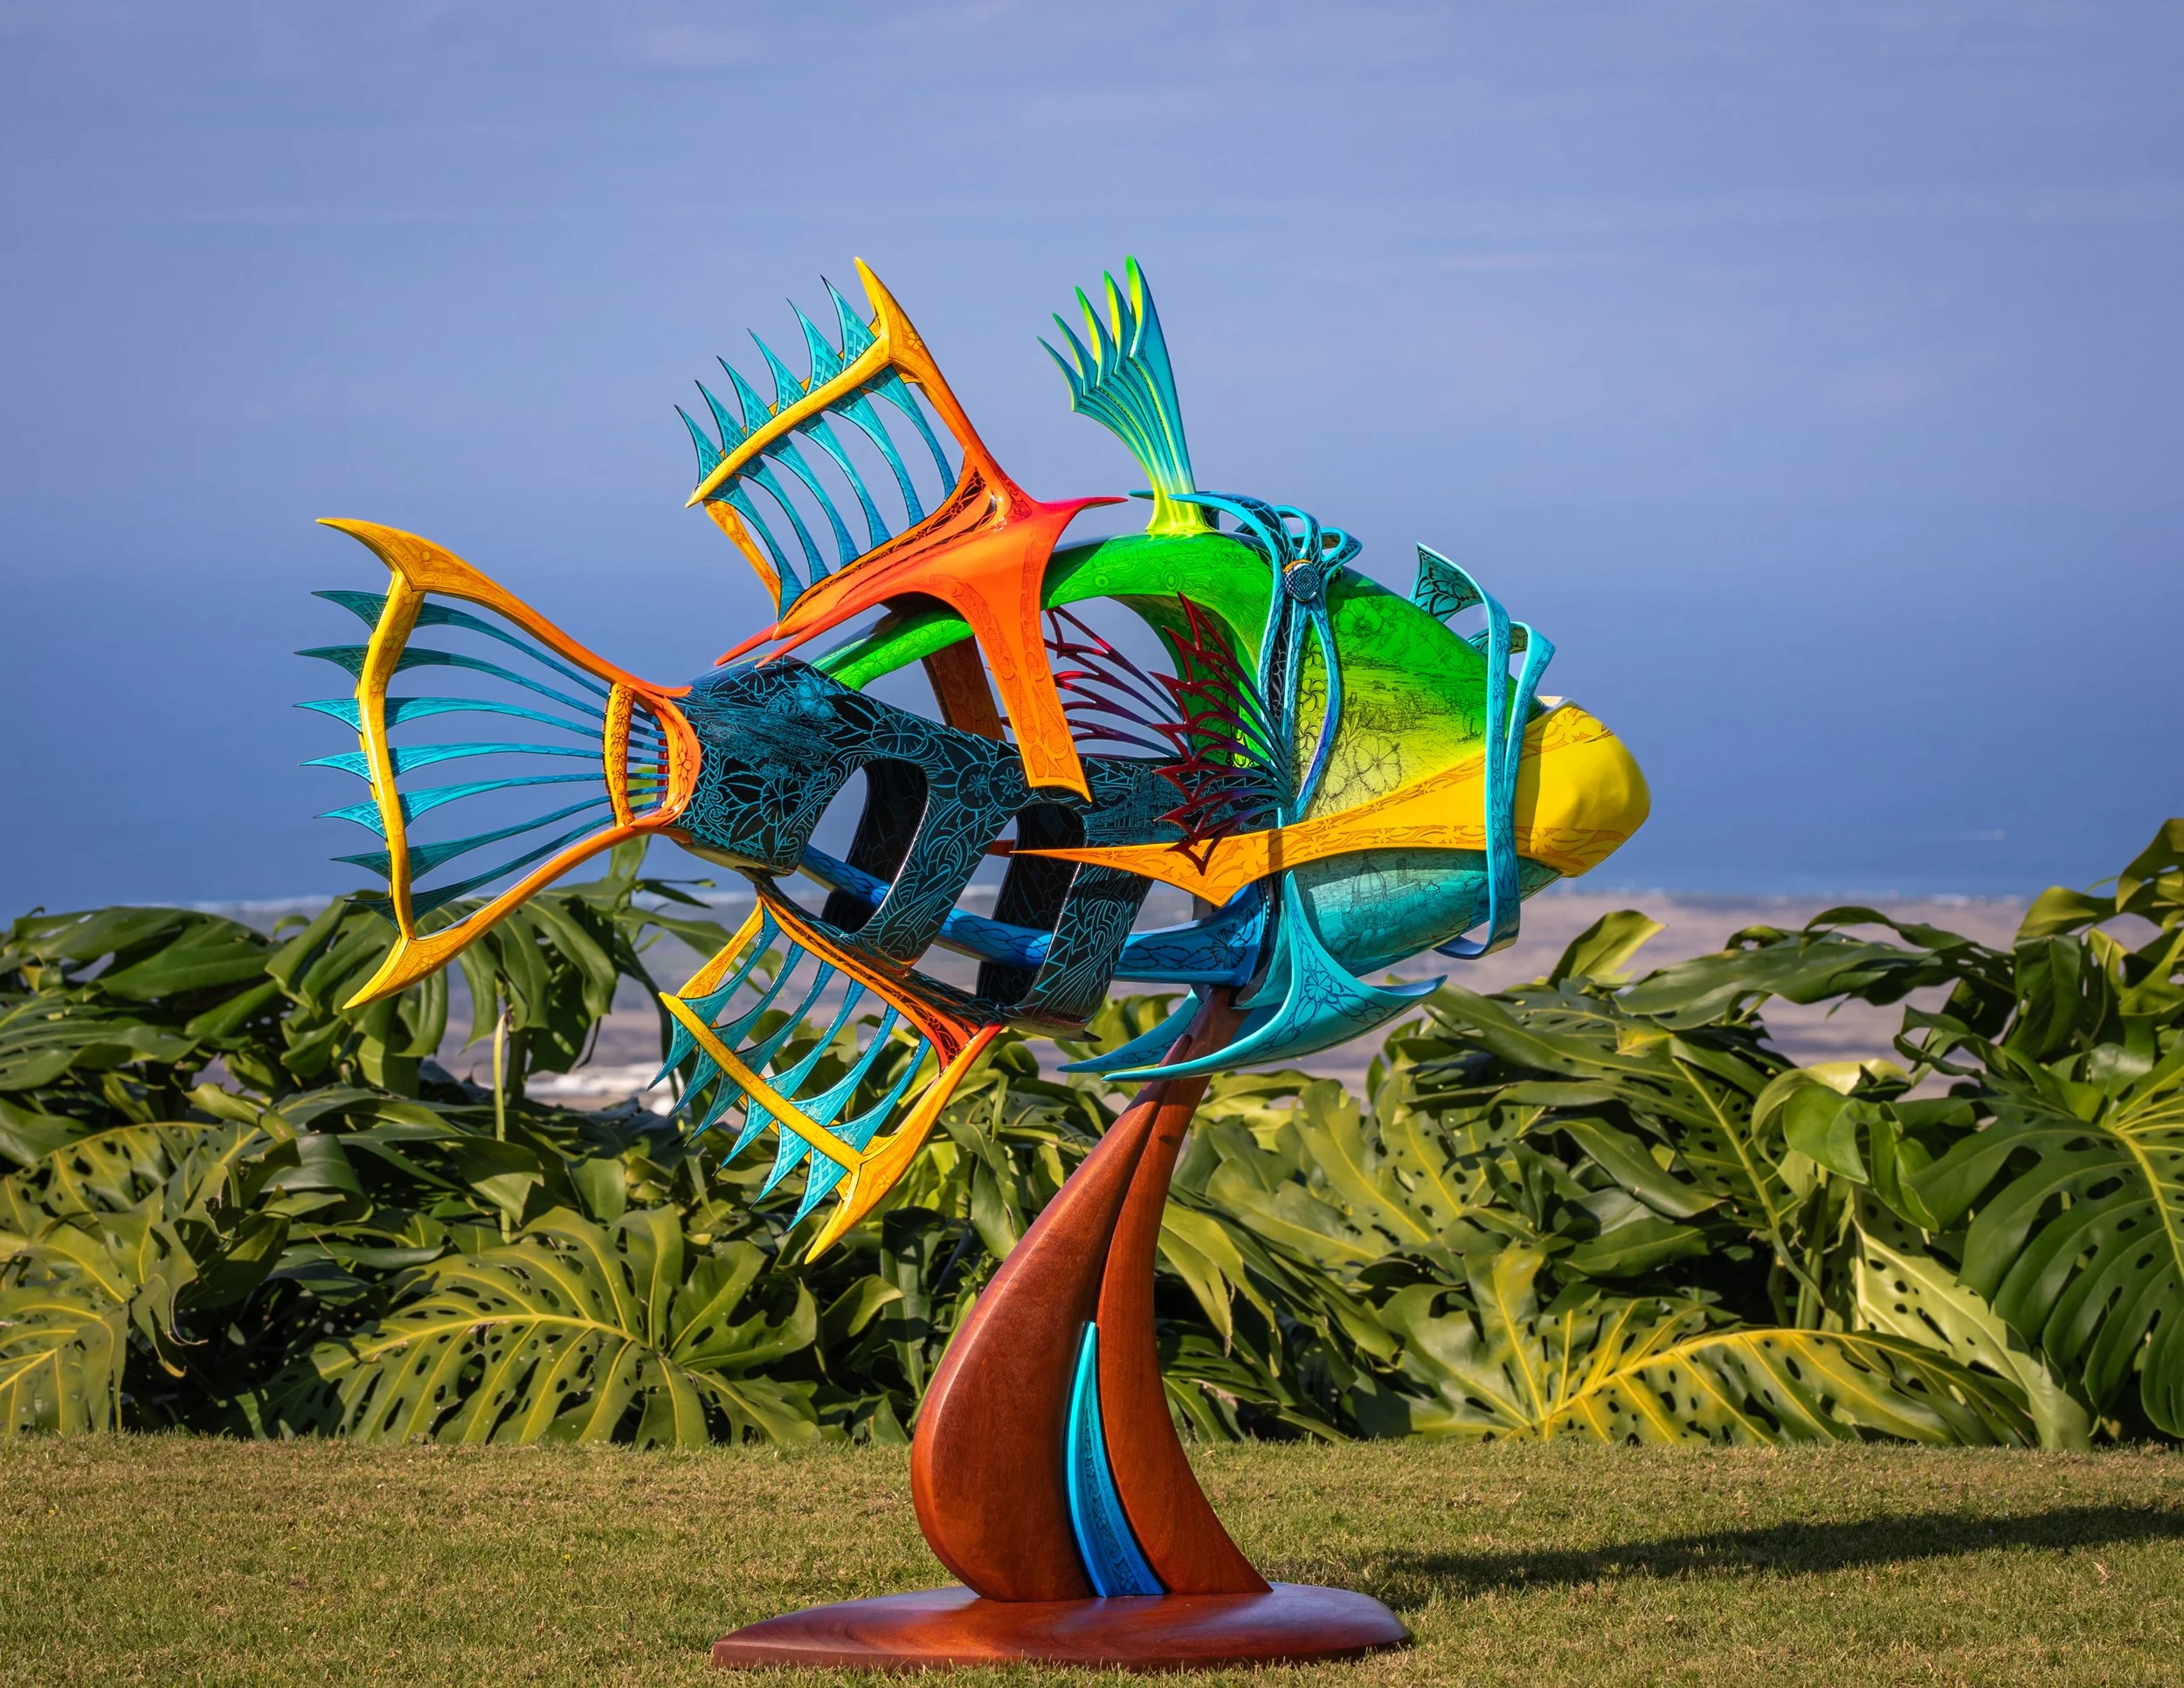
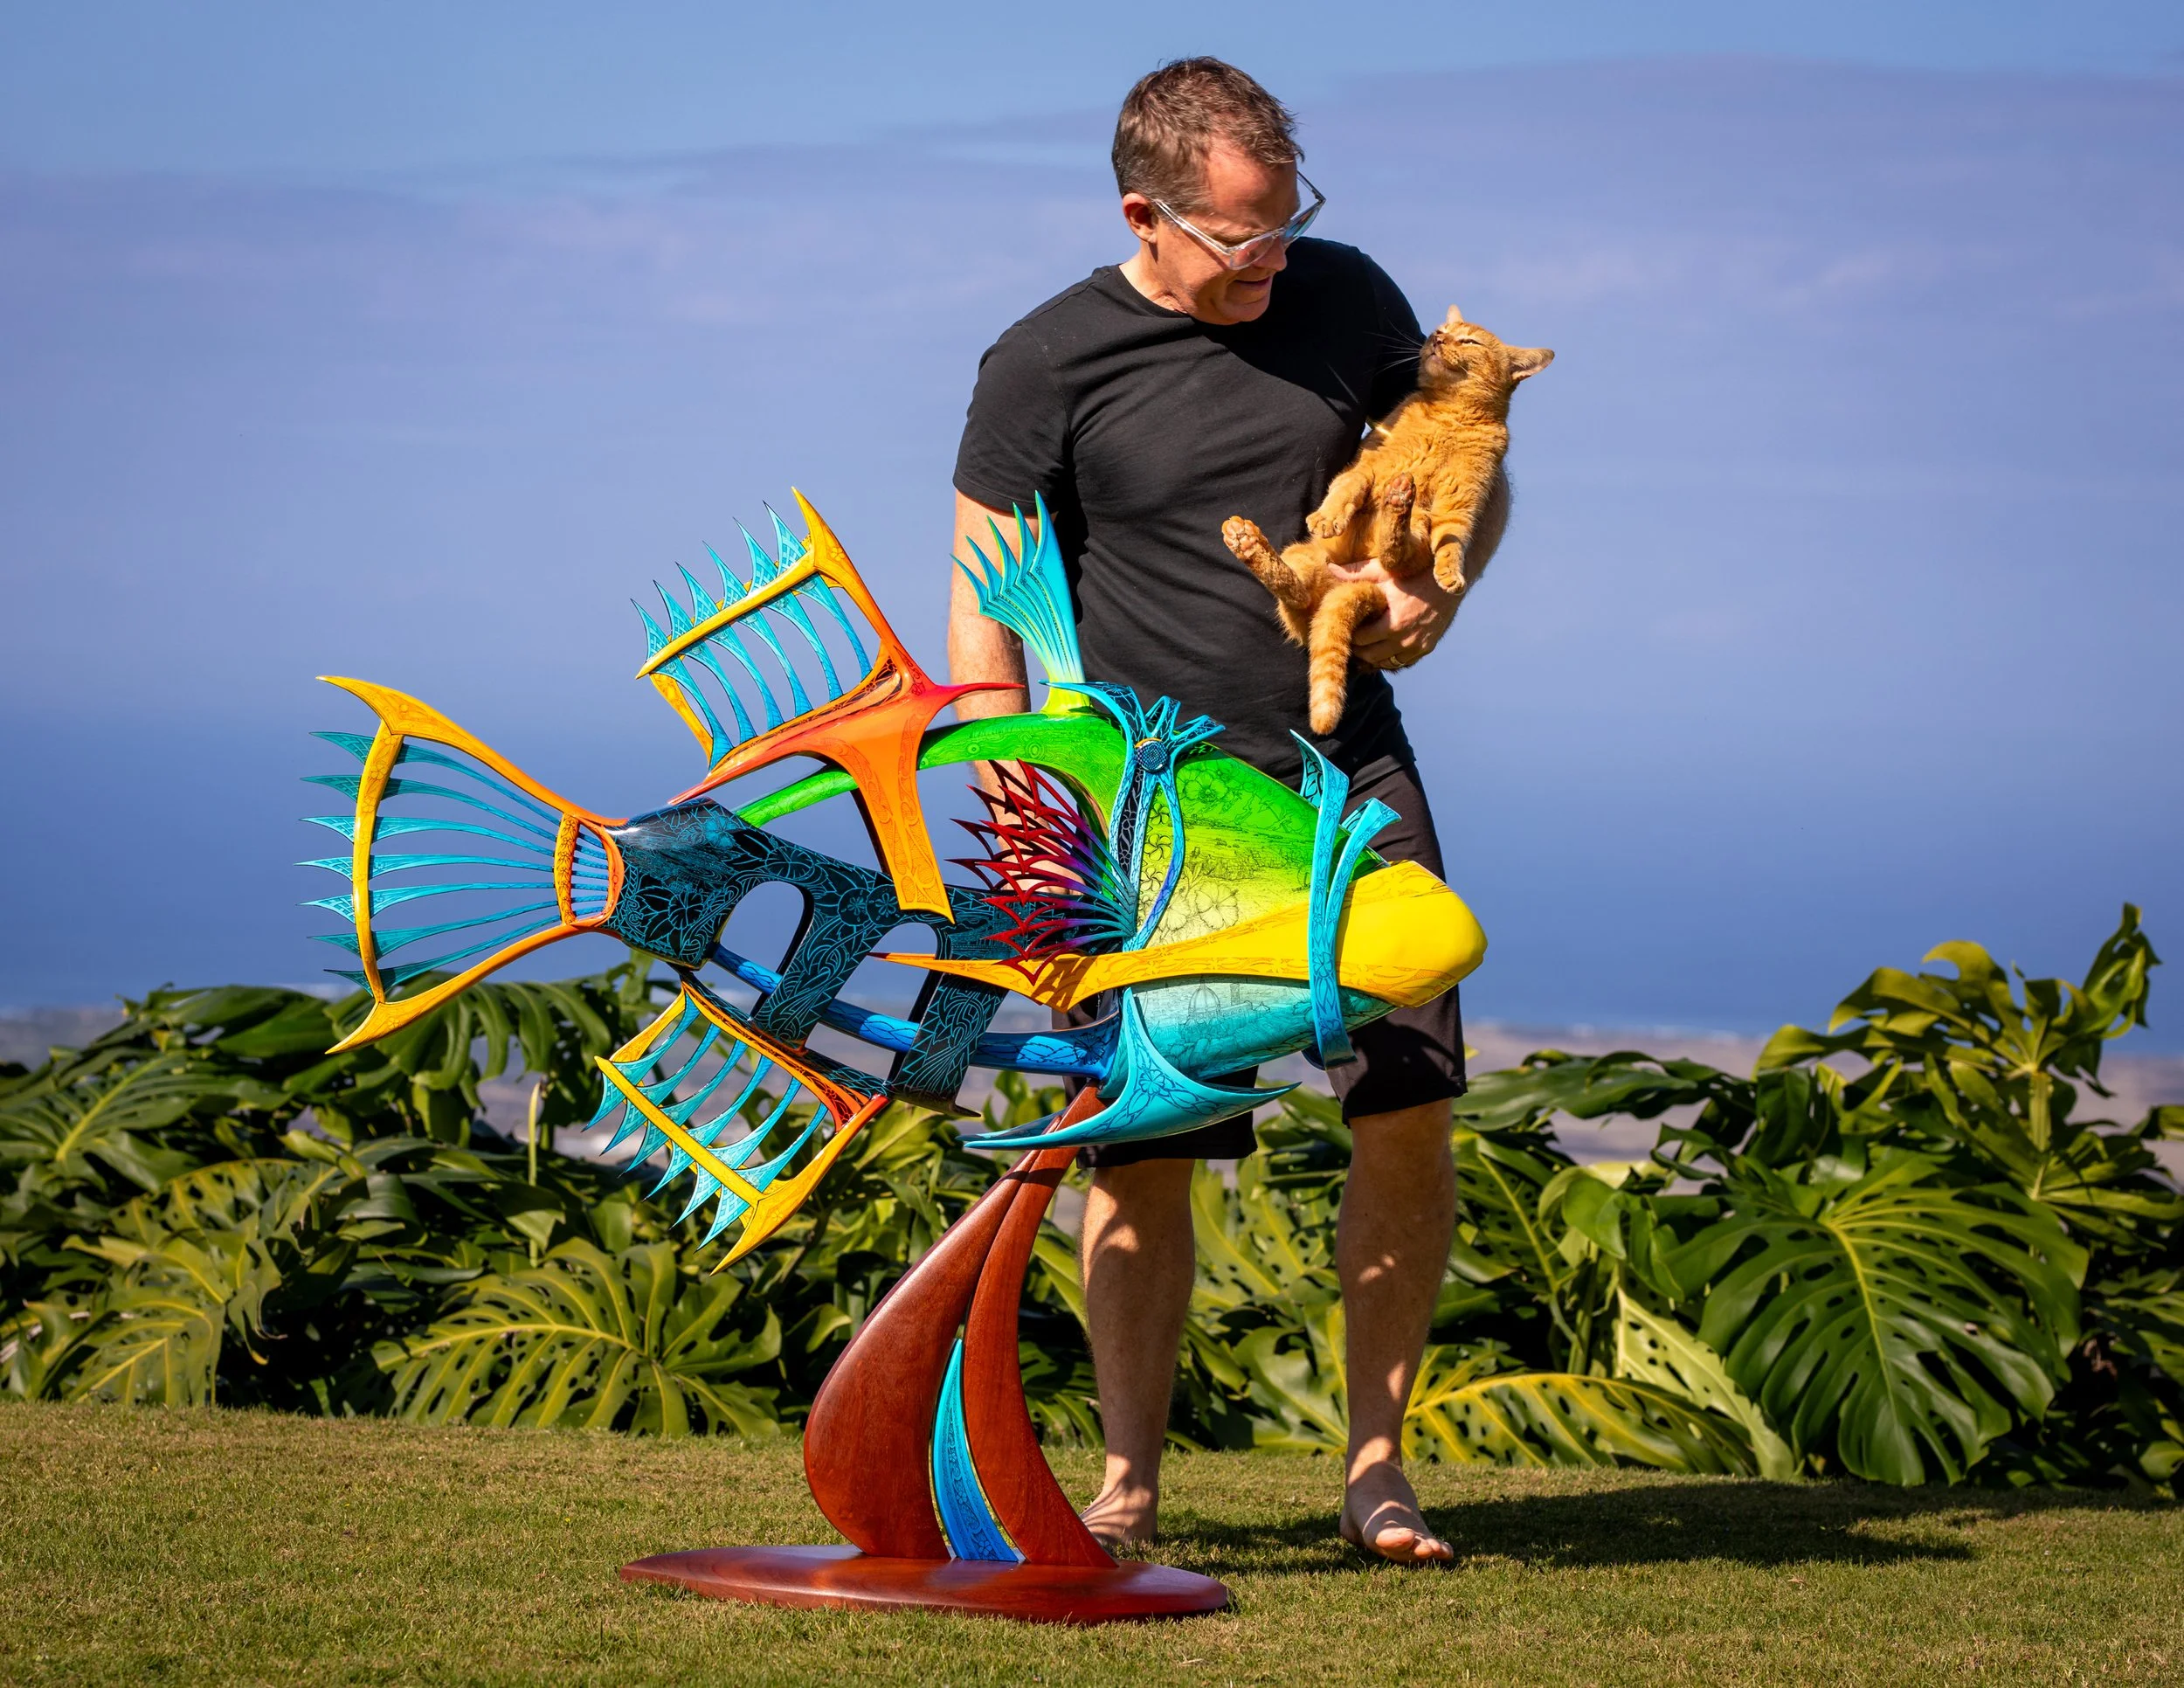
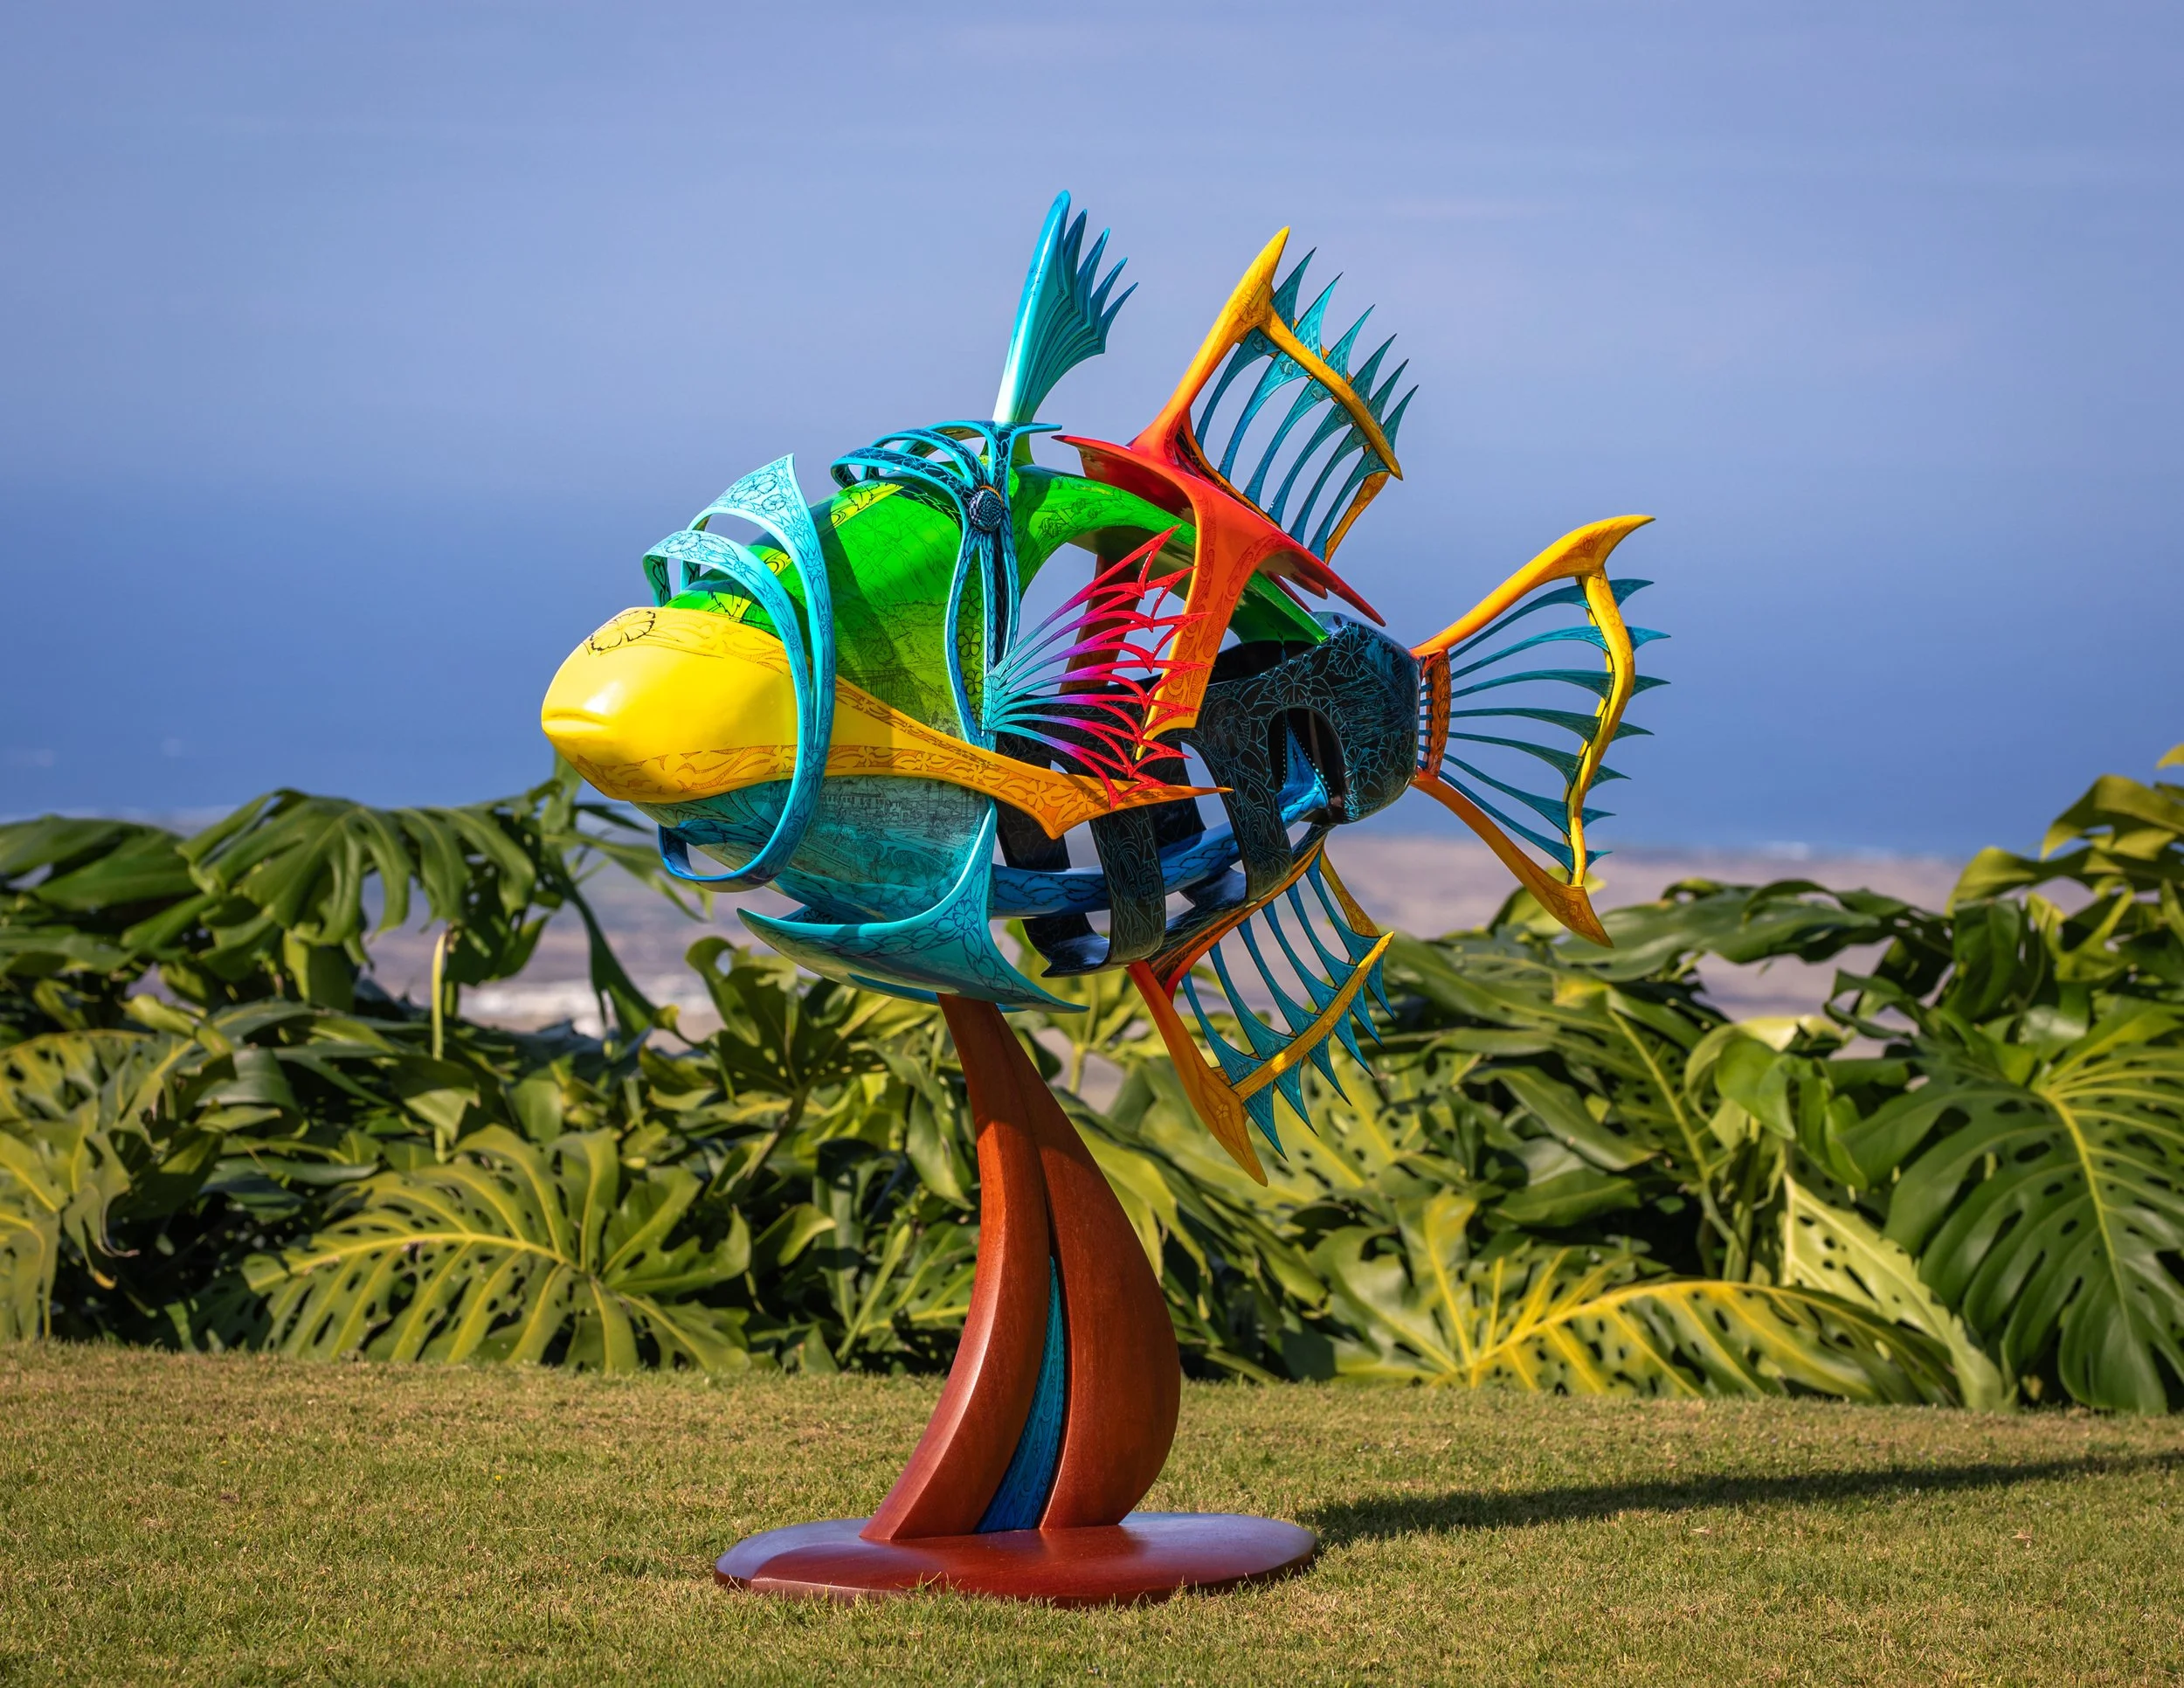
When I have the chance to sink my teeth into a project like this, it's always exciting! This particular commission was especially intriguing to me since it was a 3-D sculpture at a scale which I have not been able to previously explore. I am beyond thankful for the incredible couple who came to me with this idea, then trusted me to make this one of a kind fish. As you might imagine, this intricate original sculpture wasn’t made overnight and it’d be an honor to share some of the process with you here in depth.
Sketching
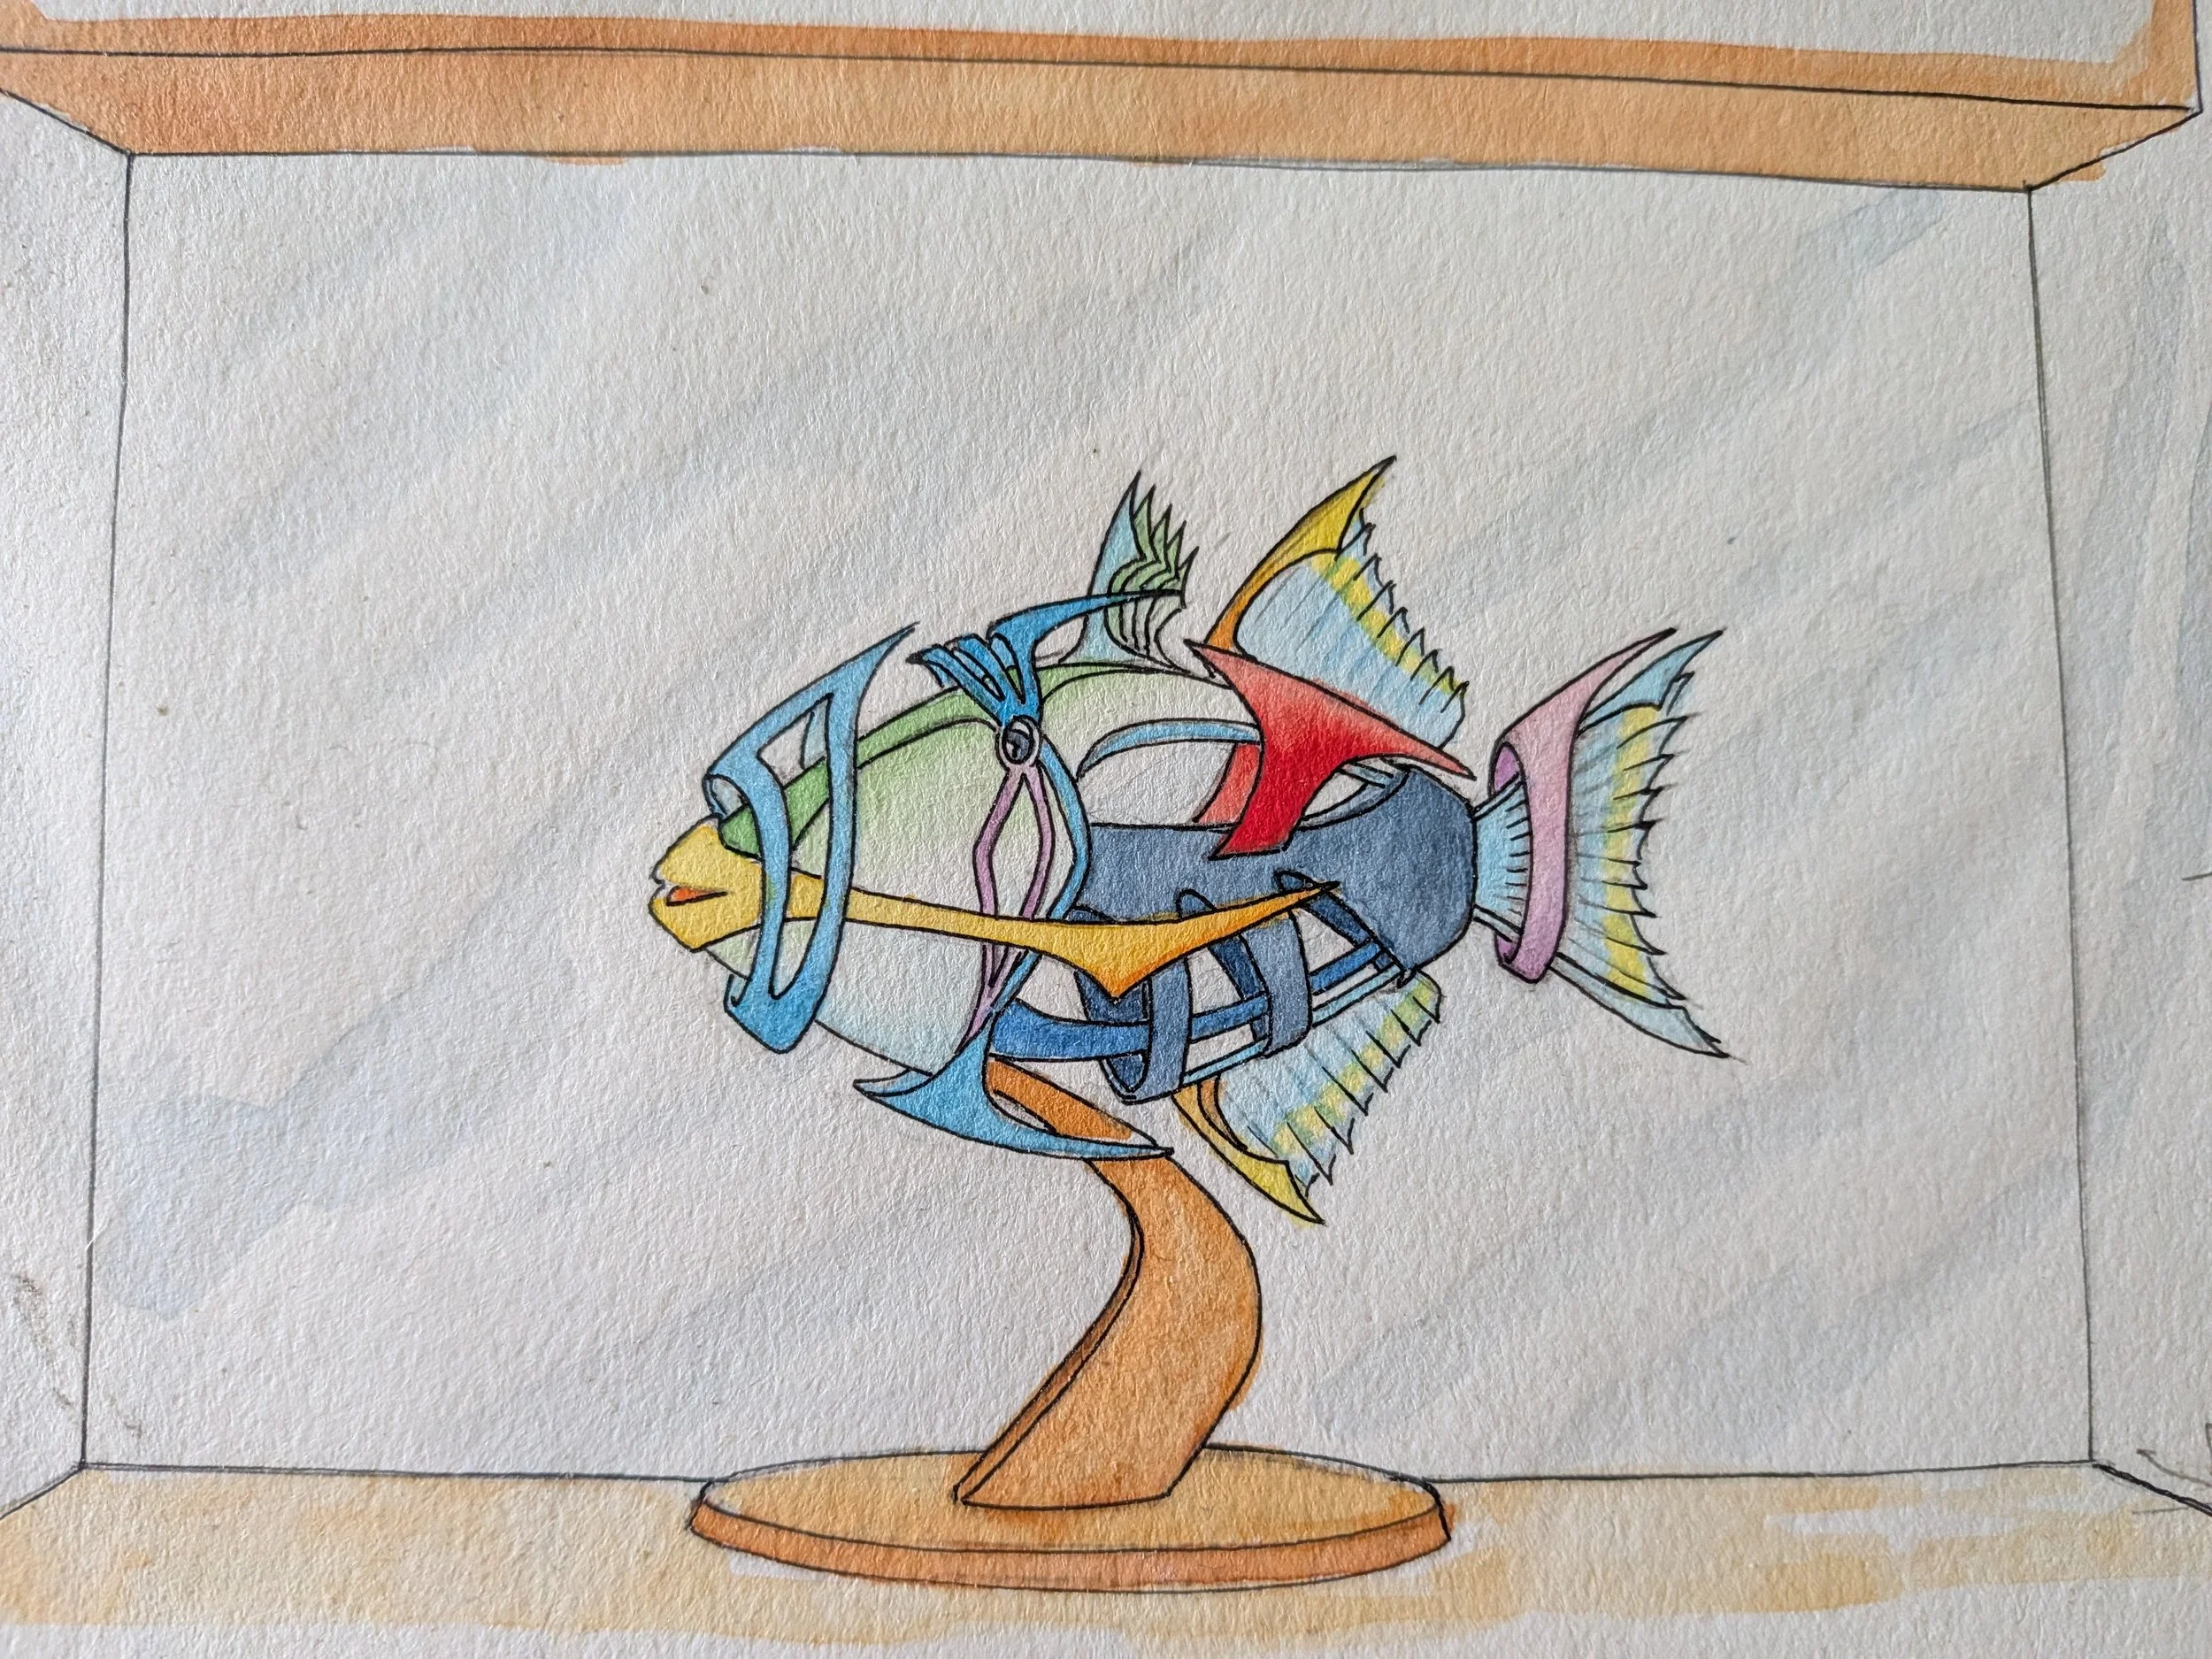
As with any great project, it all started with a concept and sketches! I originally sketched up the subject to get an idea of where the negative space would be placed and what kind of silhouette I was aiming for. Now, I could’ve moved on to the next phase of planning wood cuts and carving, but I took a detour to make a maquette of the piece. You may have already seen this maquette before online or in our blog posts, but we’ve included a photo of it here for your viewing pleasure!
Keiki Humu Maquette
We lovingly called this maquette “Keiki Humu” around the studio. By creating the miniature version of the sculpture, I could work out some of the questions that I still had about construction and better plan things for the main piece. The commissioners loved the little “Keiki Humu” so much that they decided to keep that one too.
Building the Body
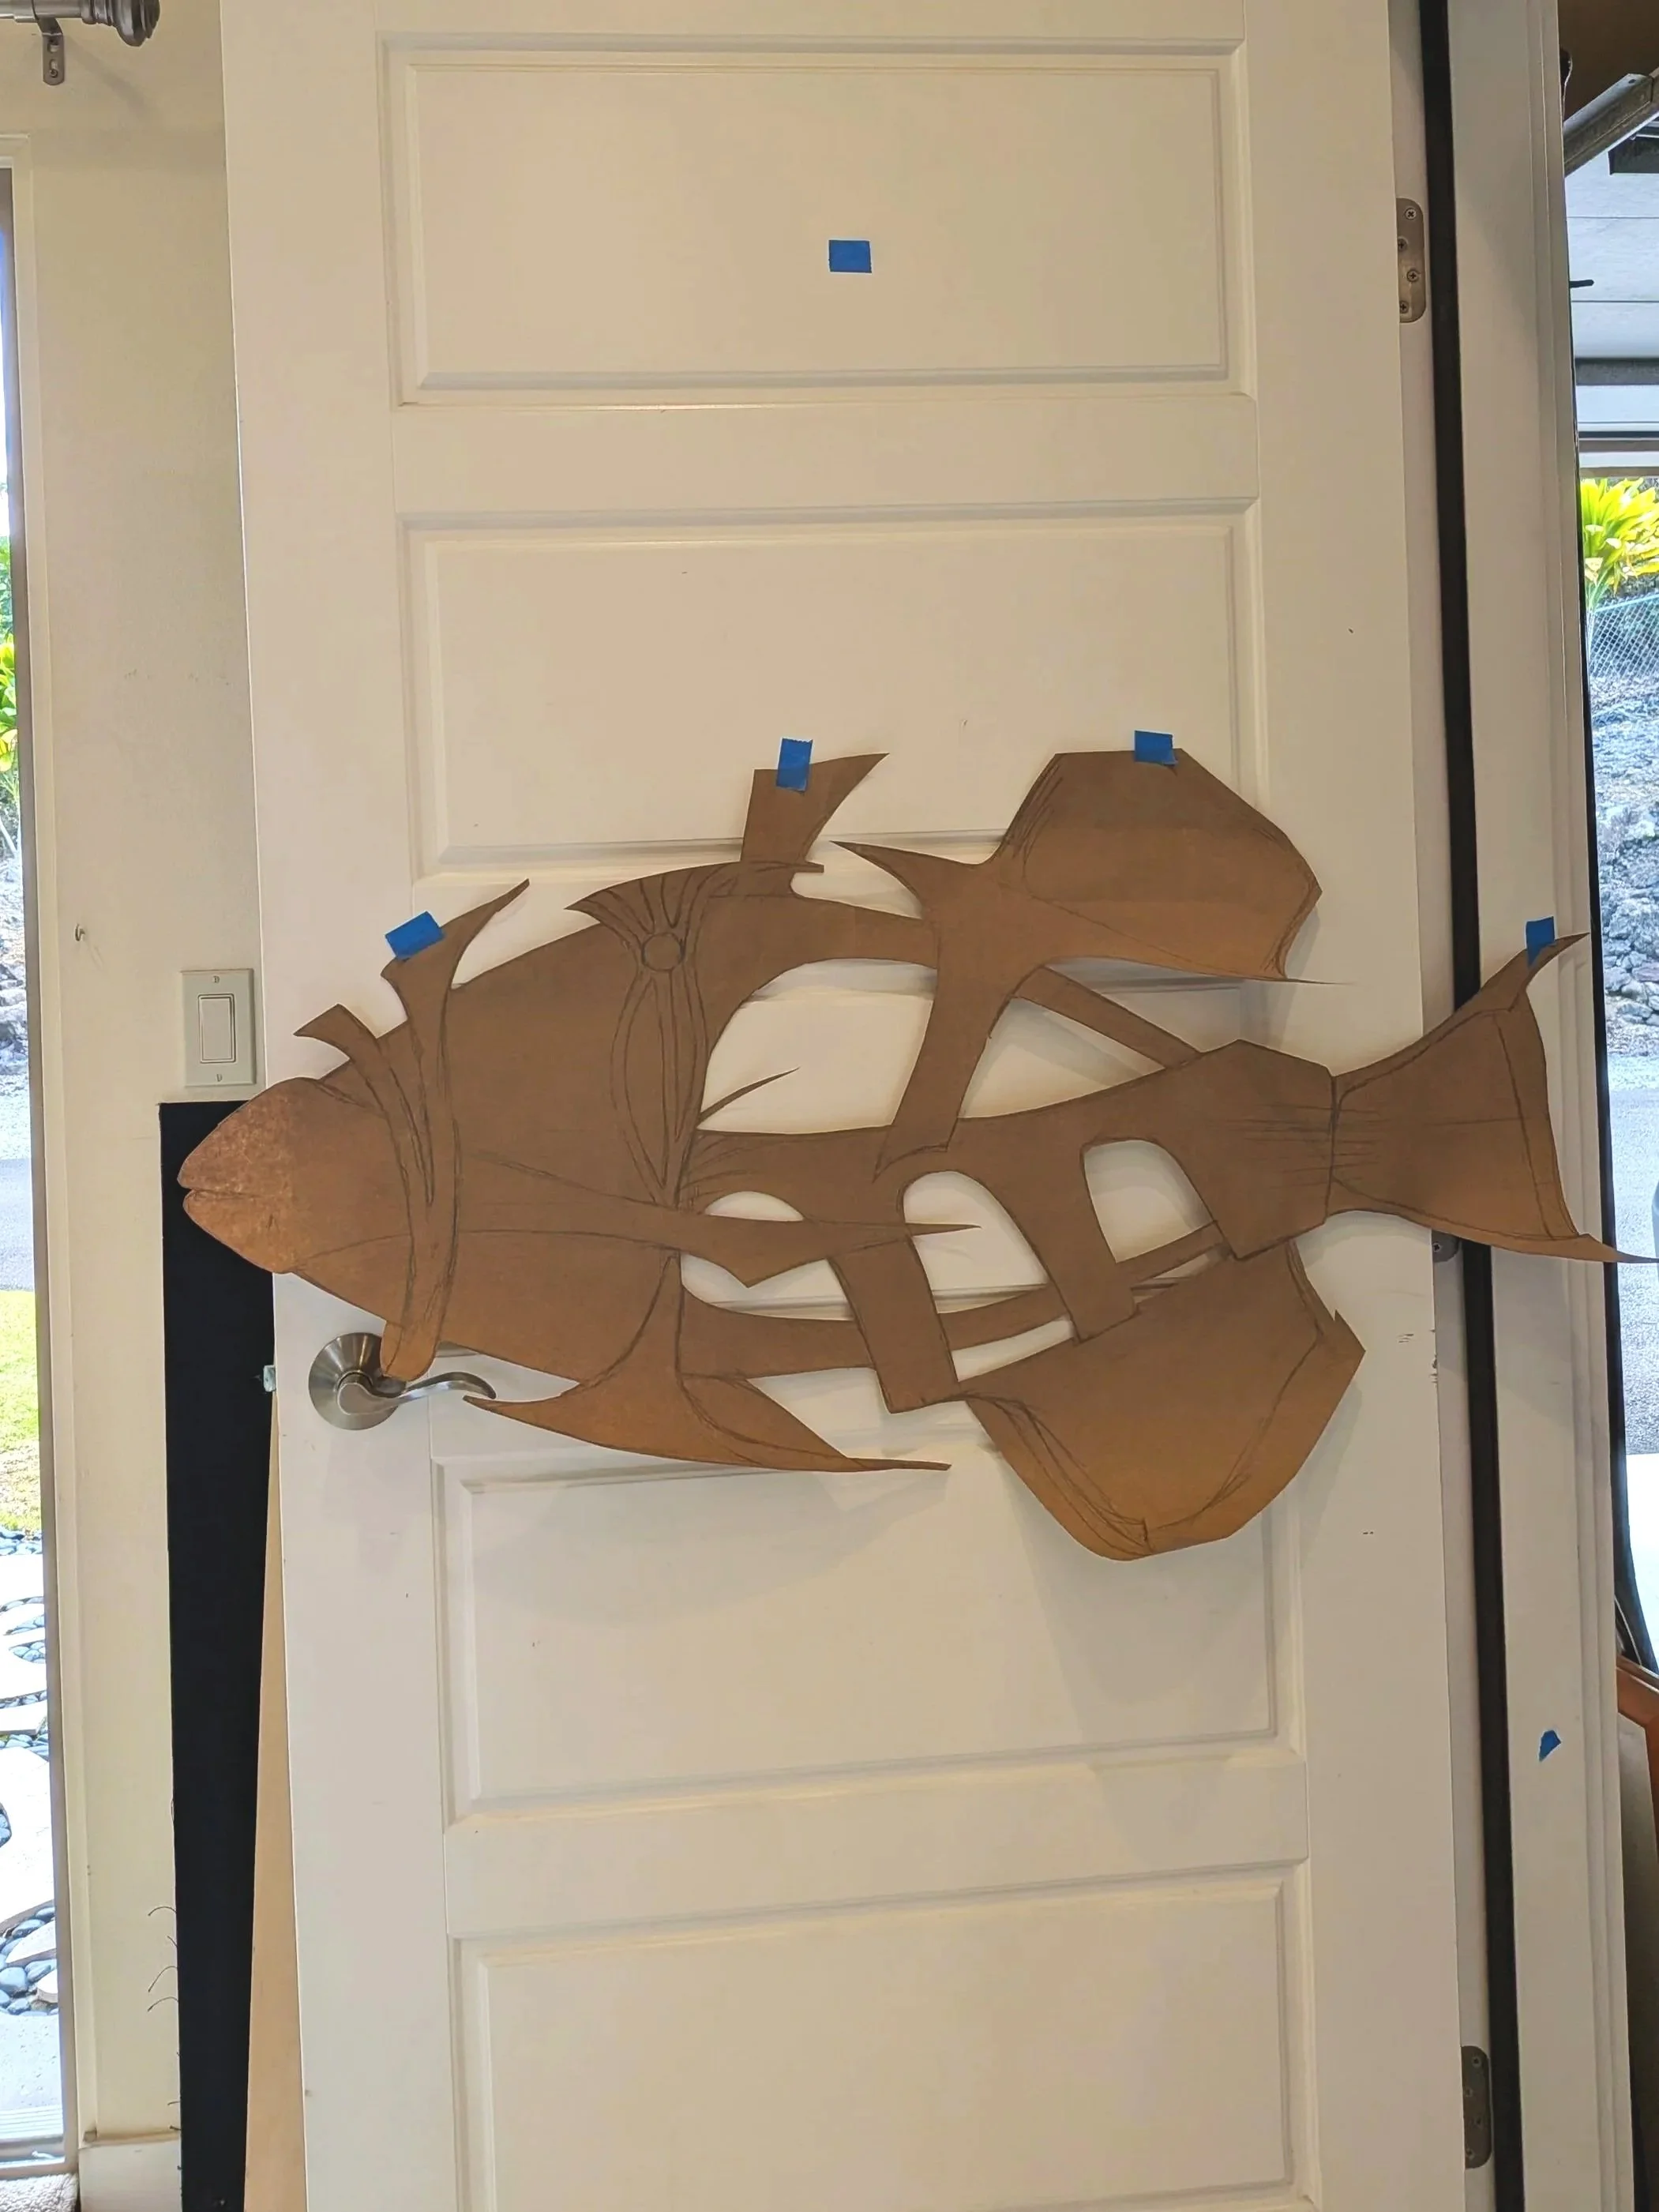
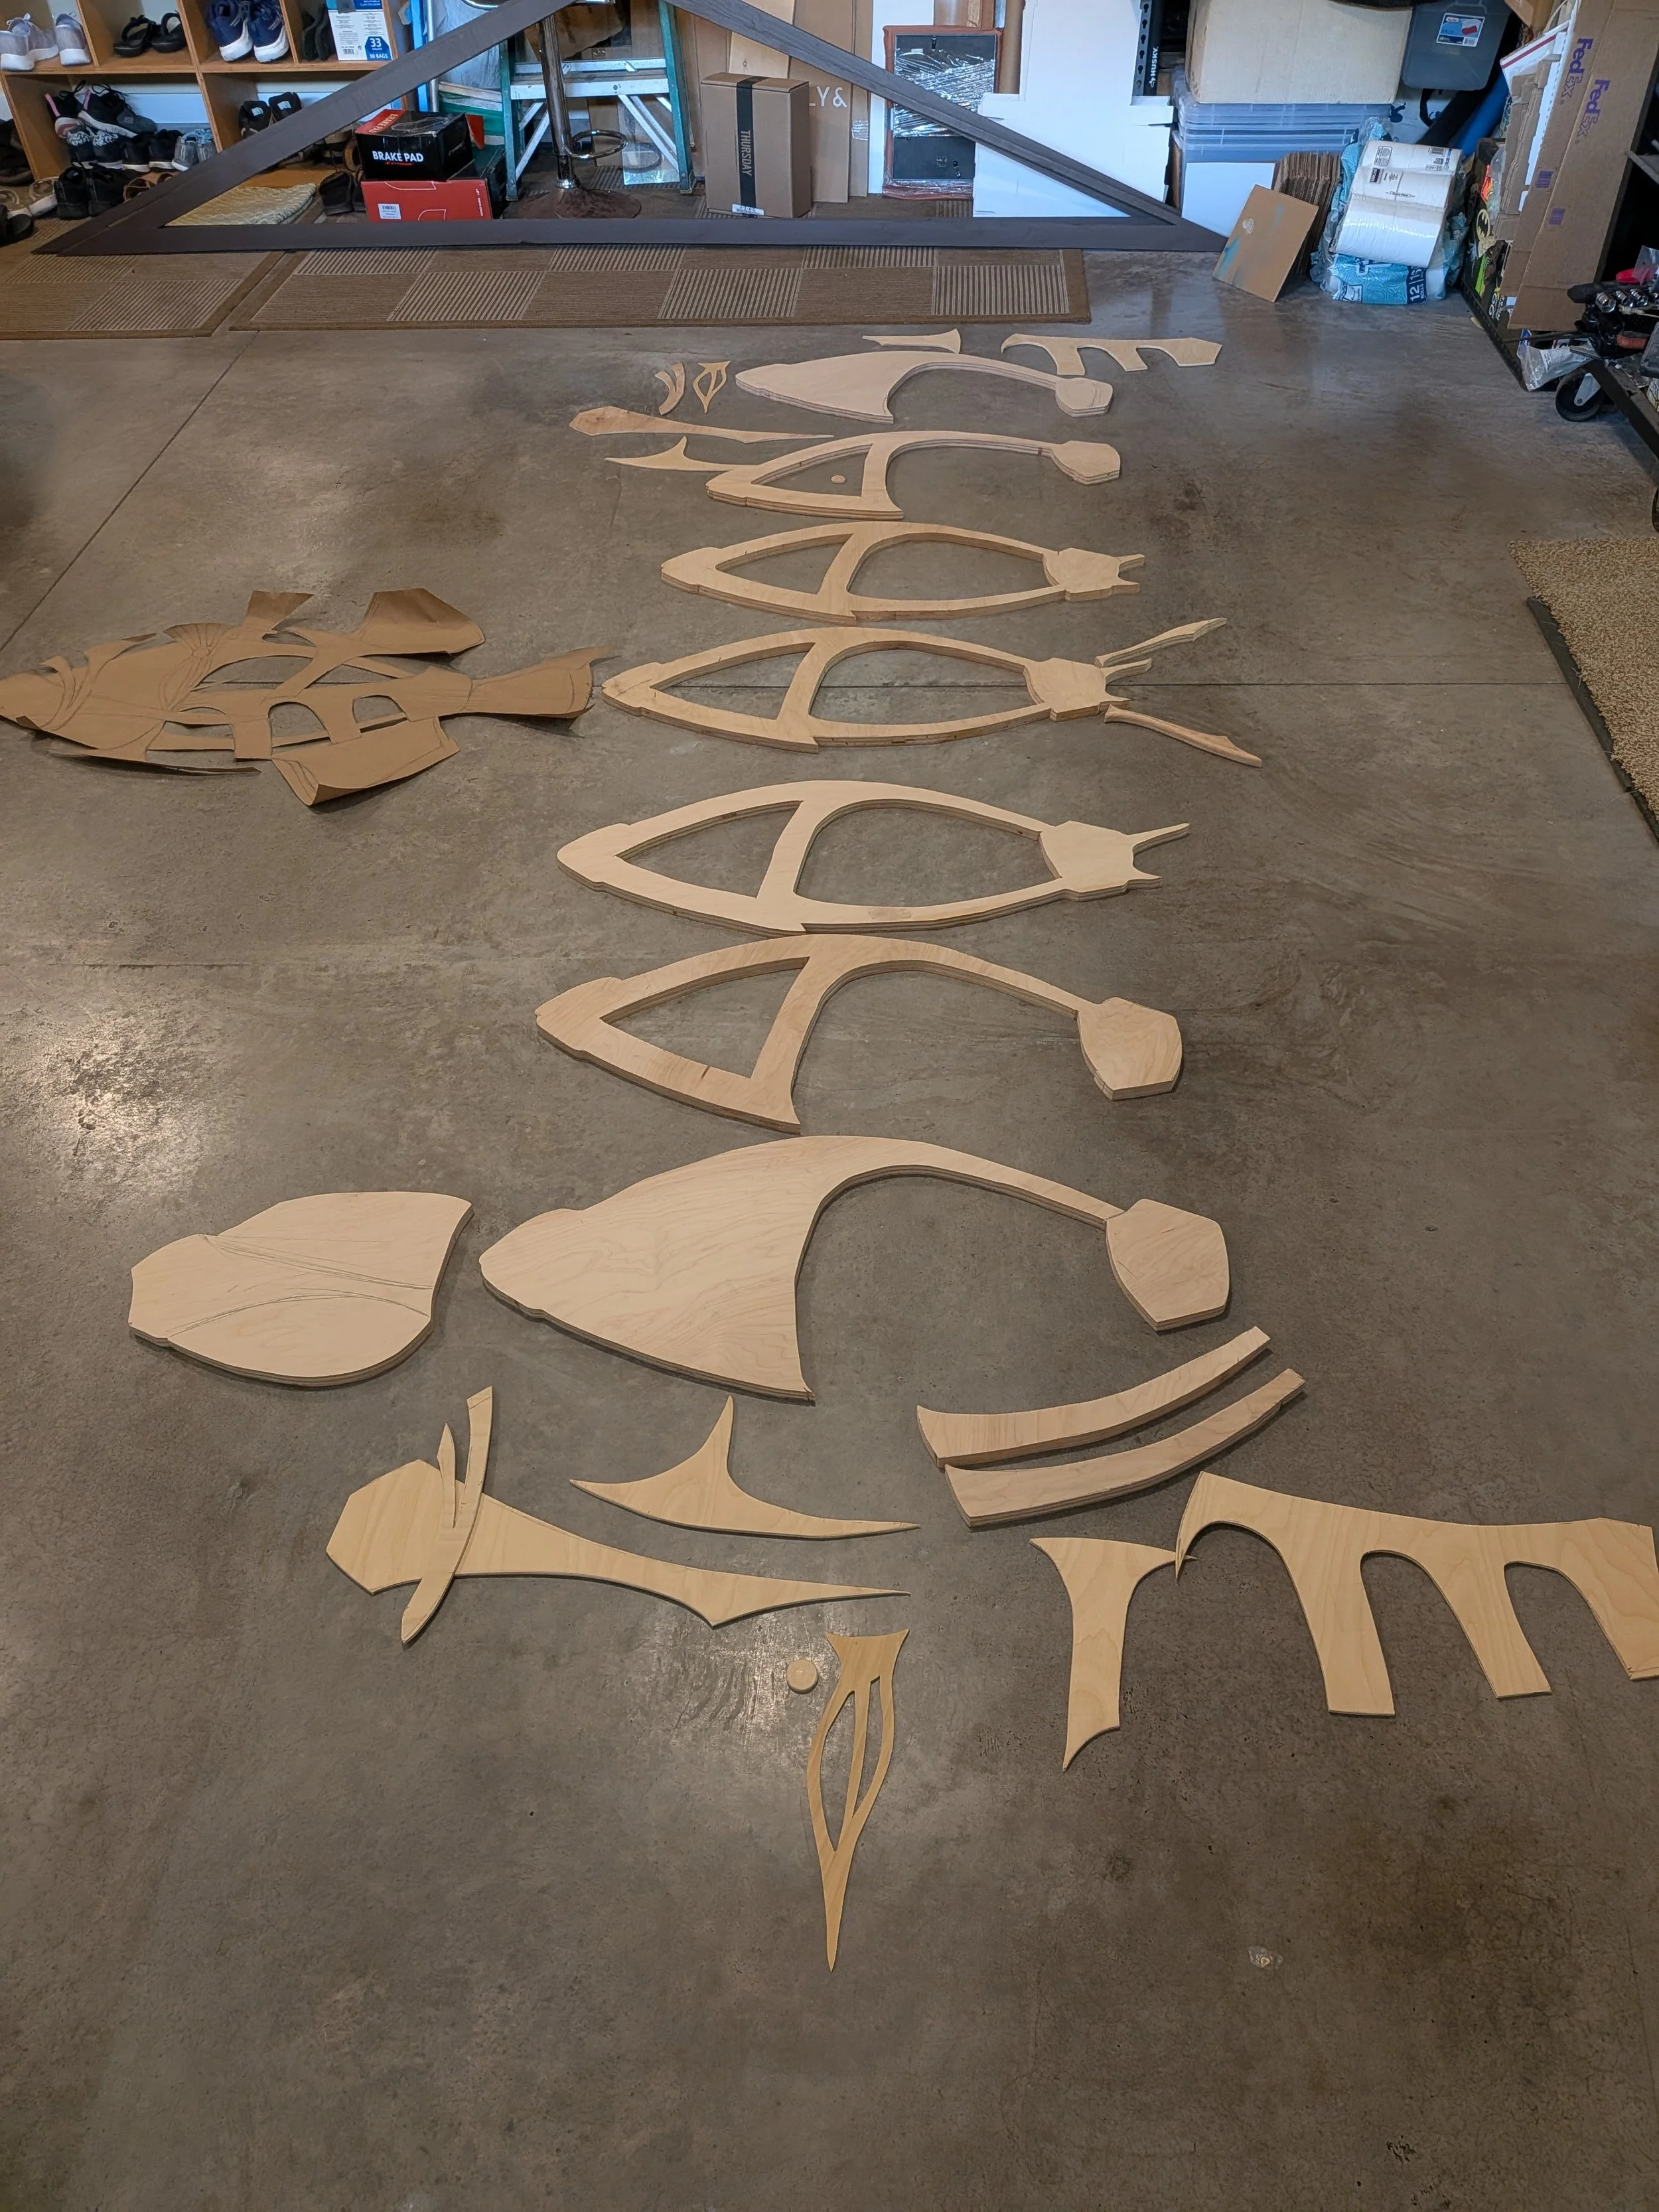
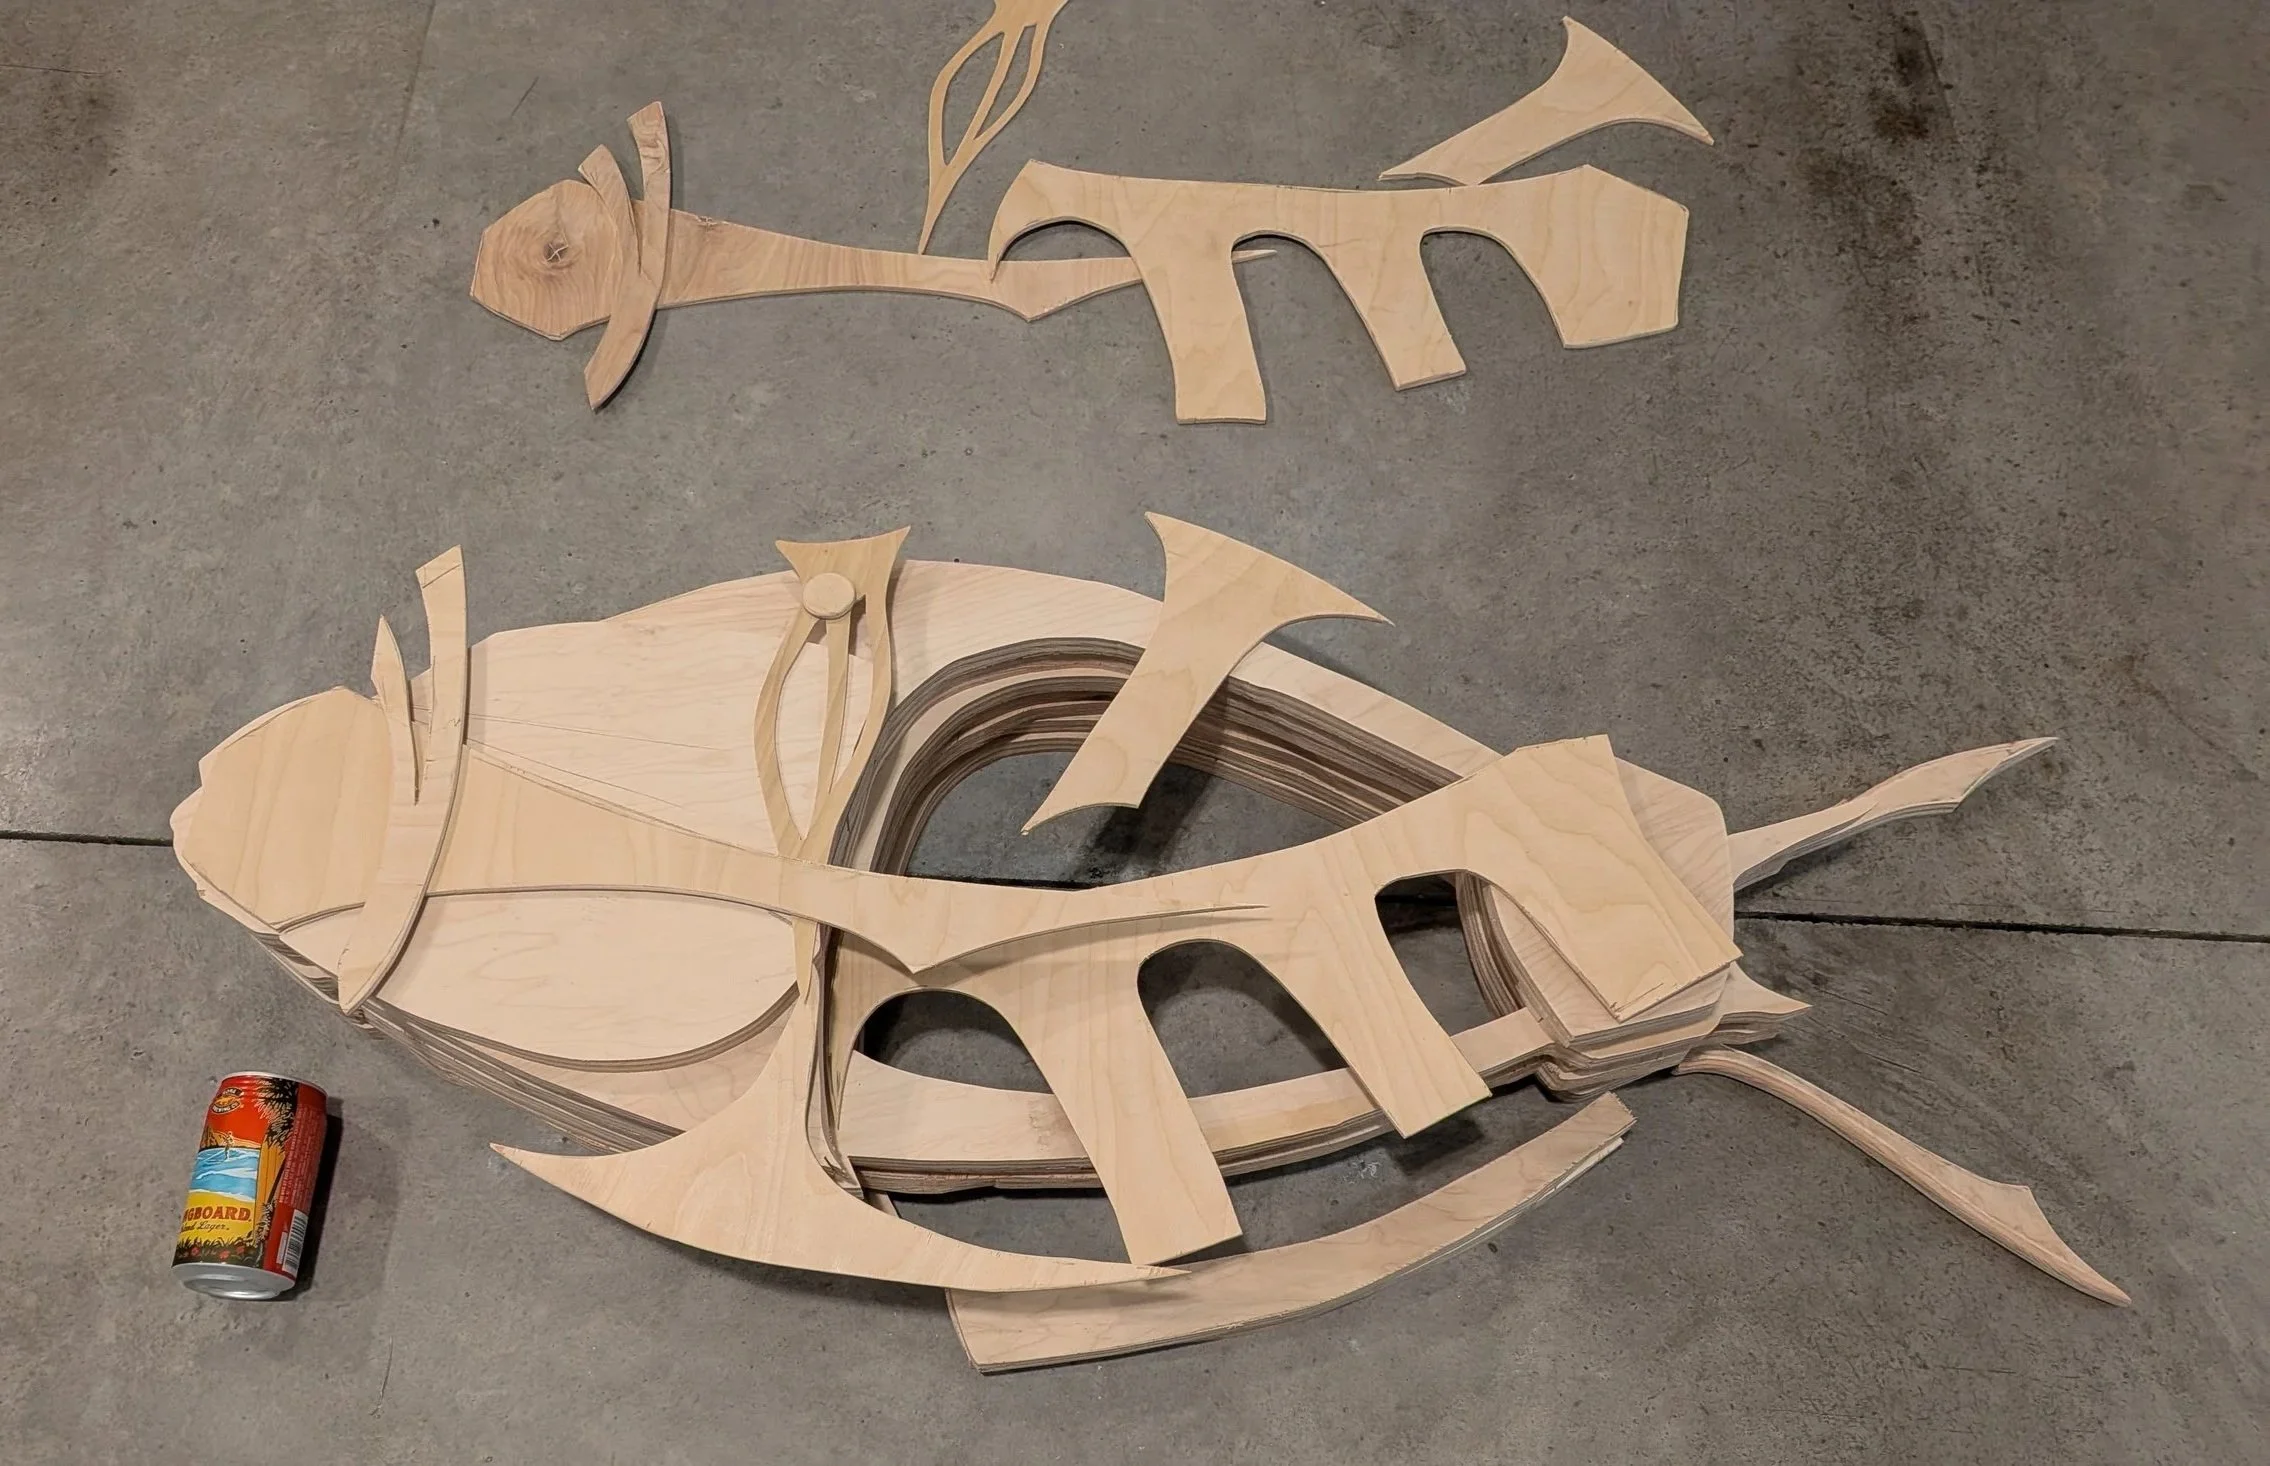
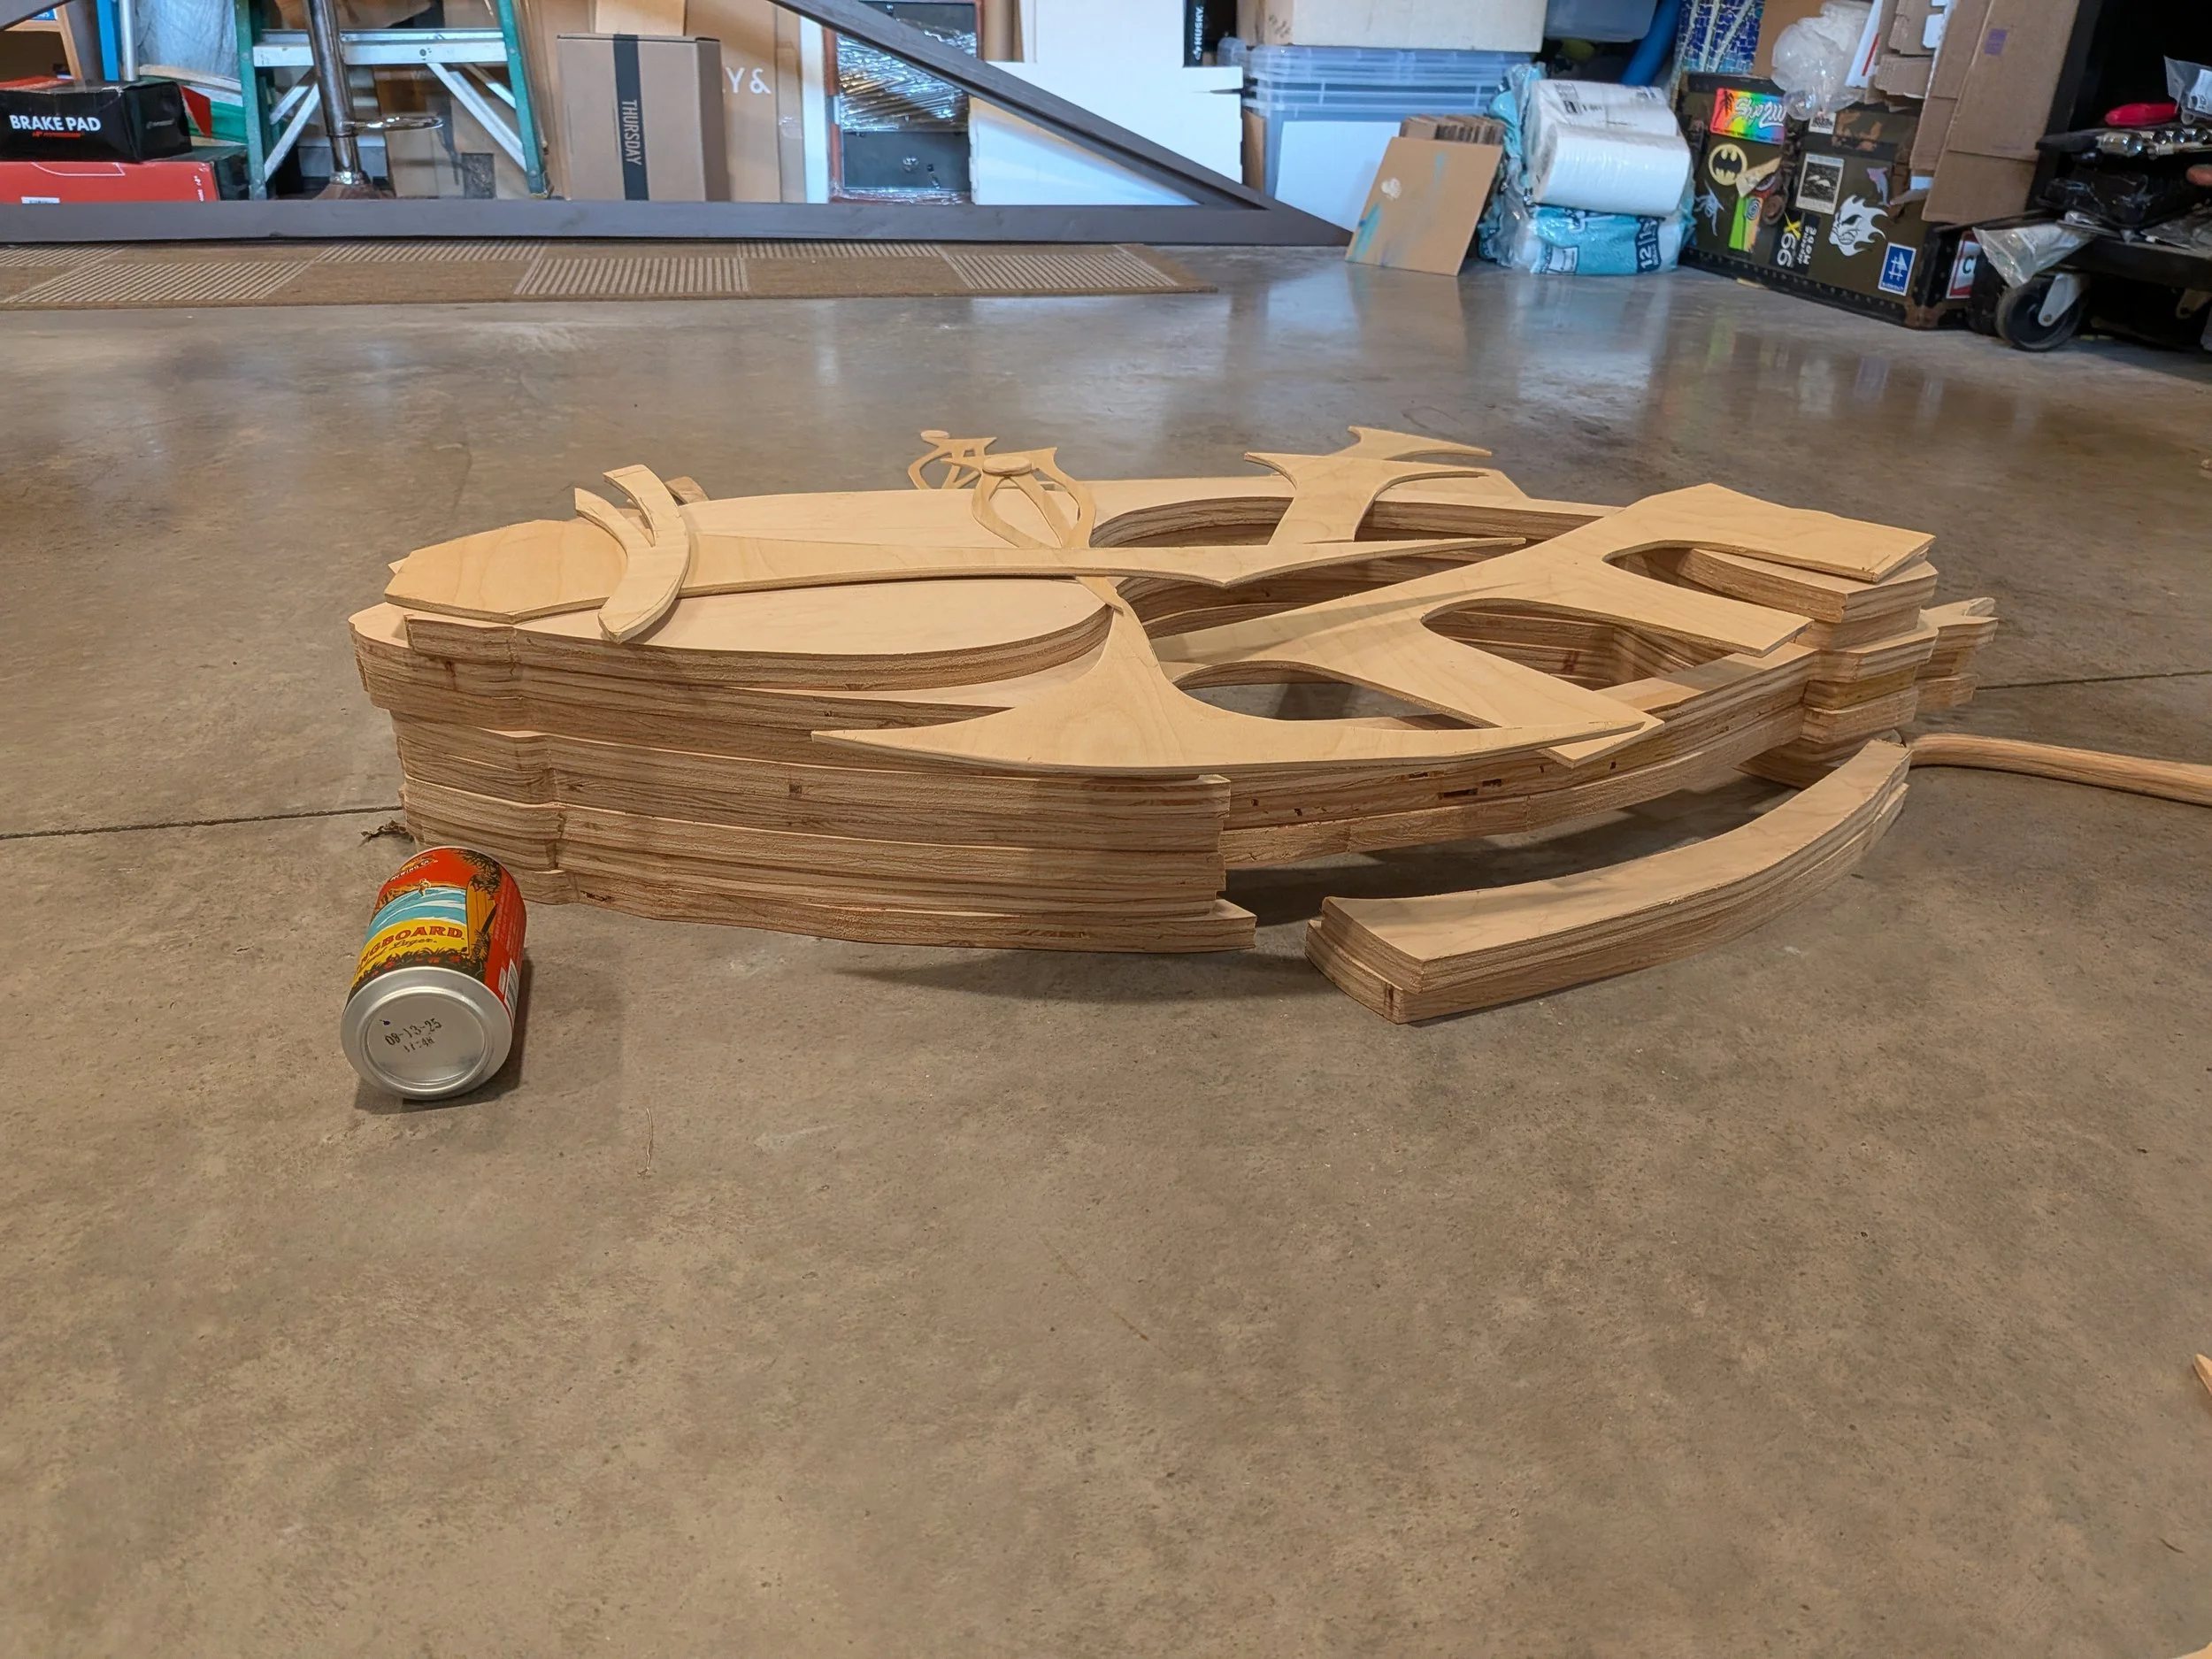
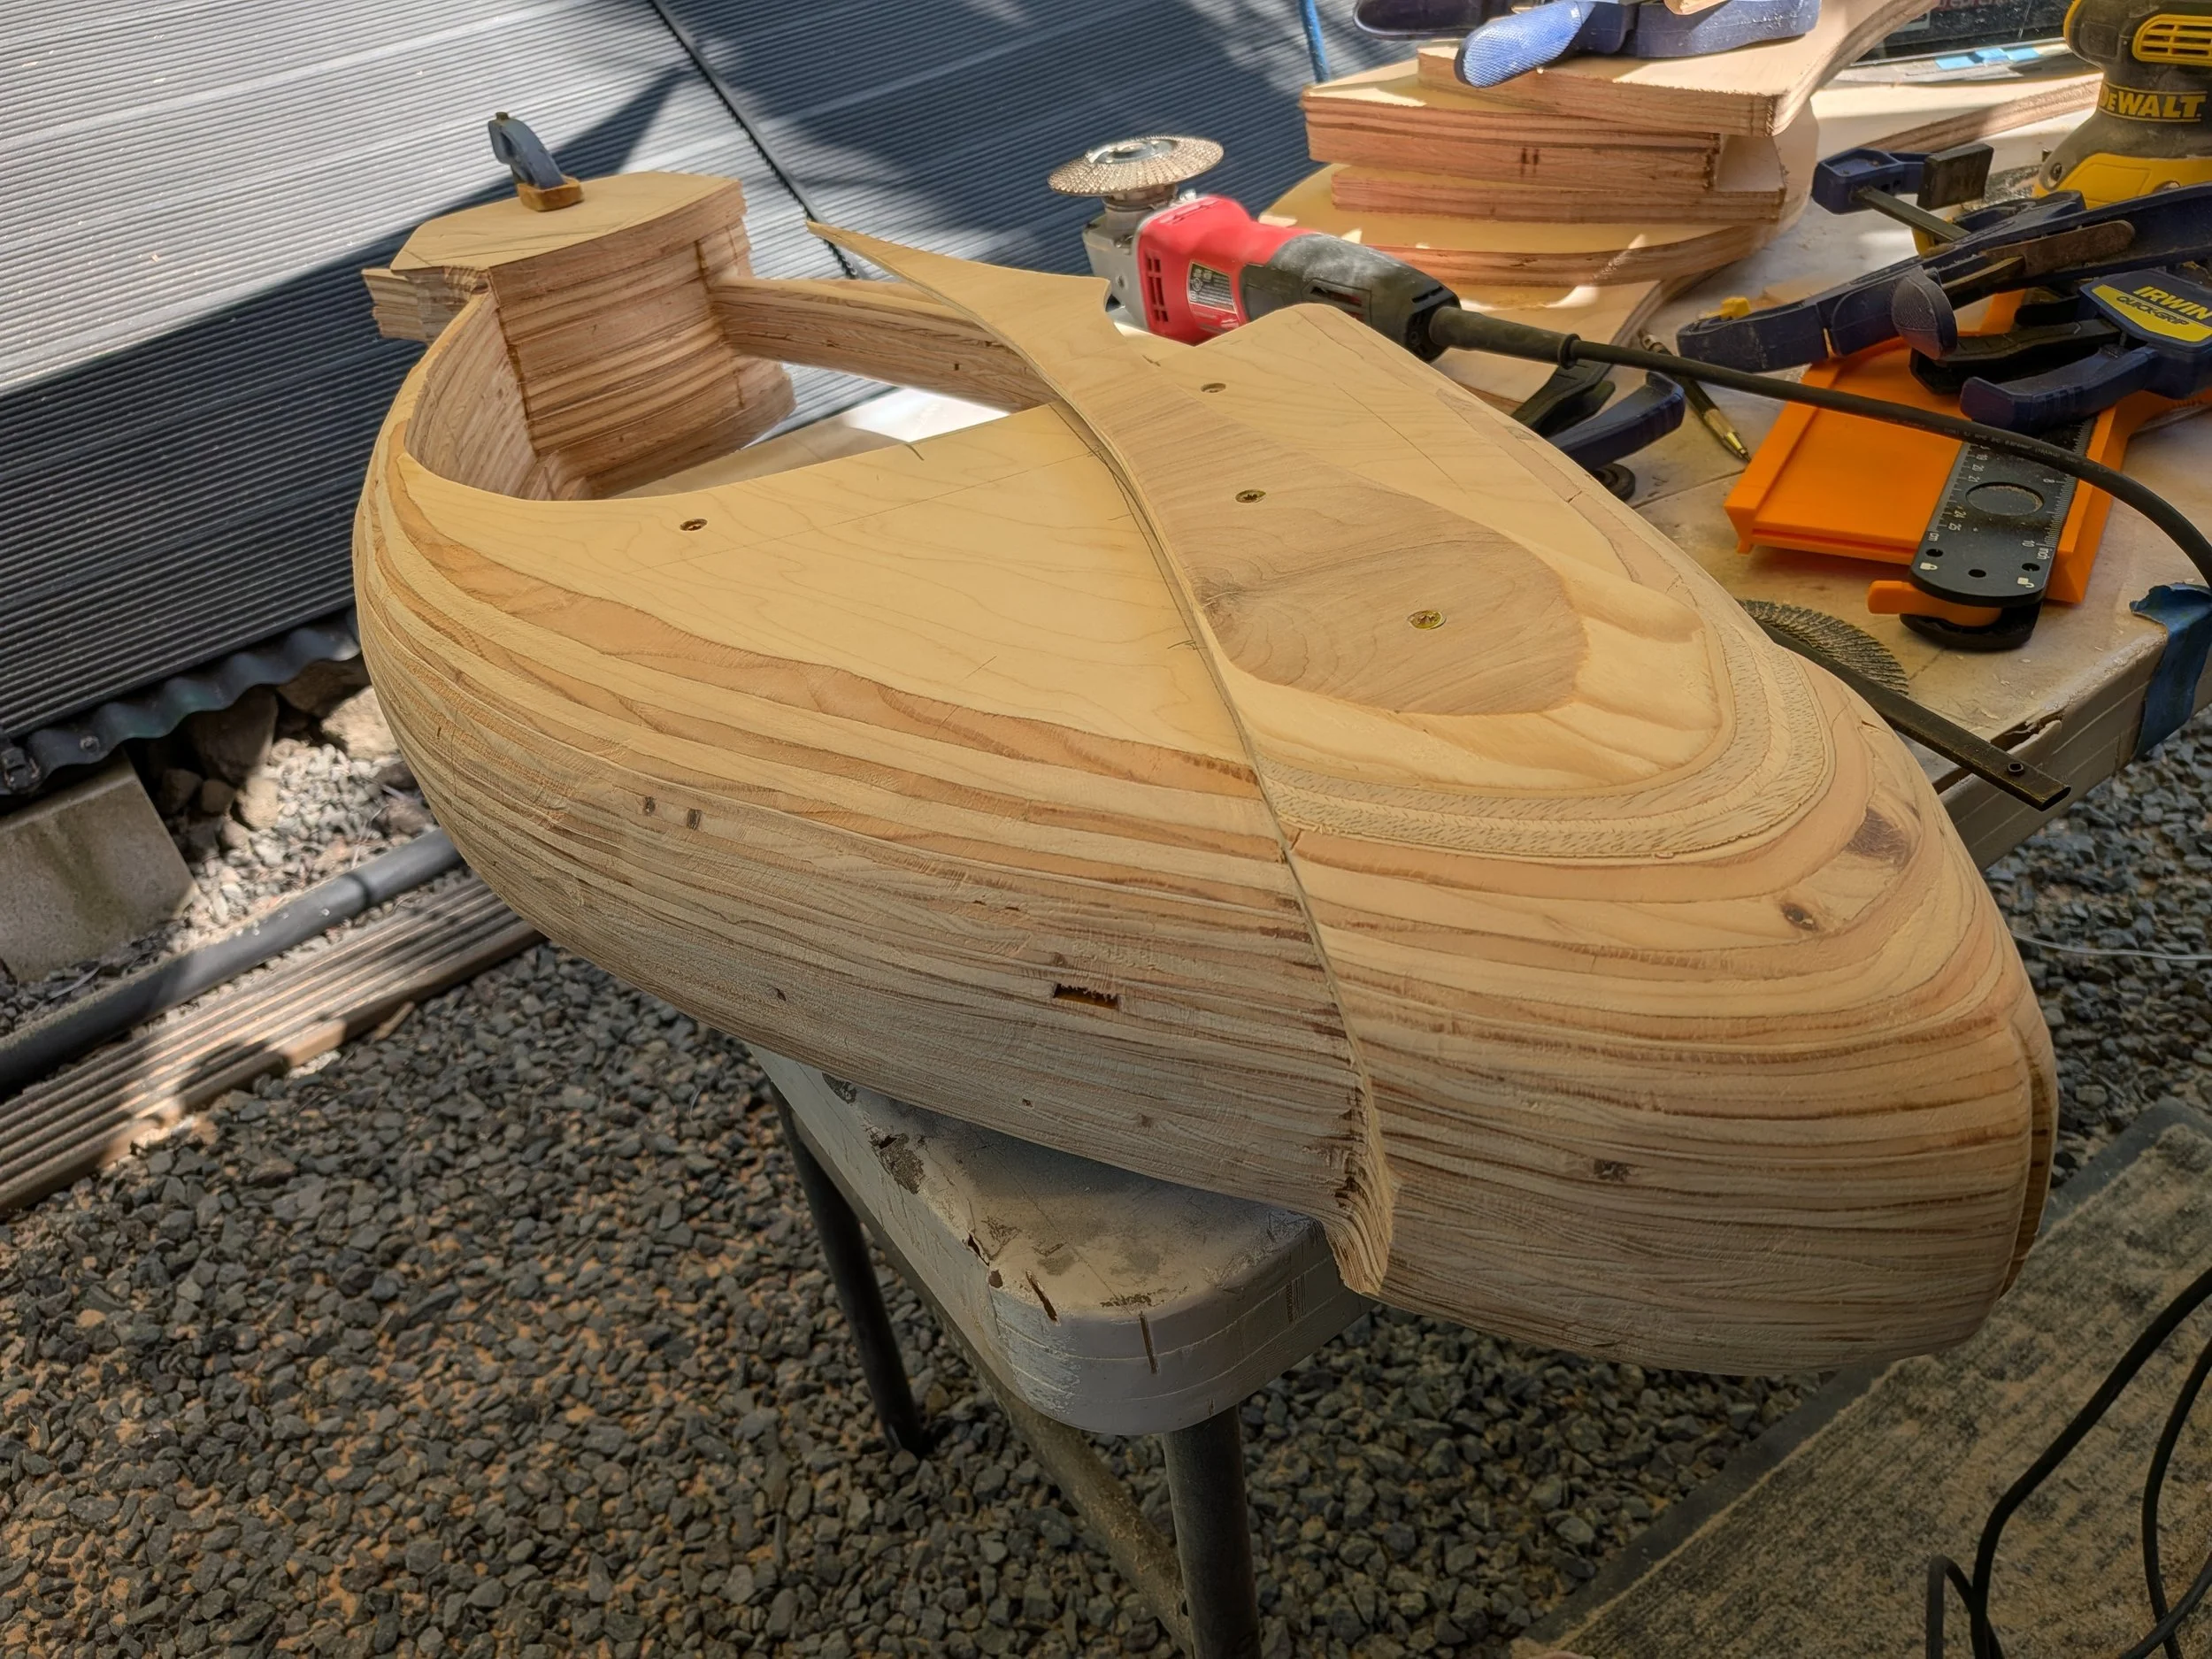
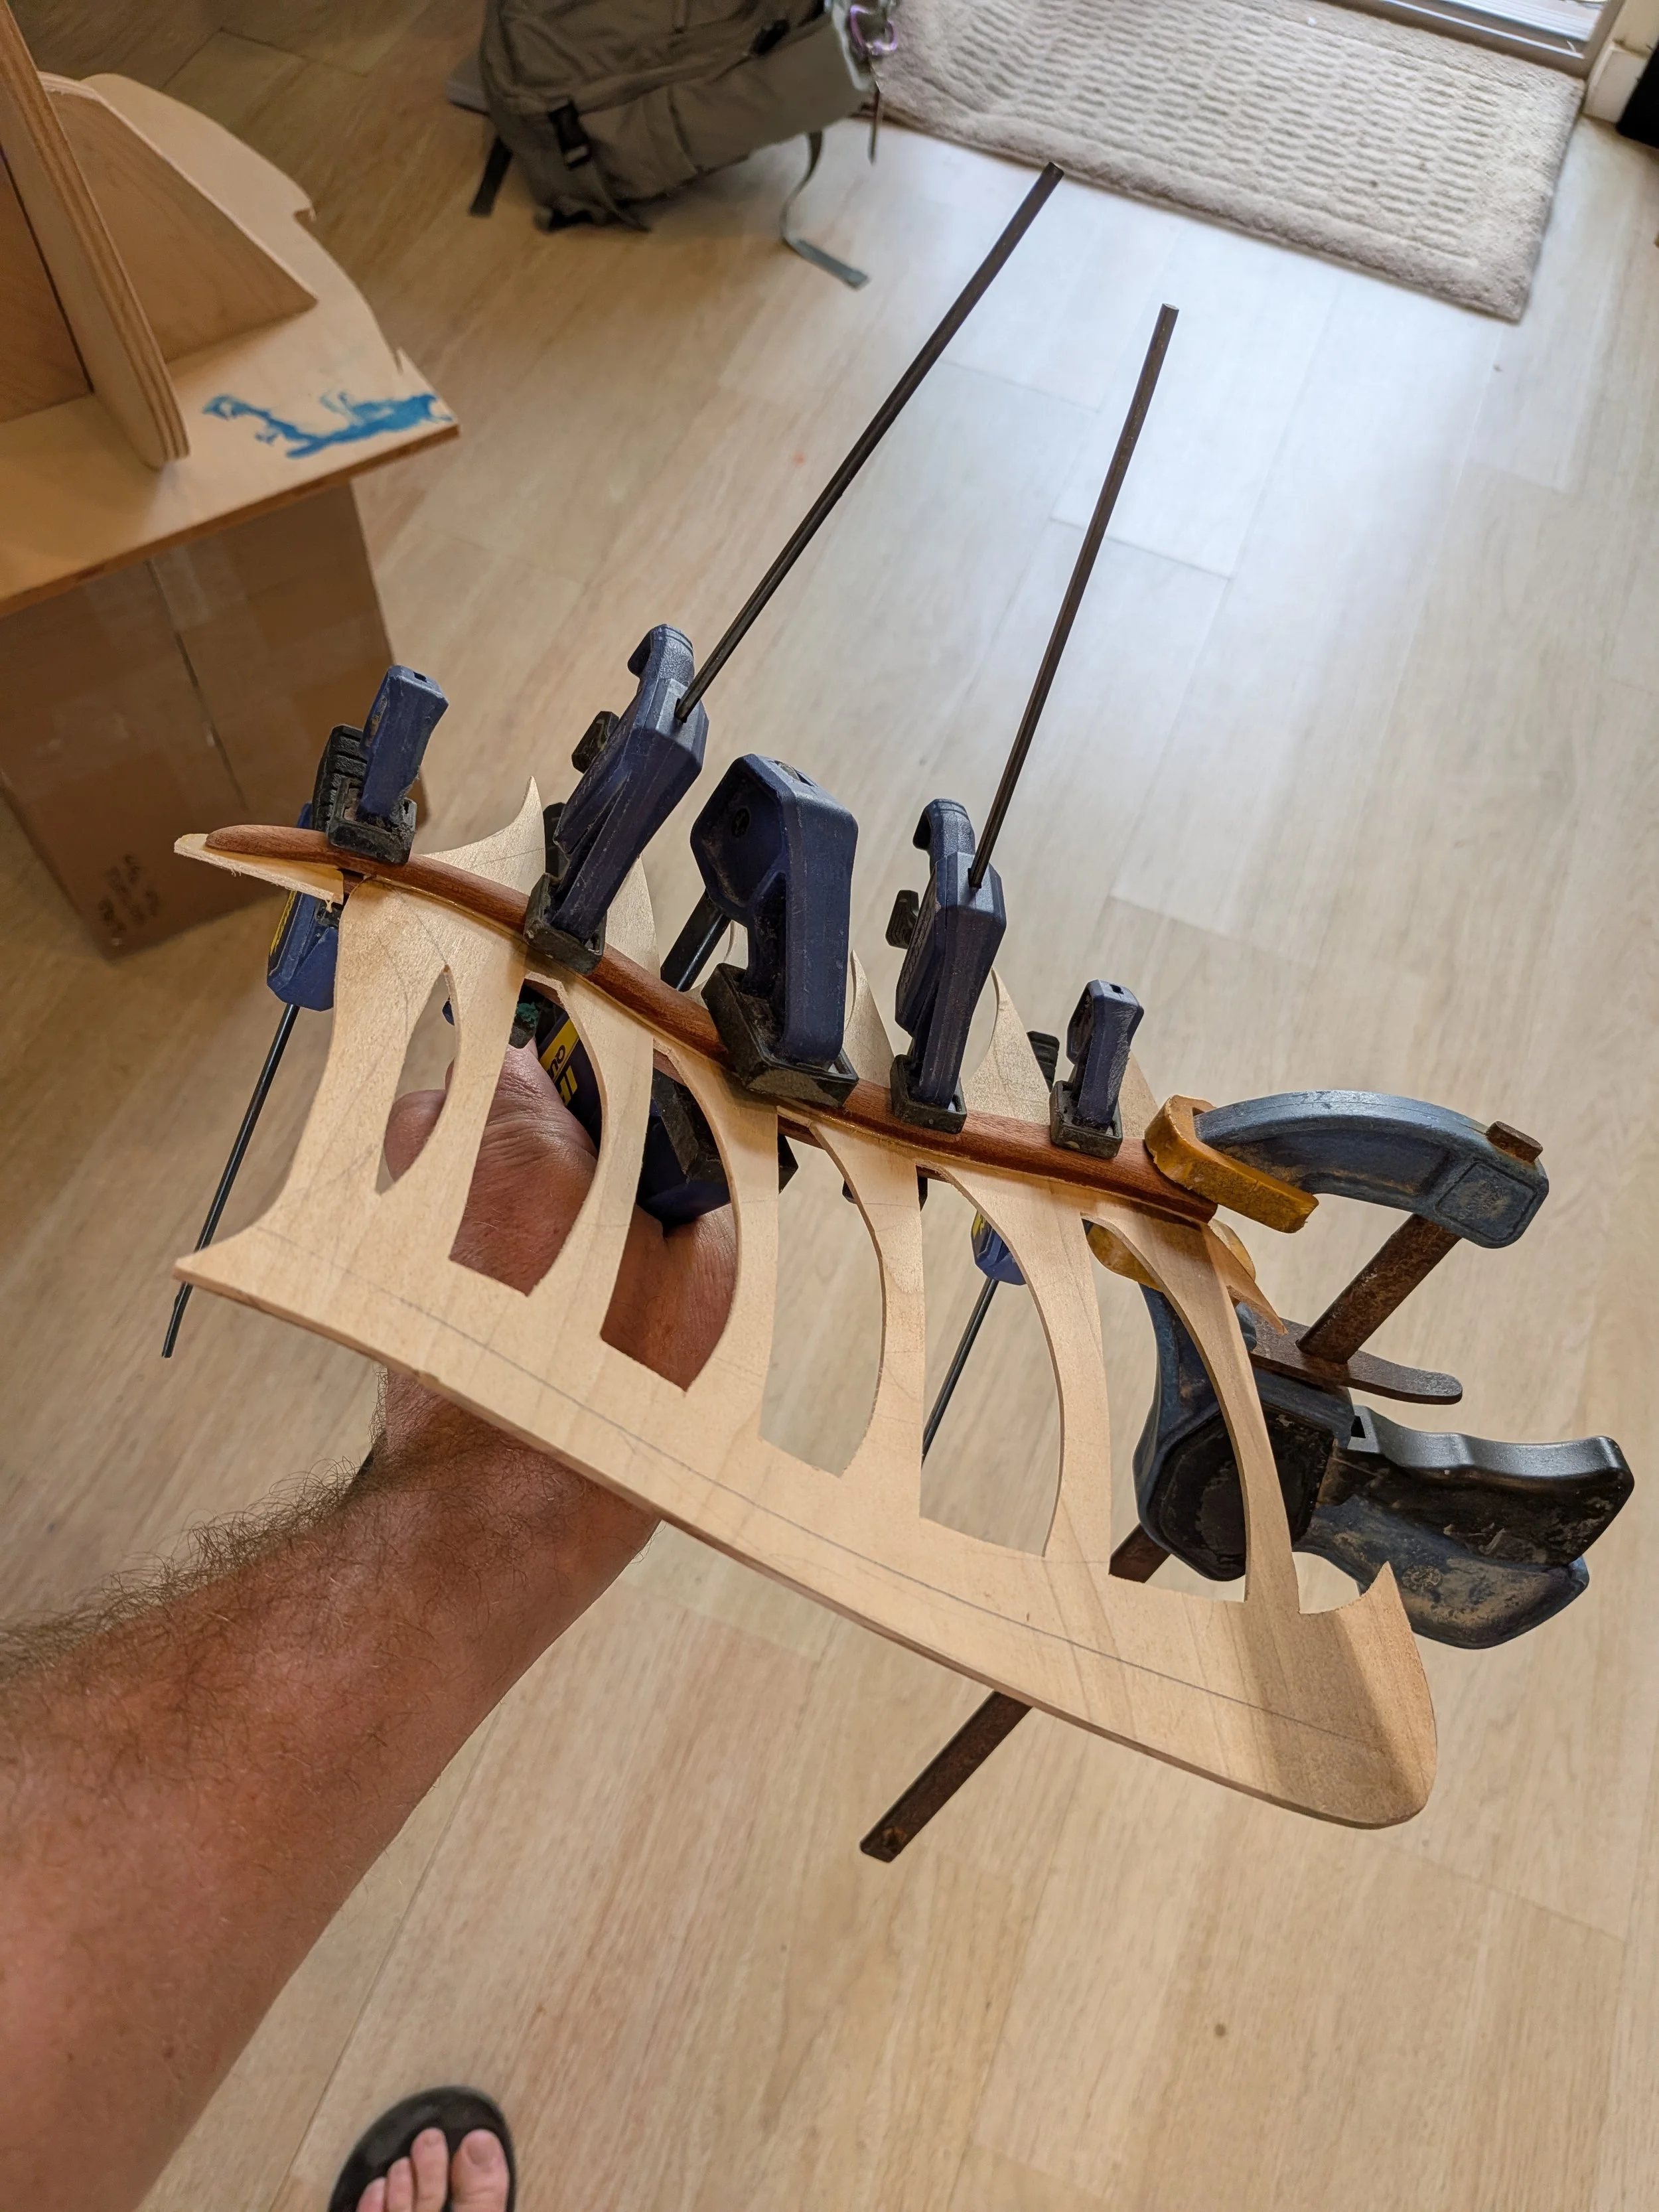
Now that the keiki humu maquette was finished, I decided to create stencils on butcher paper of the shapes I needed to start cutting out of wood for this piece. Much like a tiered cake is made up of multiple different pieces, so is the body of this full sized humu sculpture (and the beer can is to show scale…It would be upright and full if I decided to drink and create!) We had the layers that were cut, glued and screwed together before being carved and smoothed into the final body shape. Let me just say here, I thought I had enough clamps in my studio… but this piece tested that theory! With every curve and natural shape that we have in this humu, came lots of planning, clamping and sanding. Looking at it today all finished, I can say it was worth it!
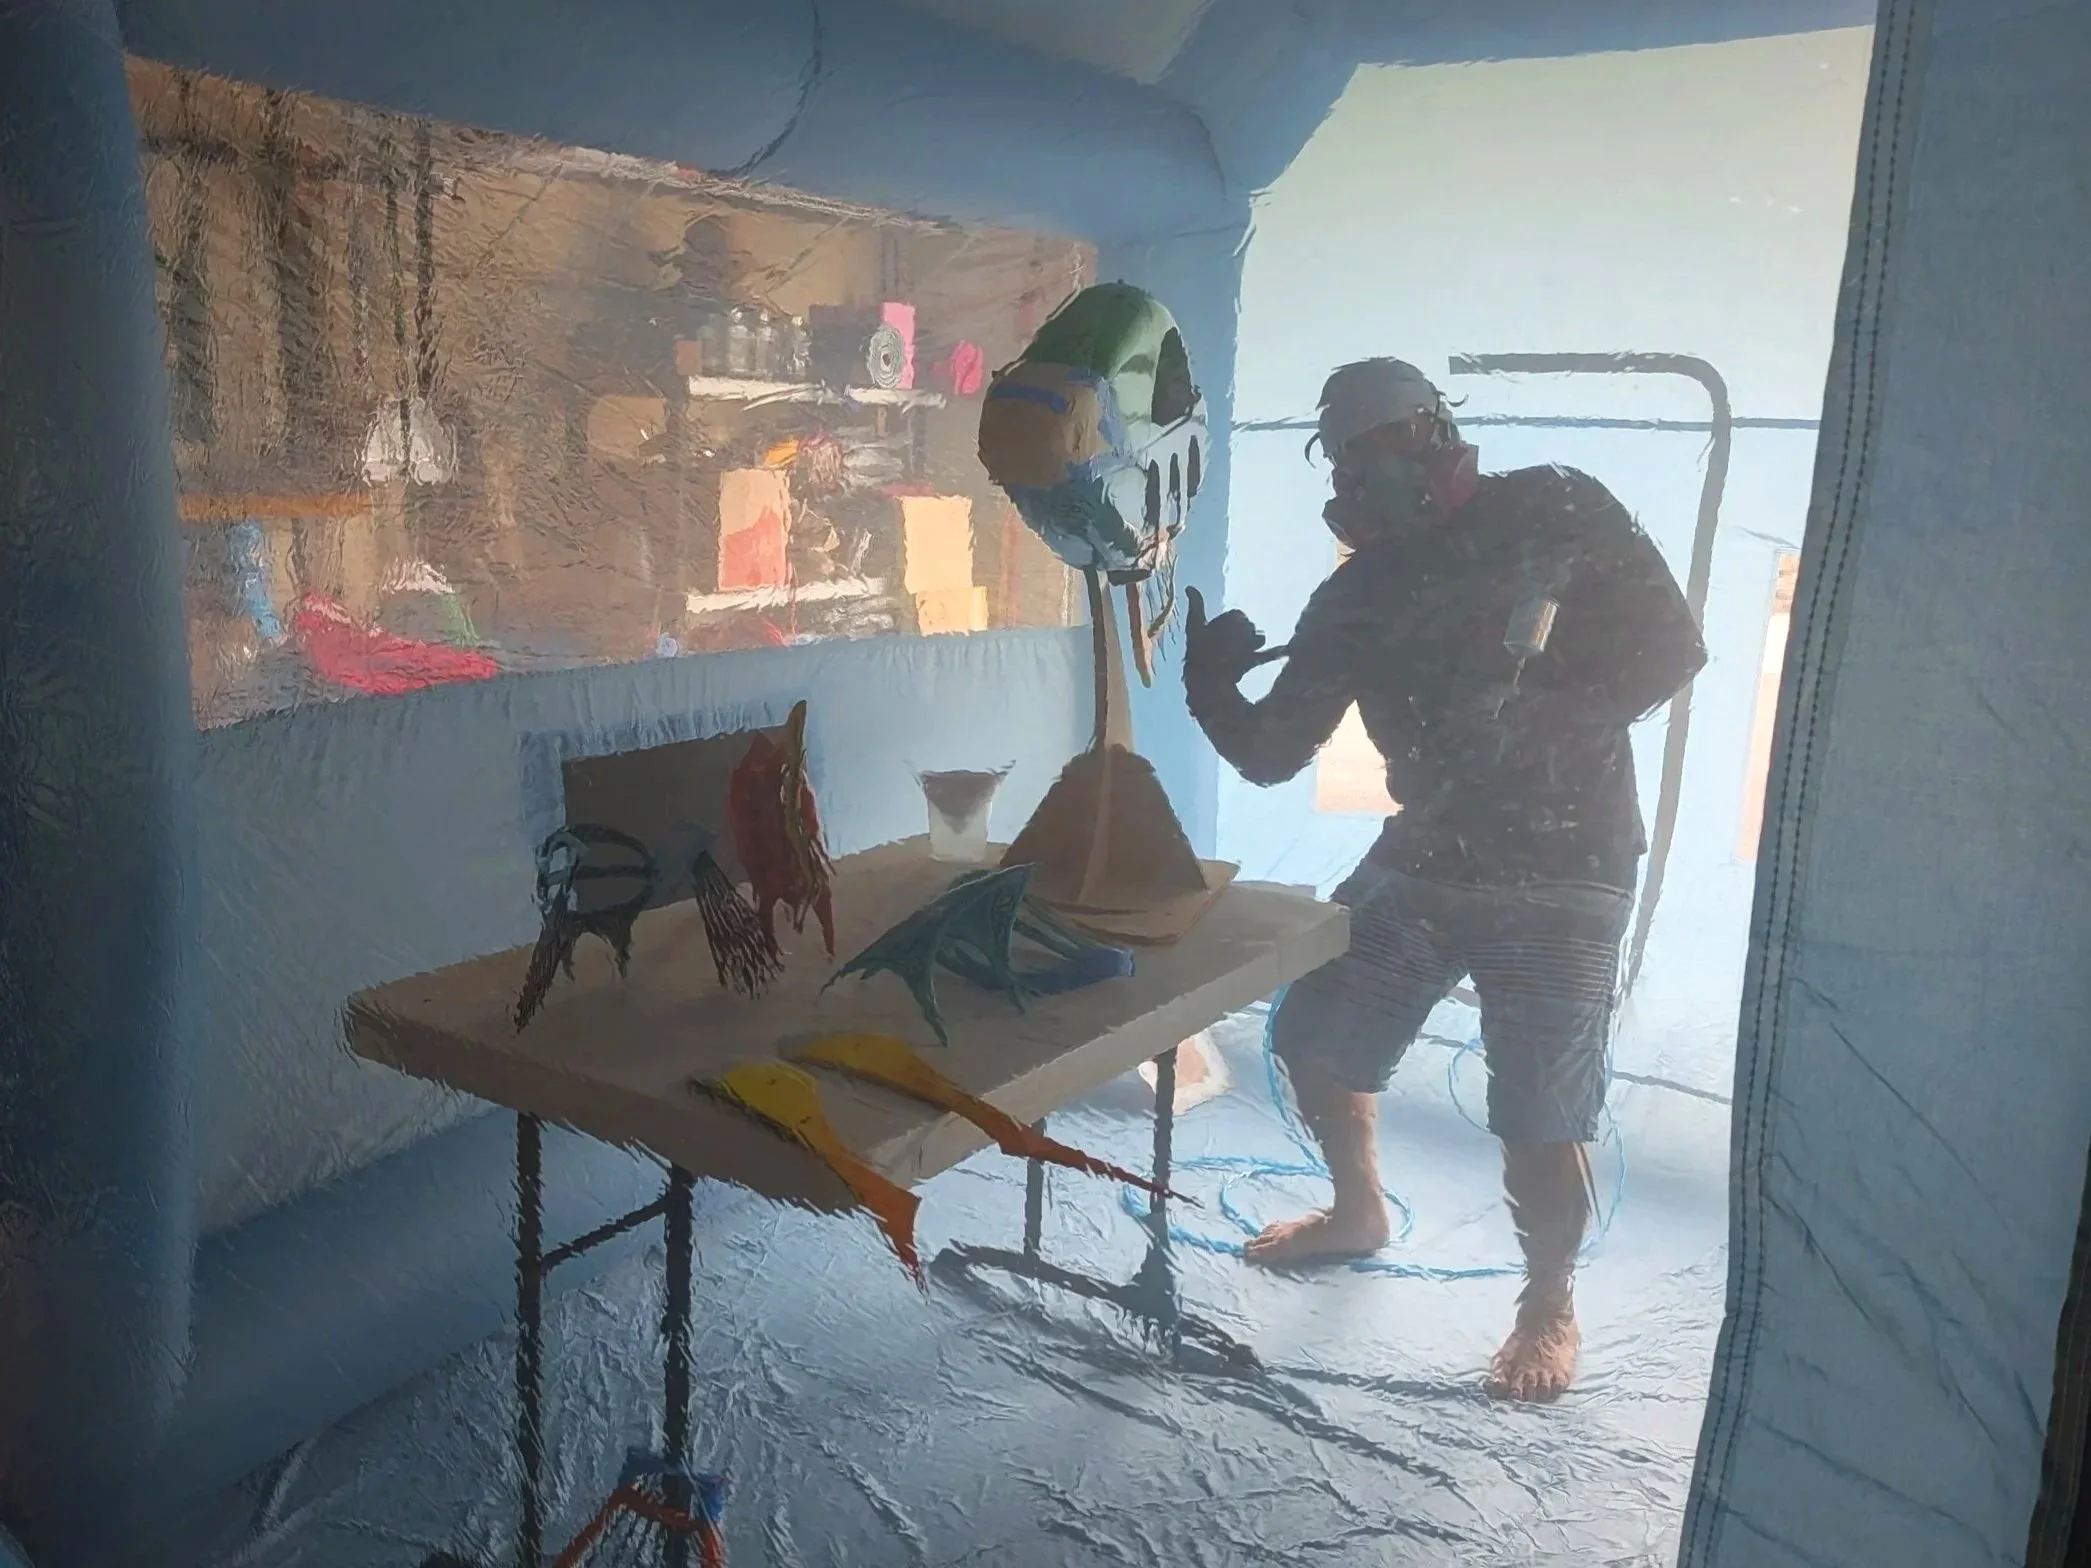
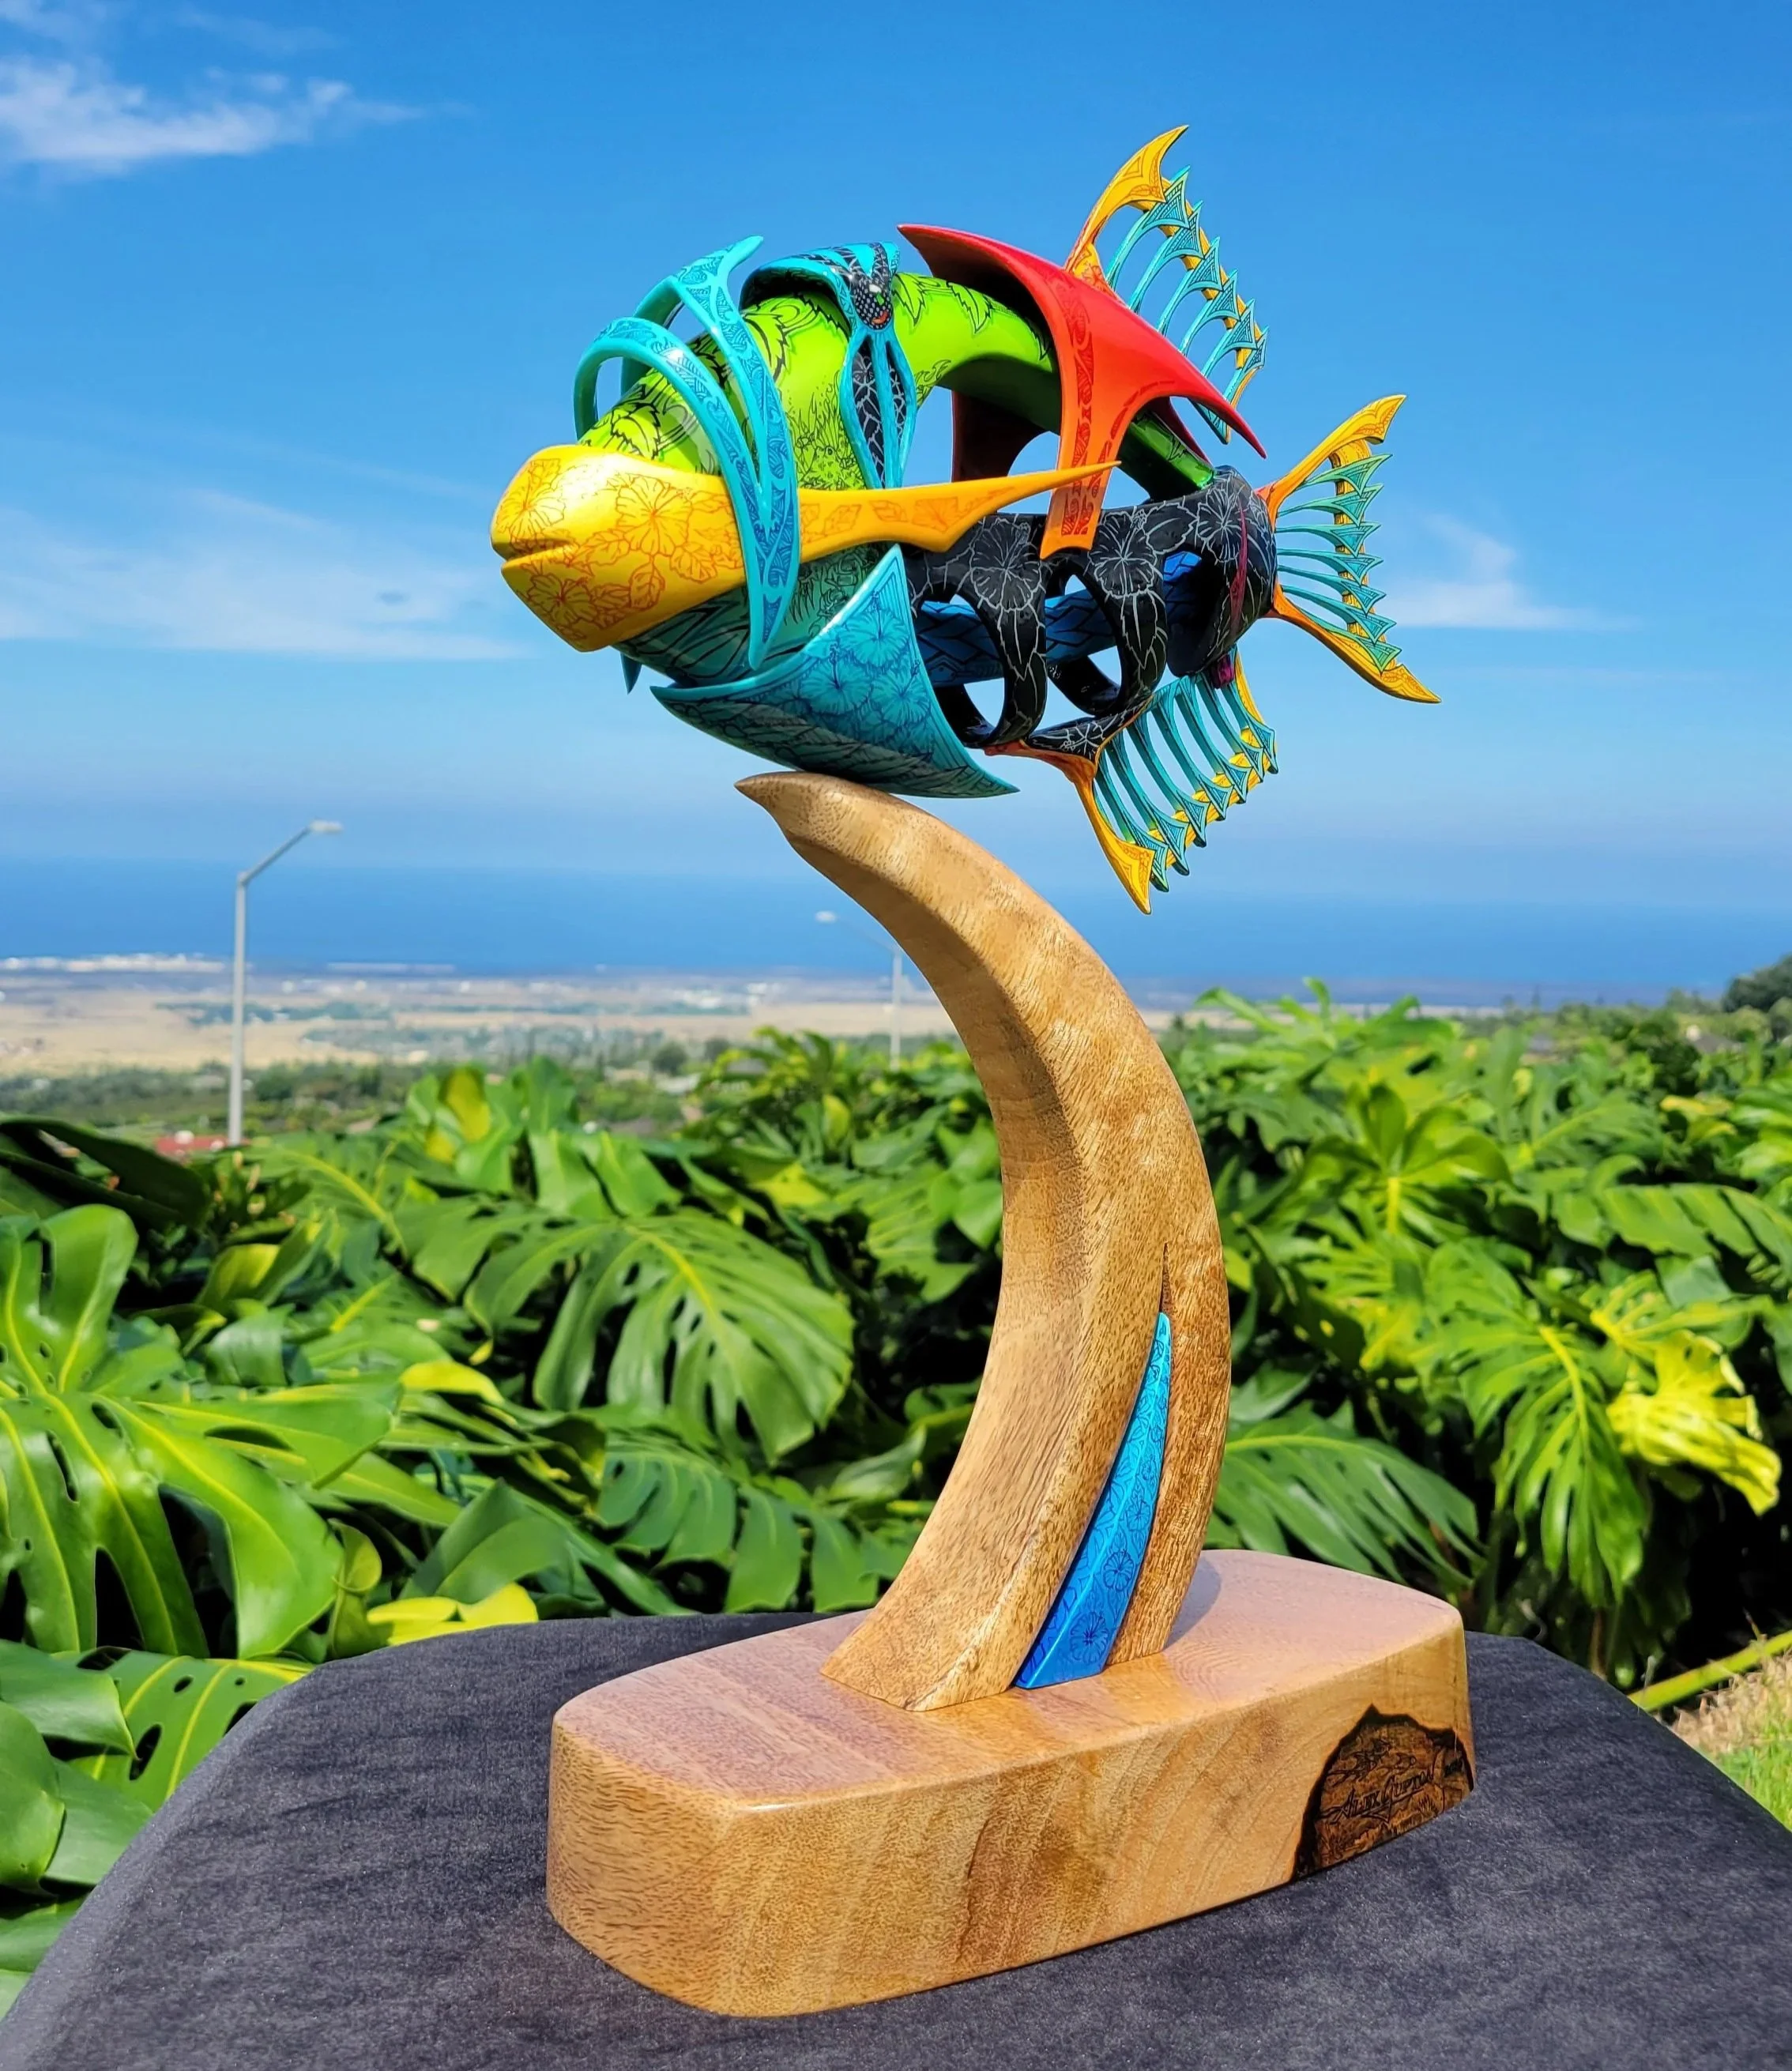
If you’ve been following my work for a while, you’d know I love a good gradient and I LOVE color in my work. I had a really good idea of where I wanted the color to lay on this humu from the start so—thank goodness—there wasn’t a whole lot of decision making during this part of the process. I mostly applied the color using my airbrush with acrylic paint but many pieces were hand painted with brushes as well. I enjoyed being able to set the base colors in so that I could get to my specialty (and the part that would take the most time in all of this)...the pen & ink.
Painting
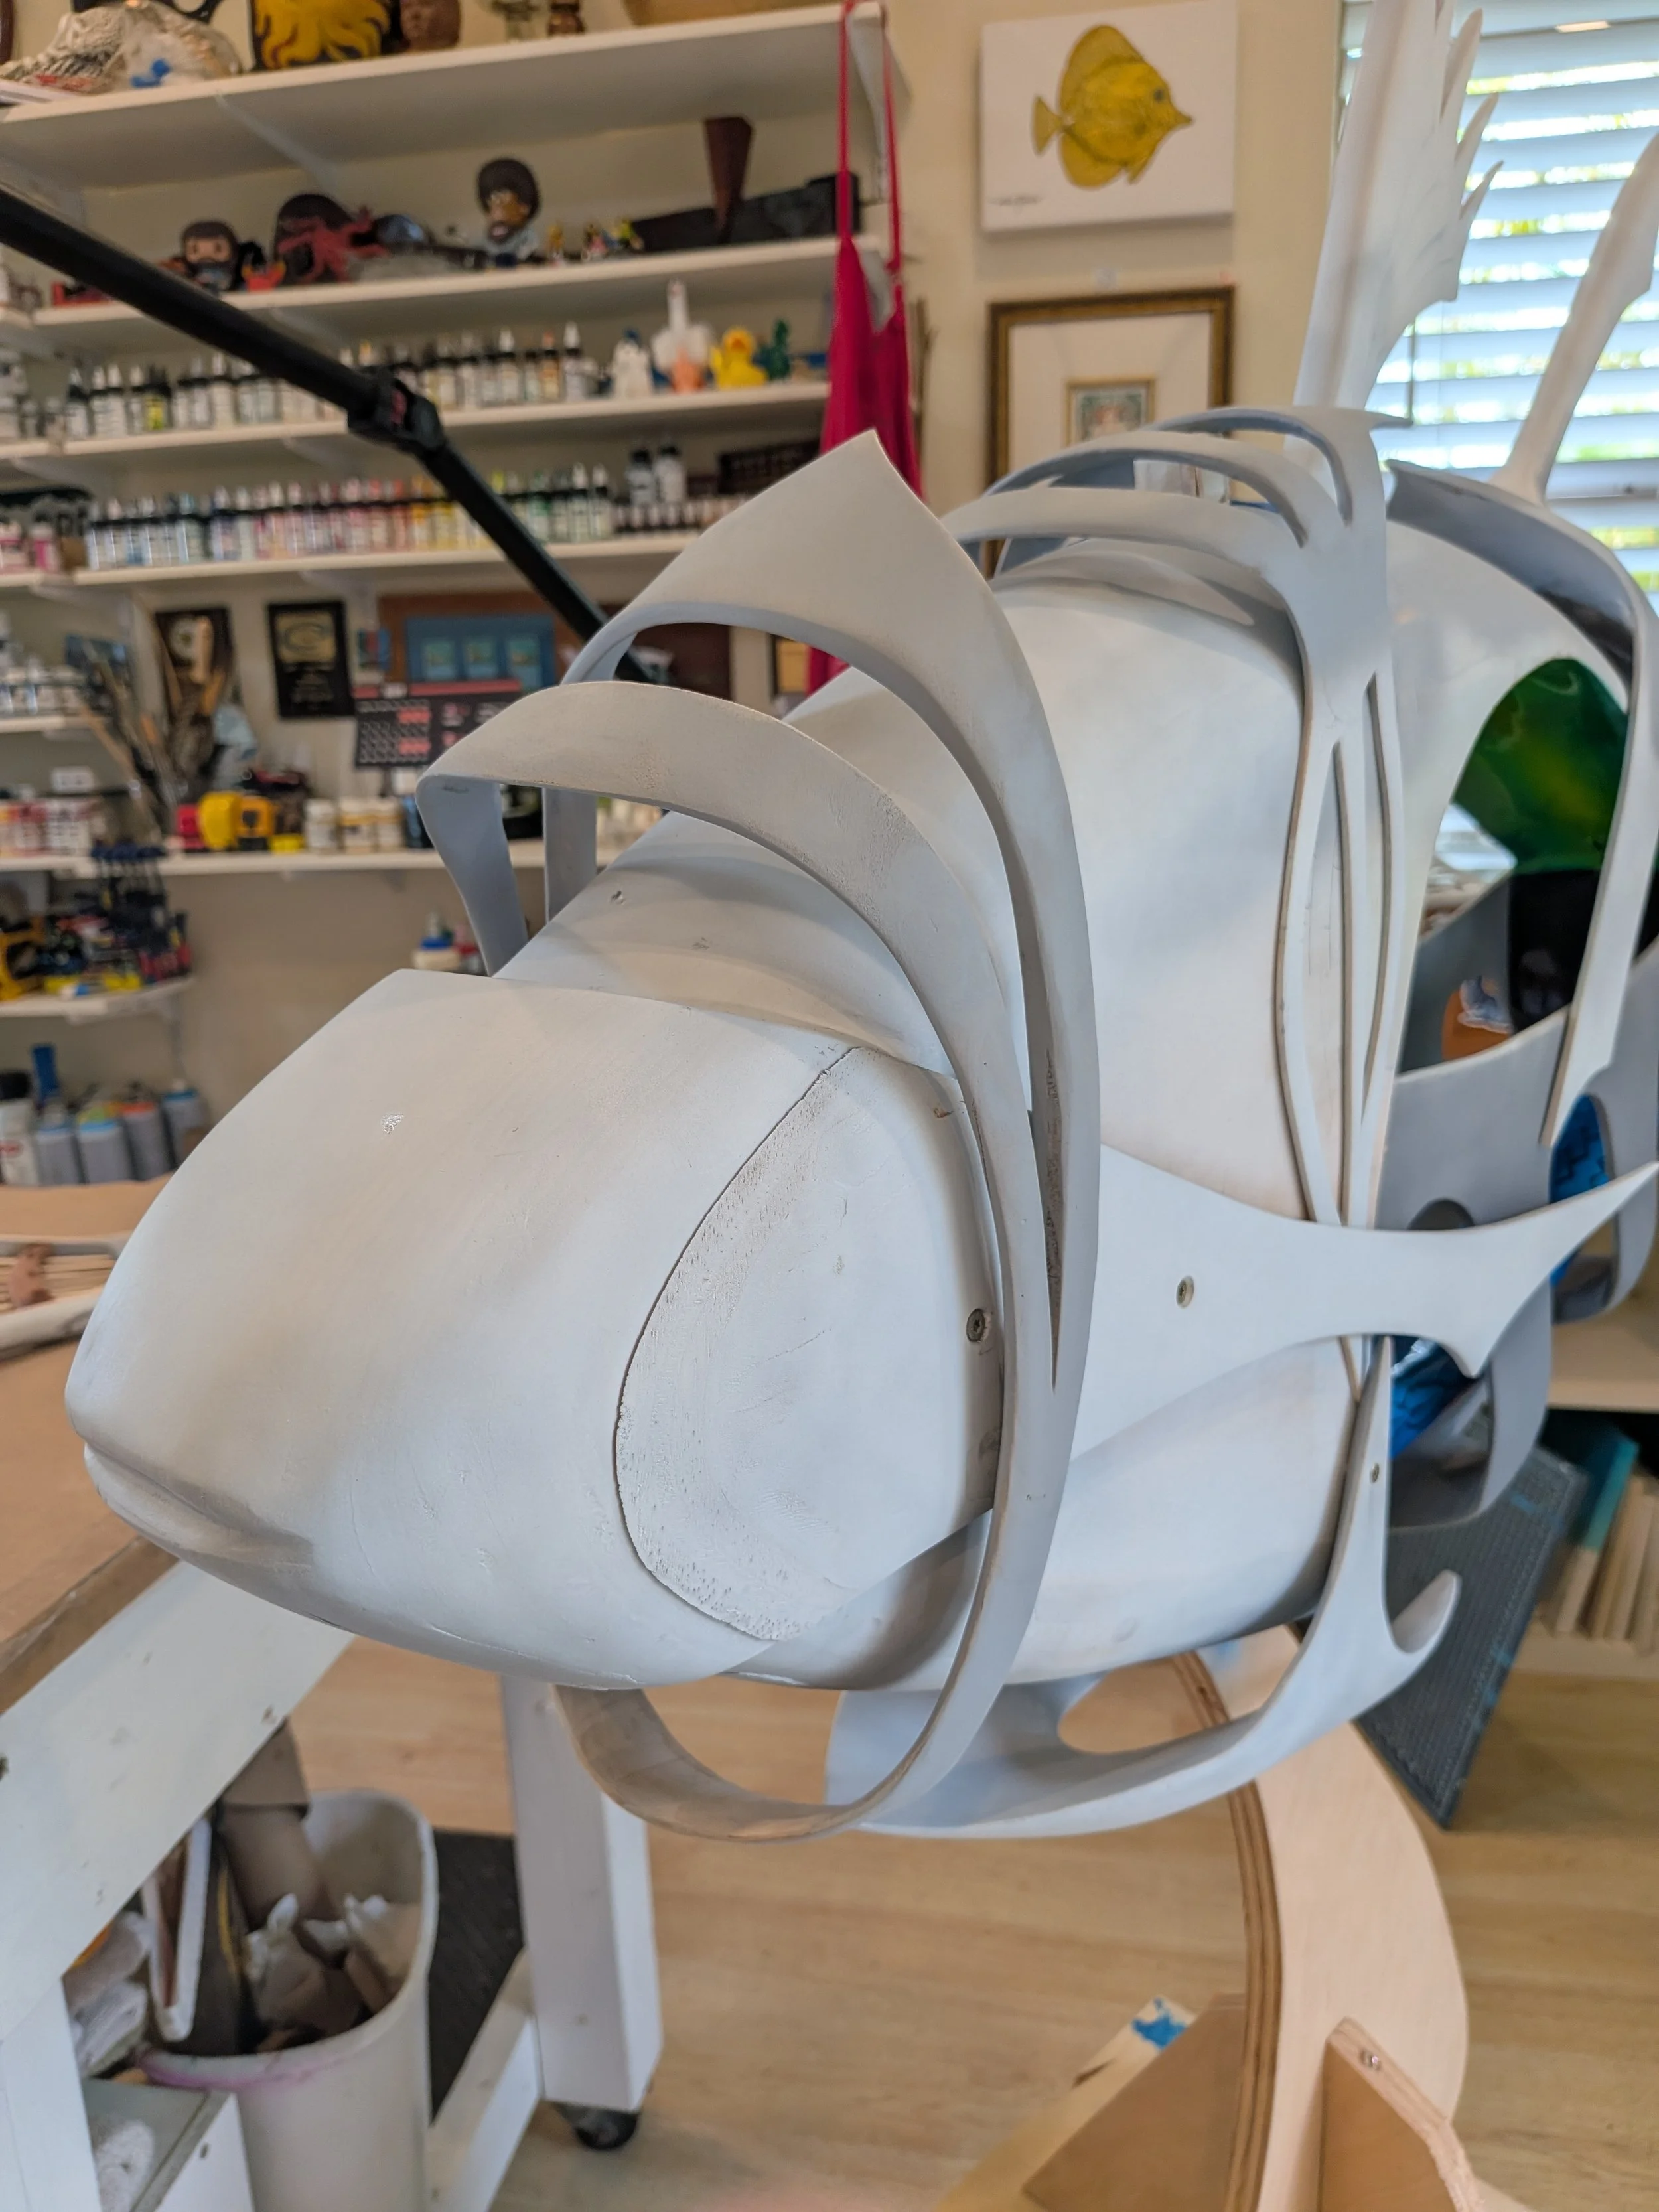
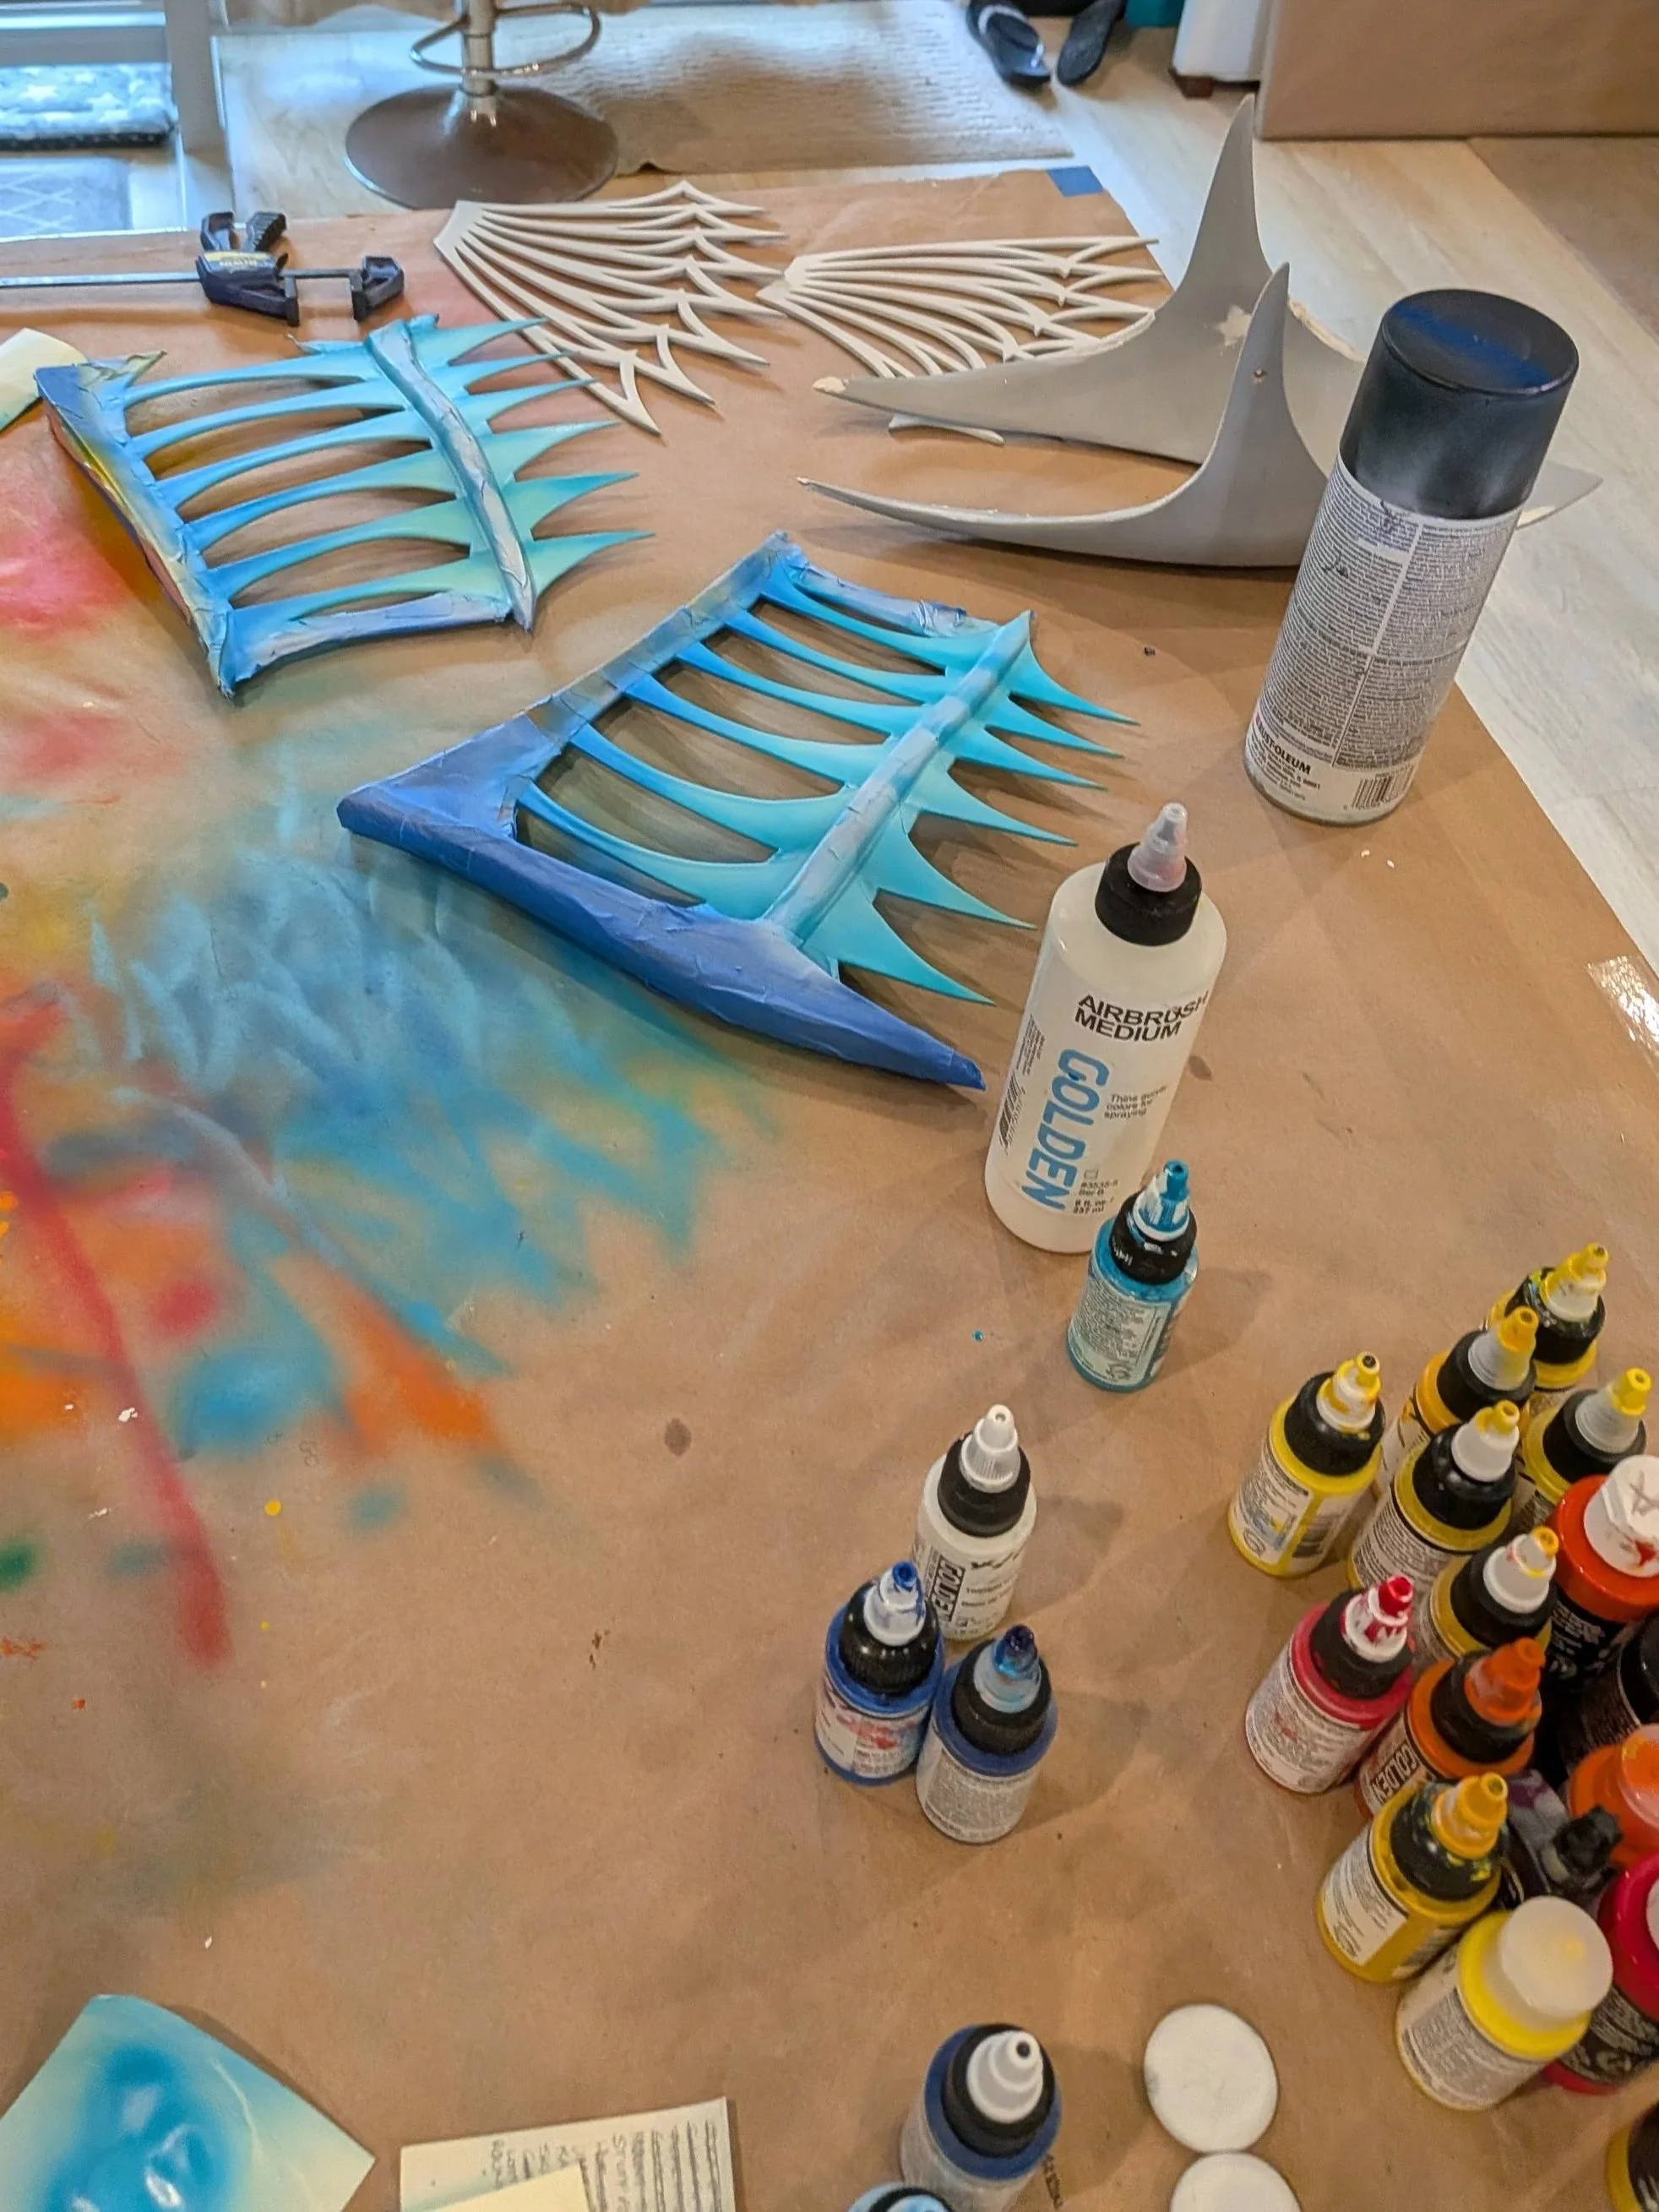
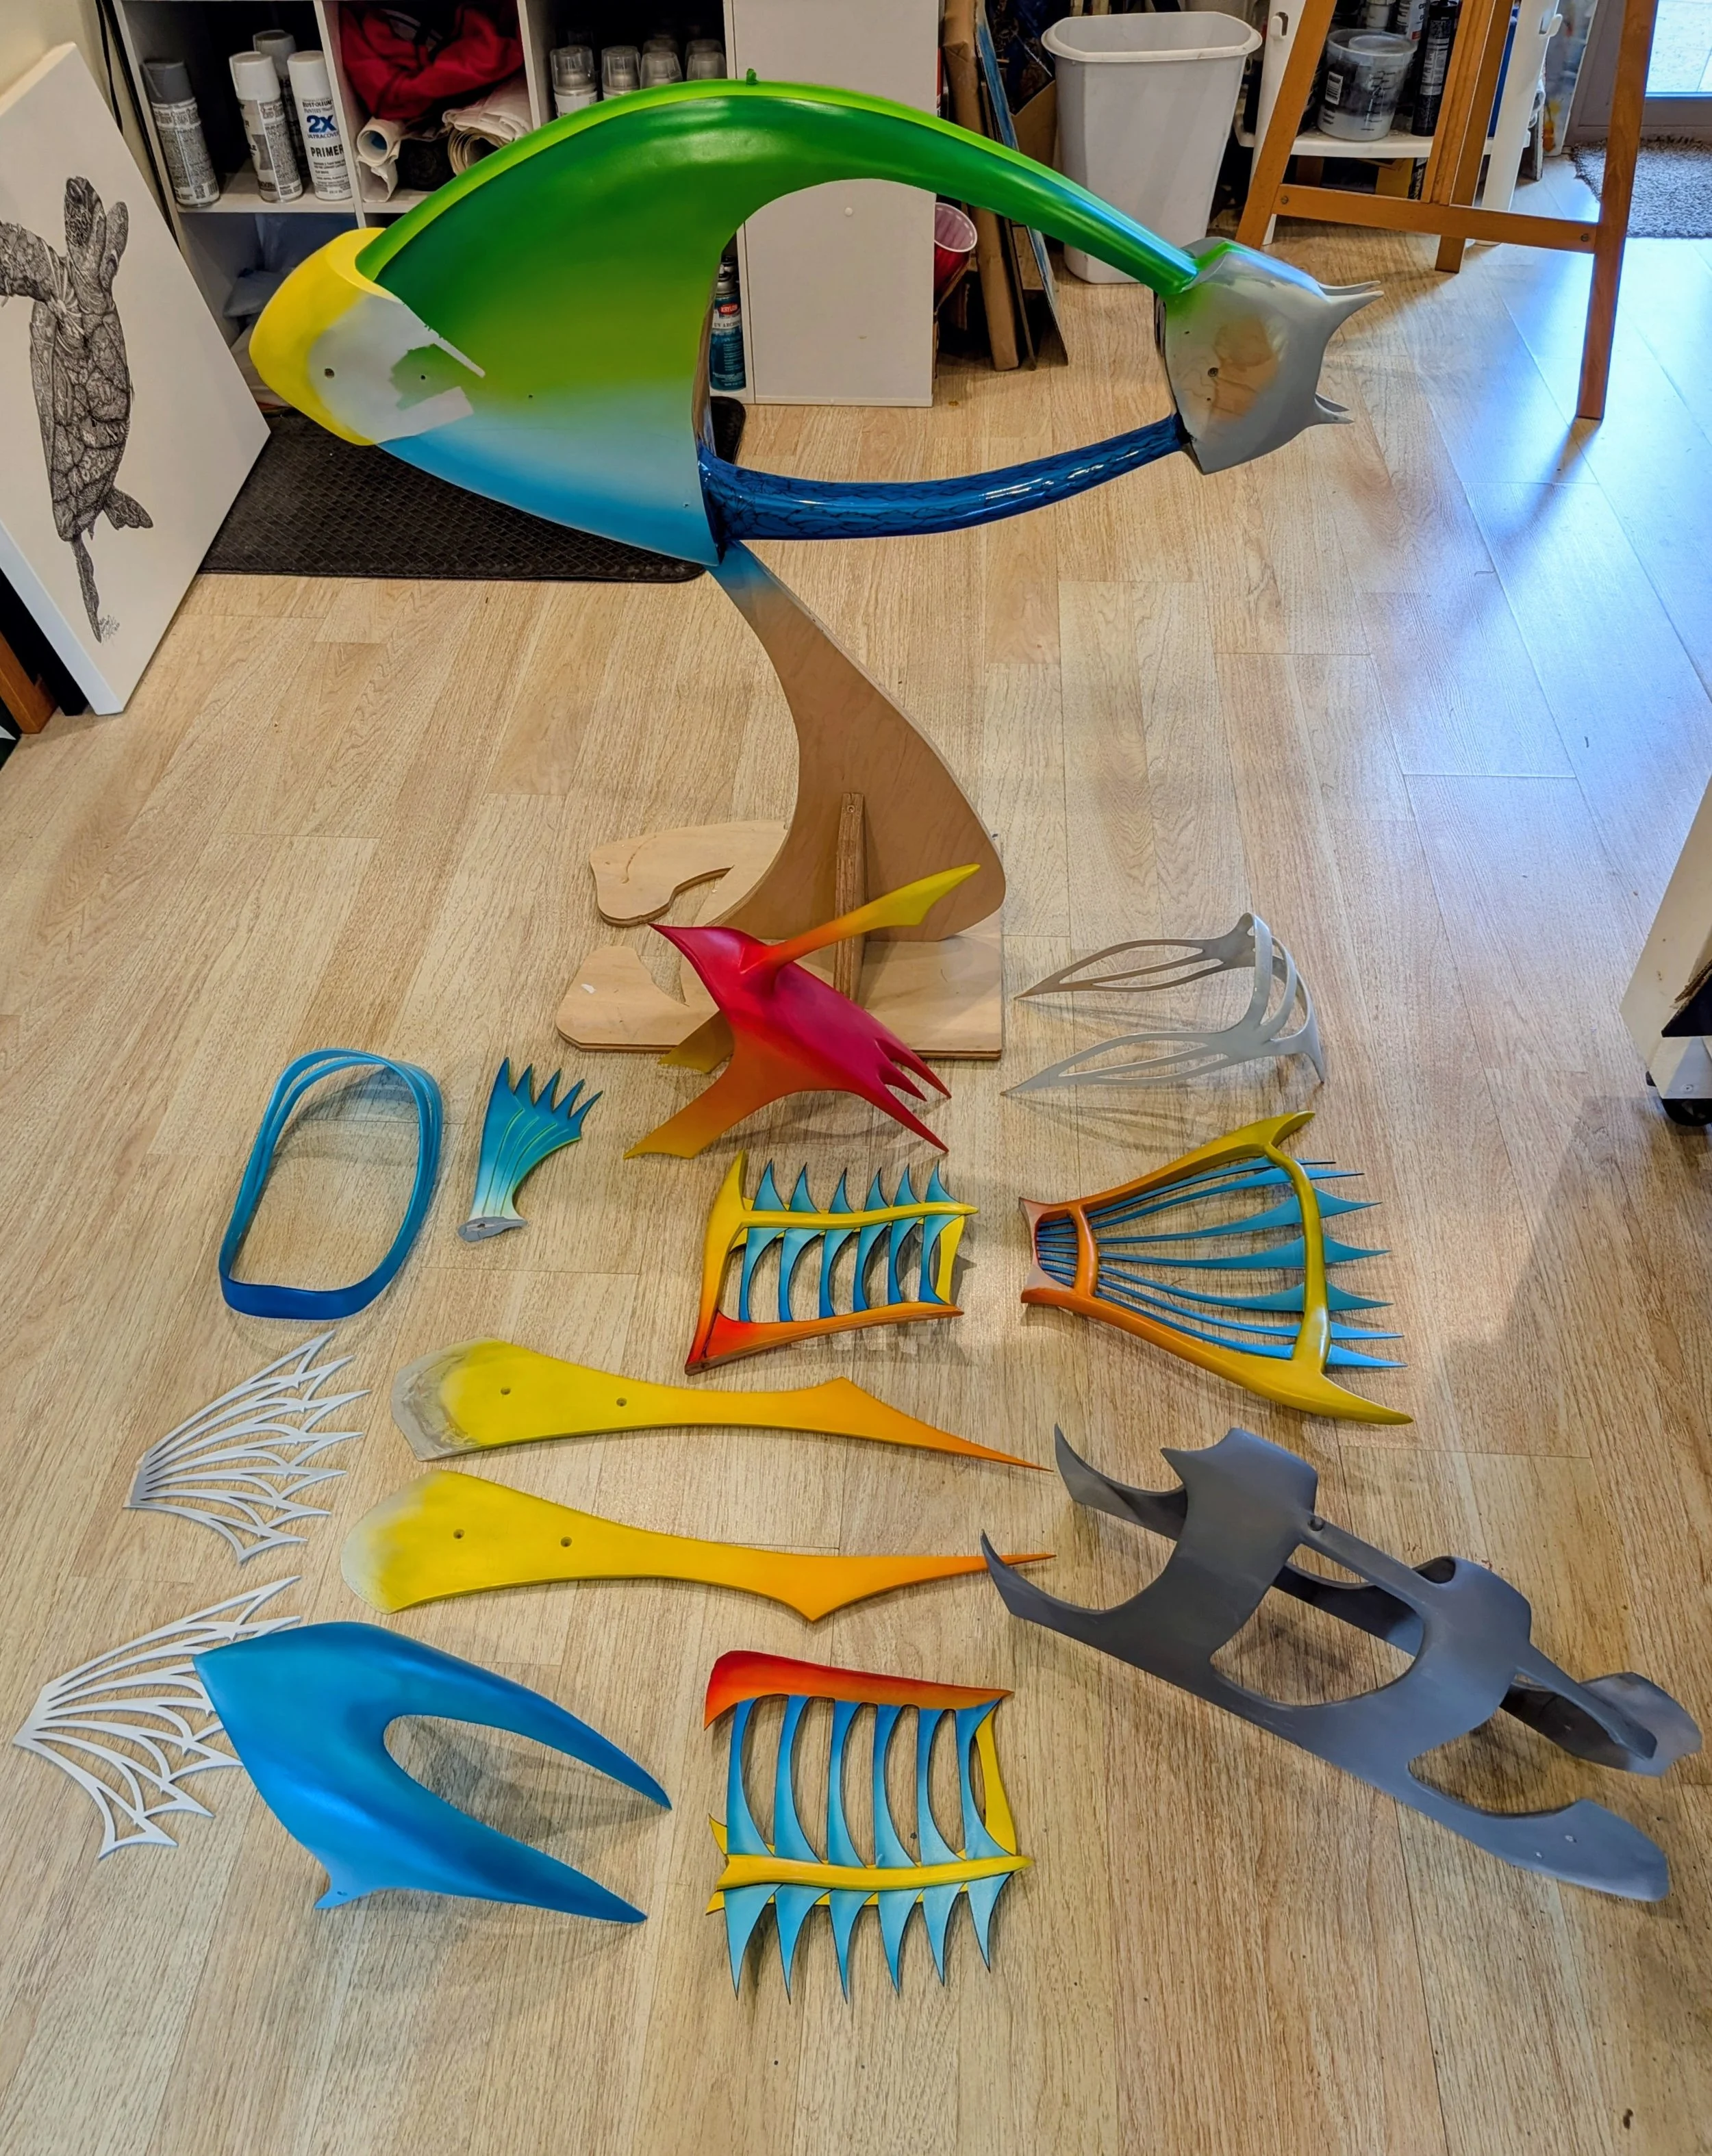
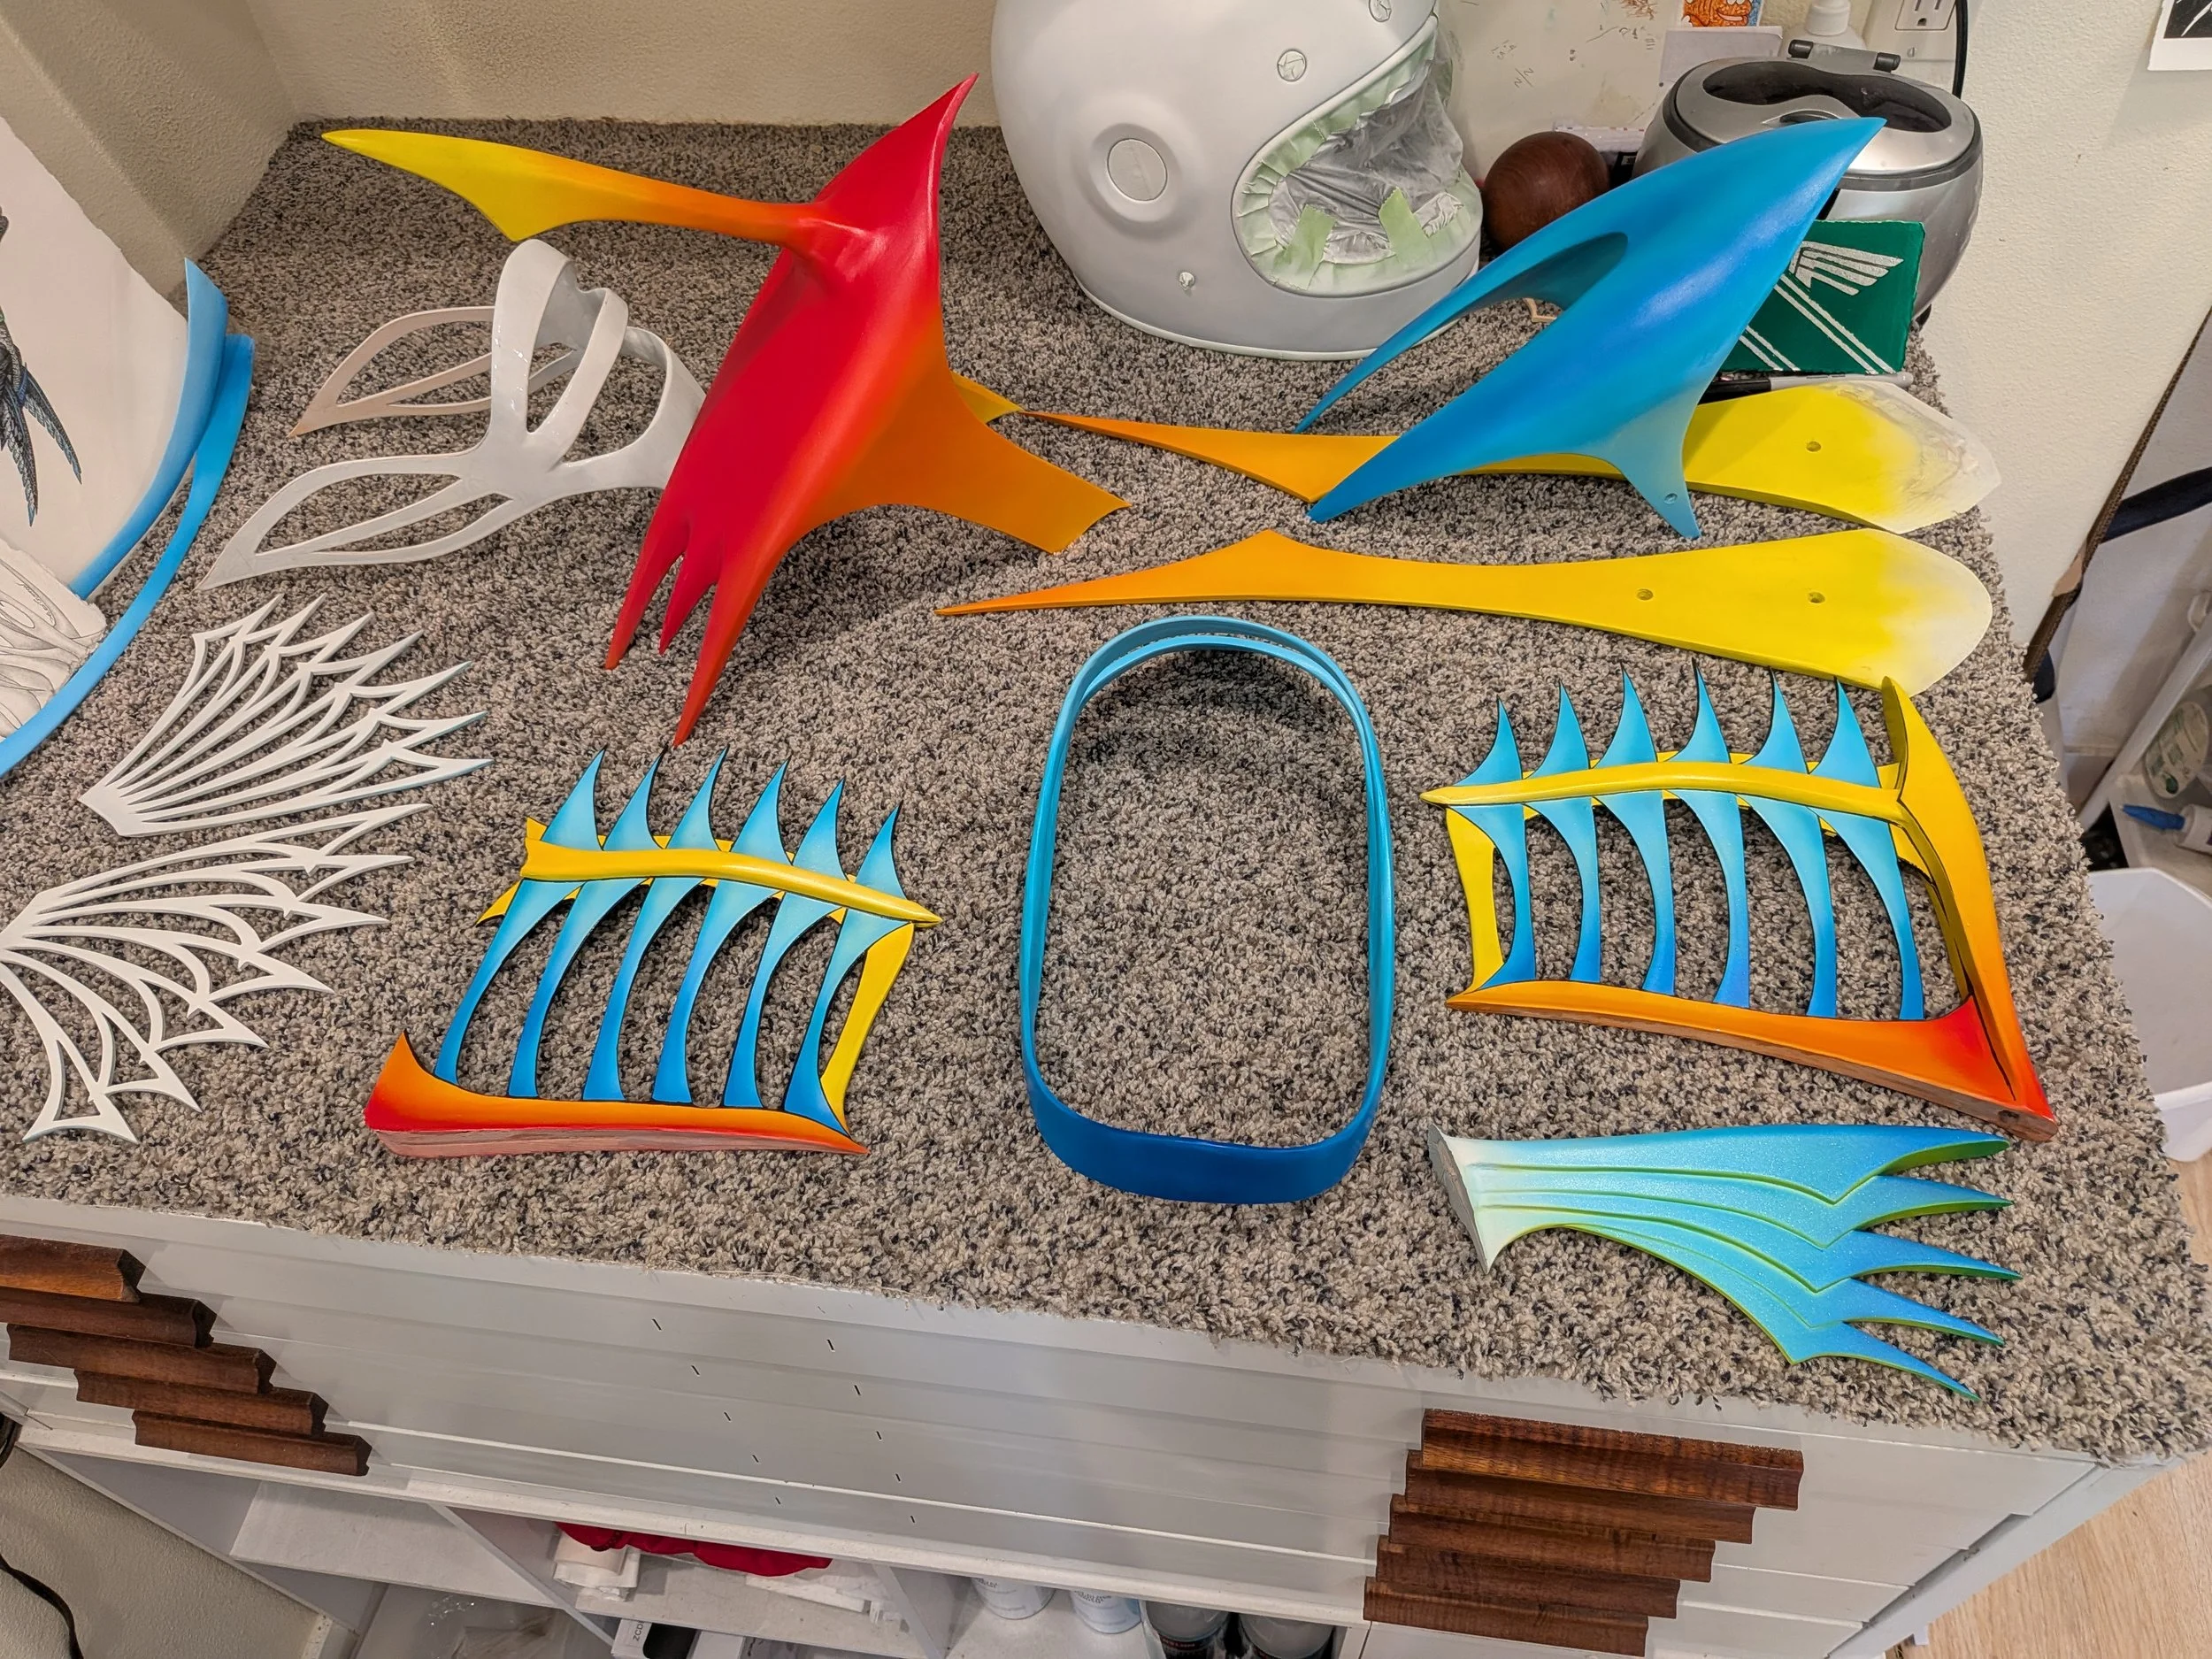
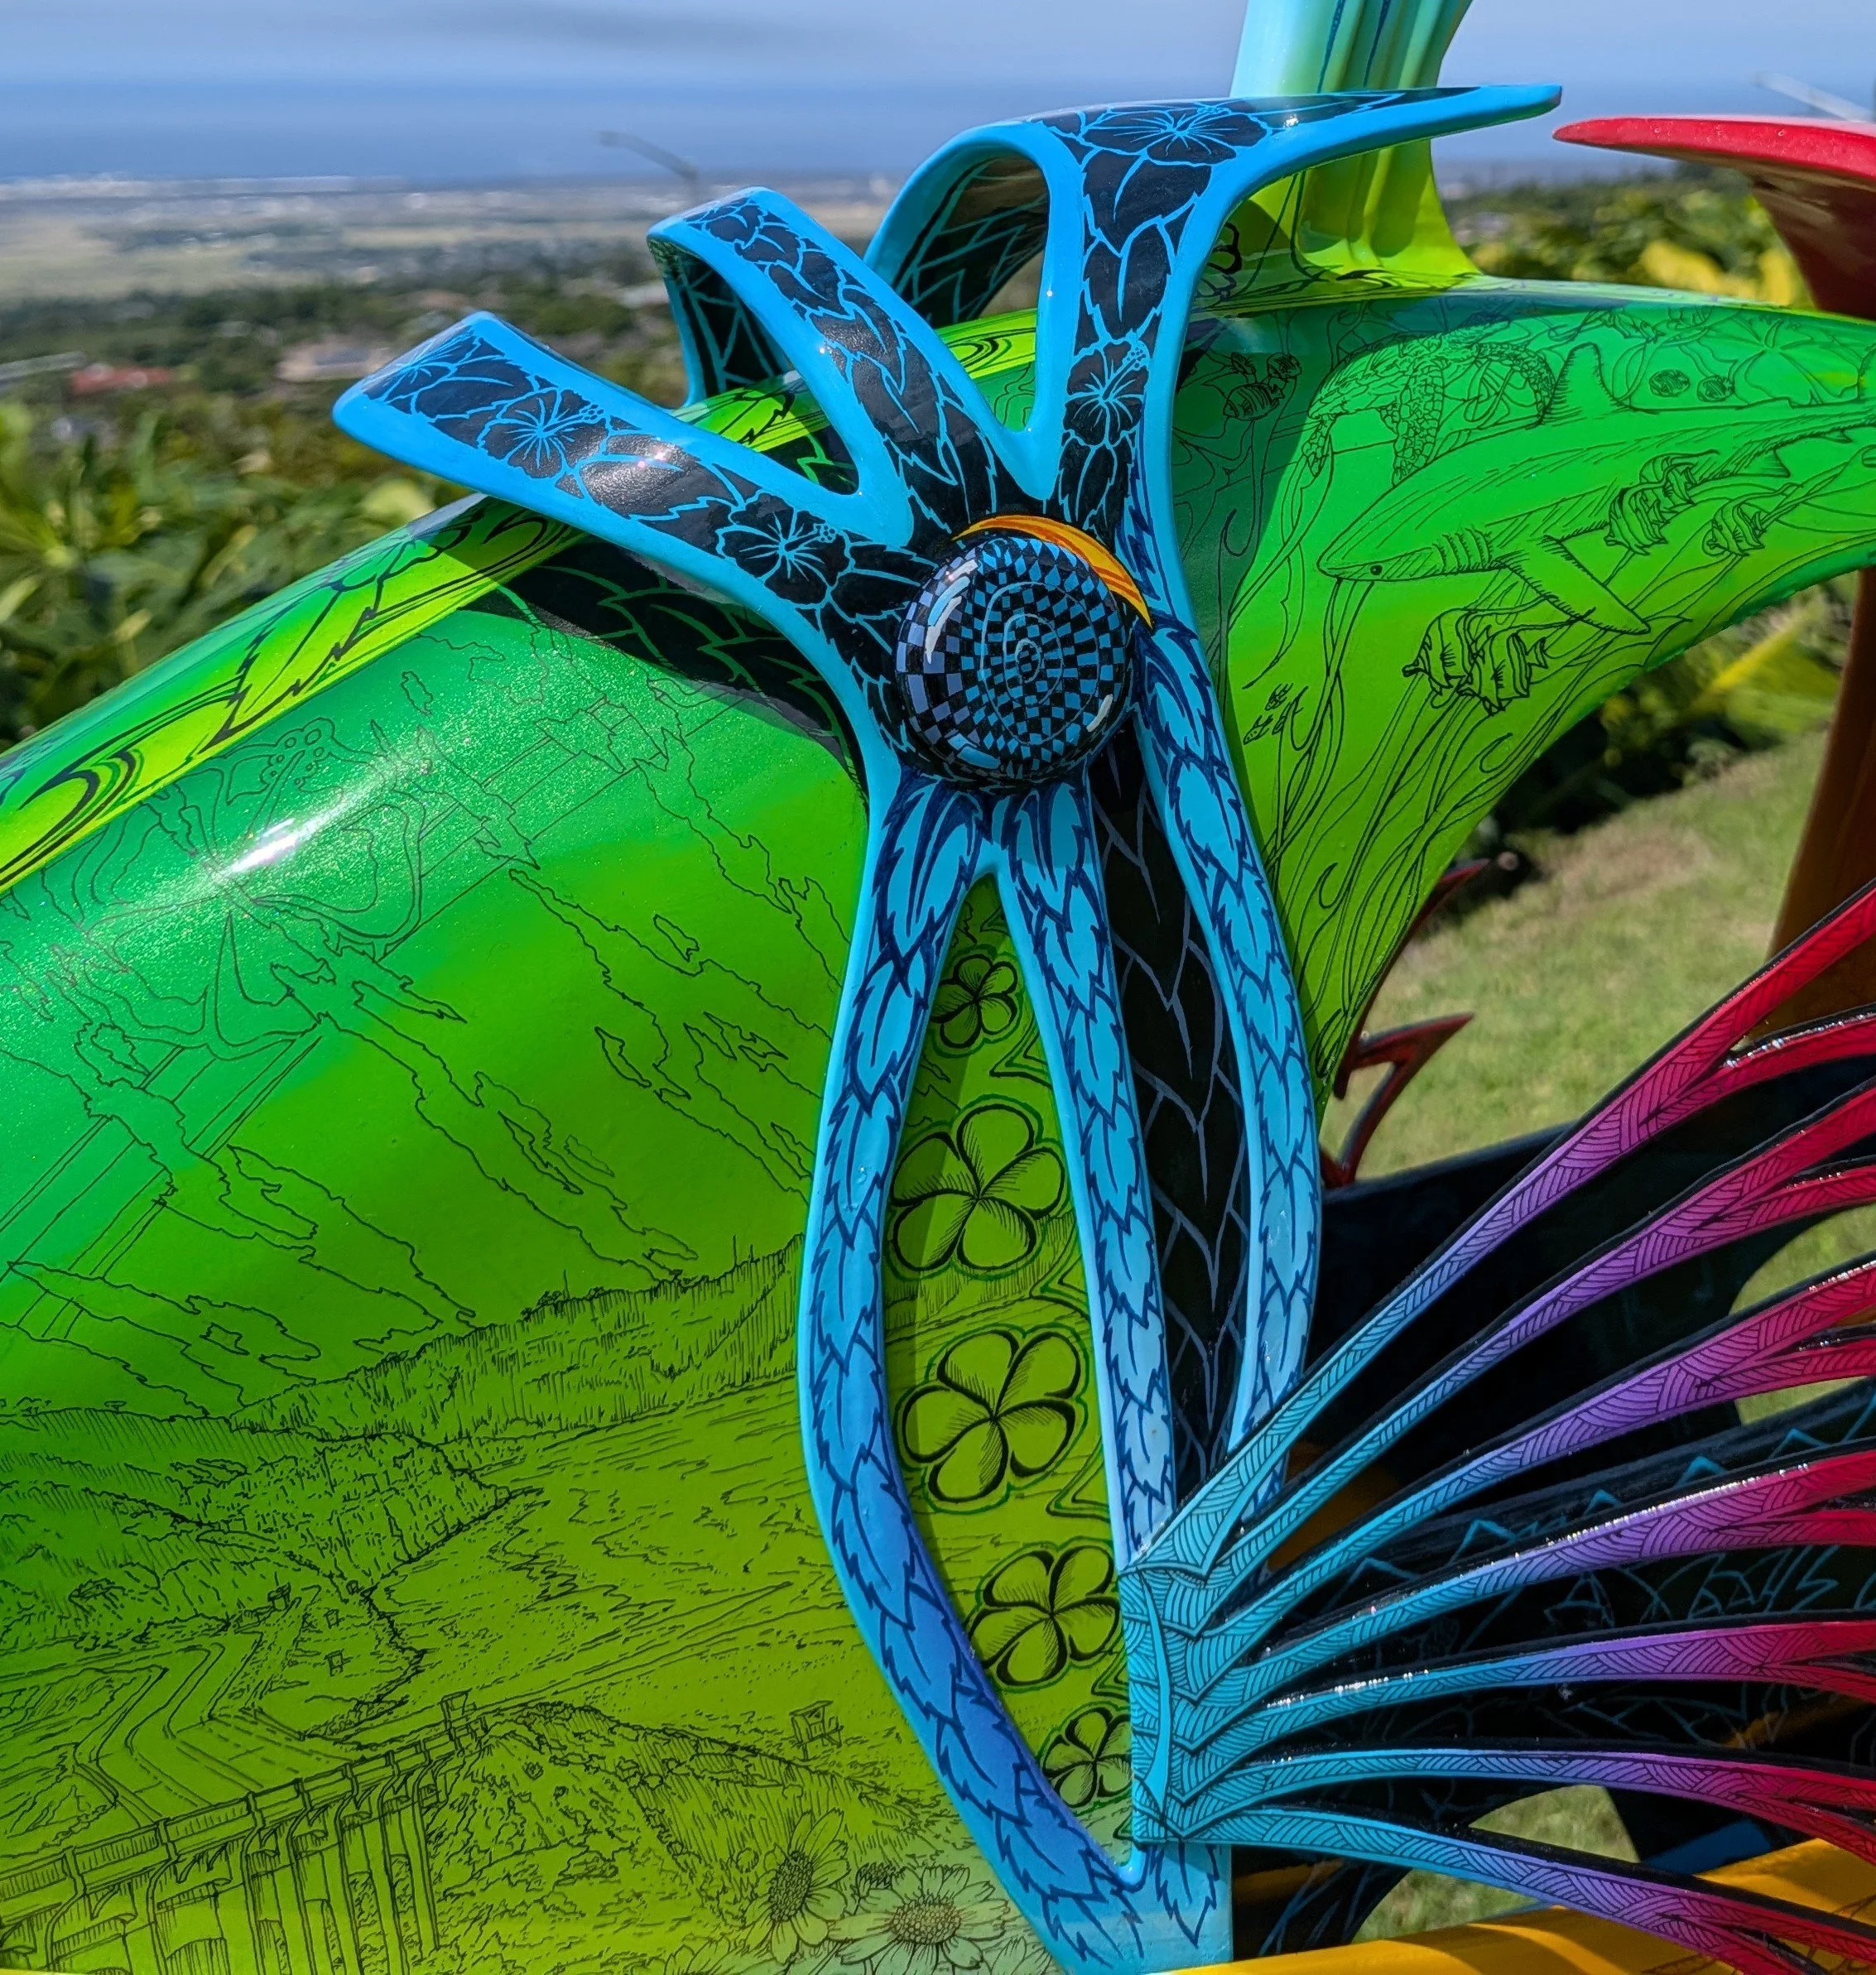
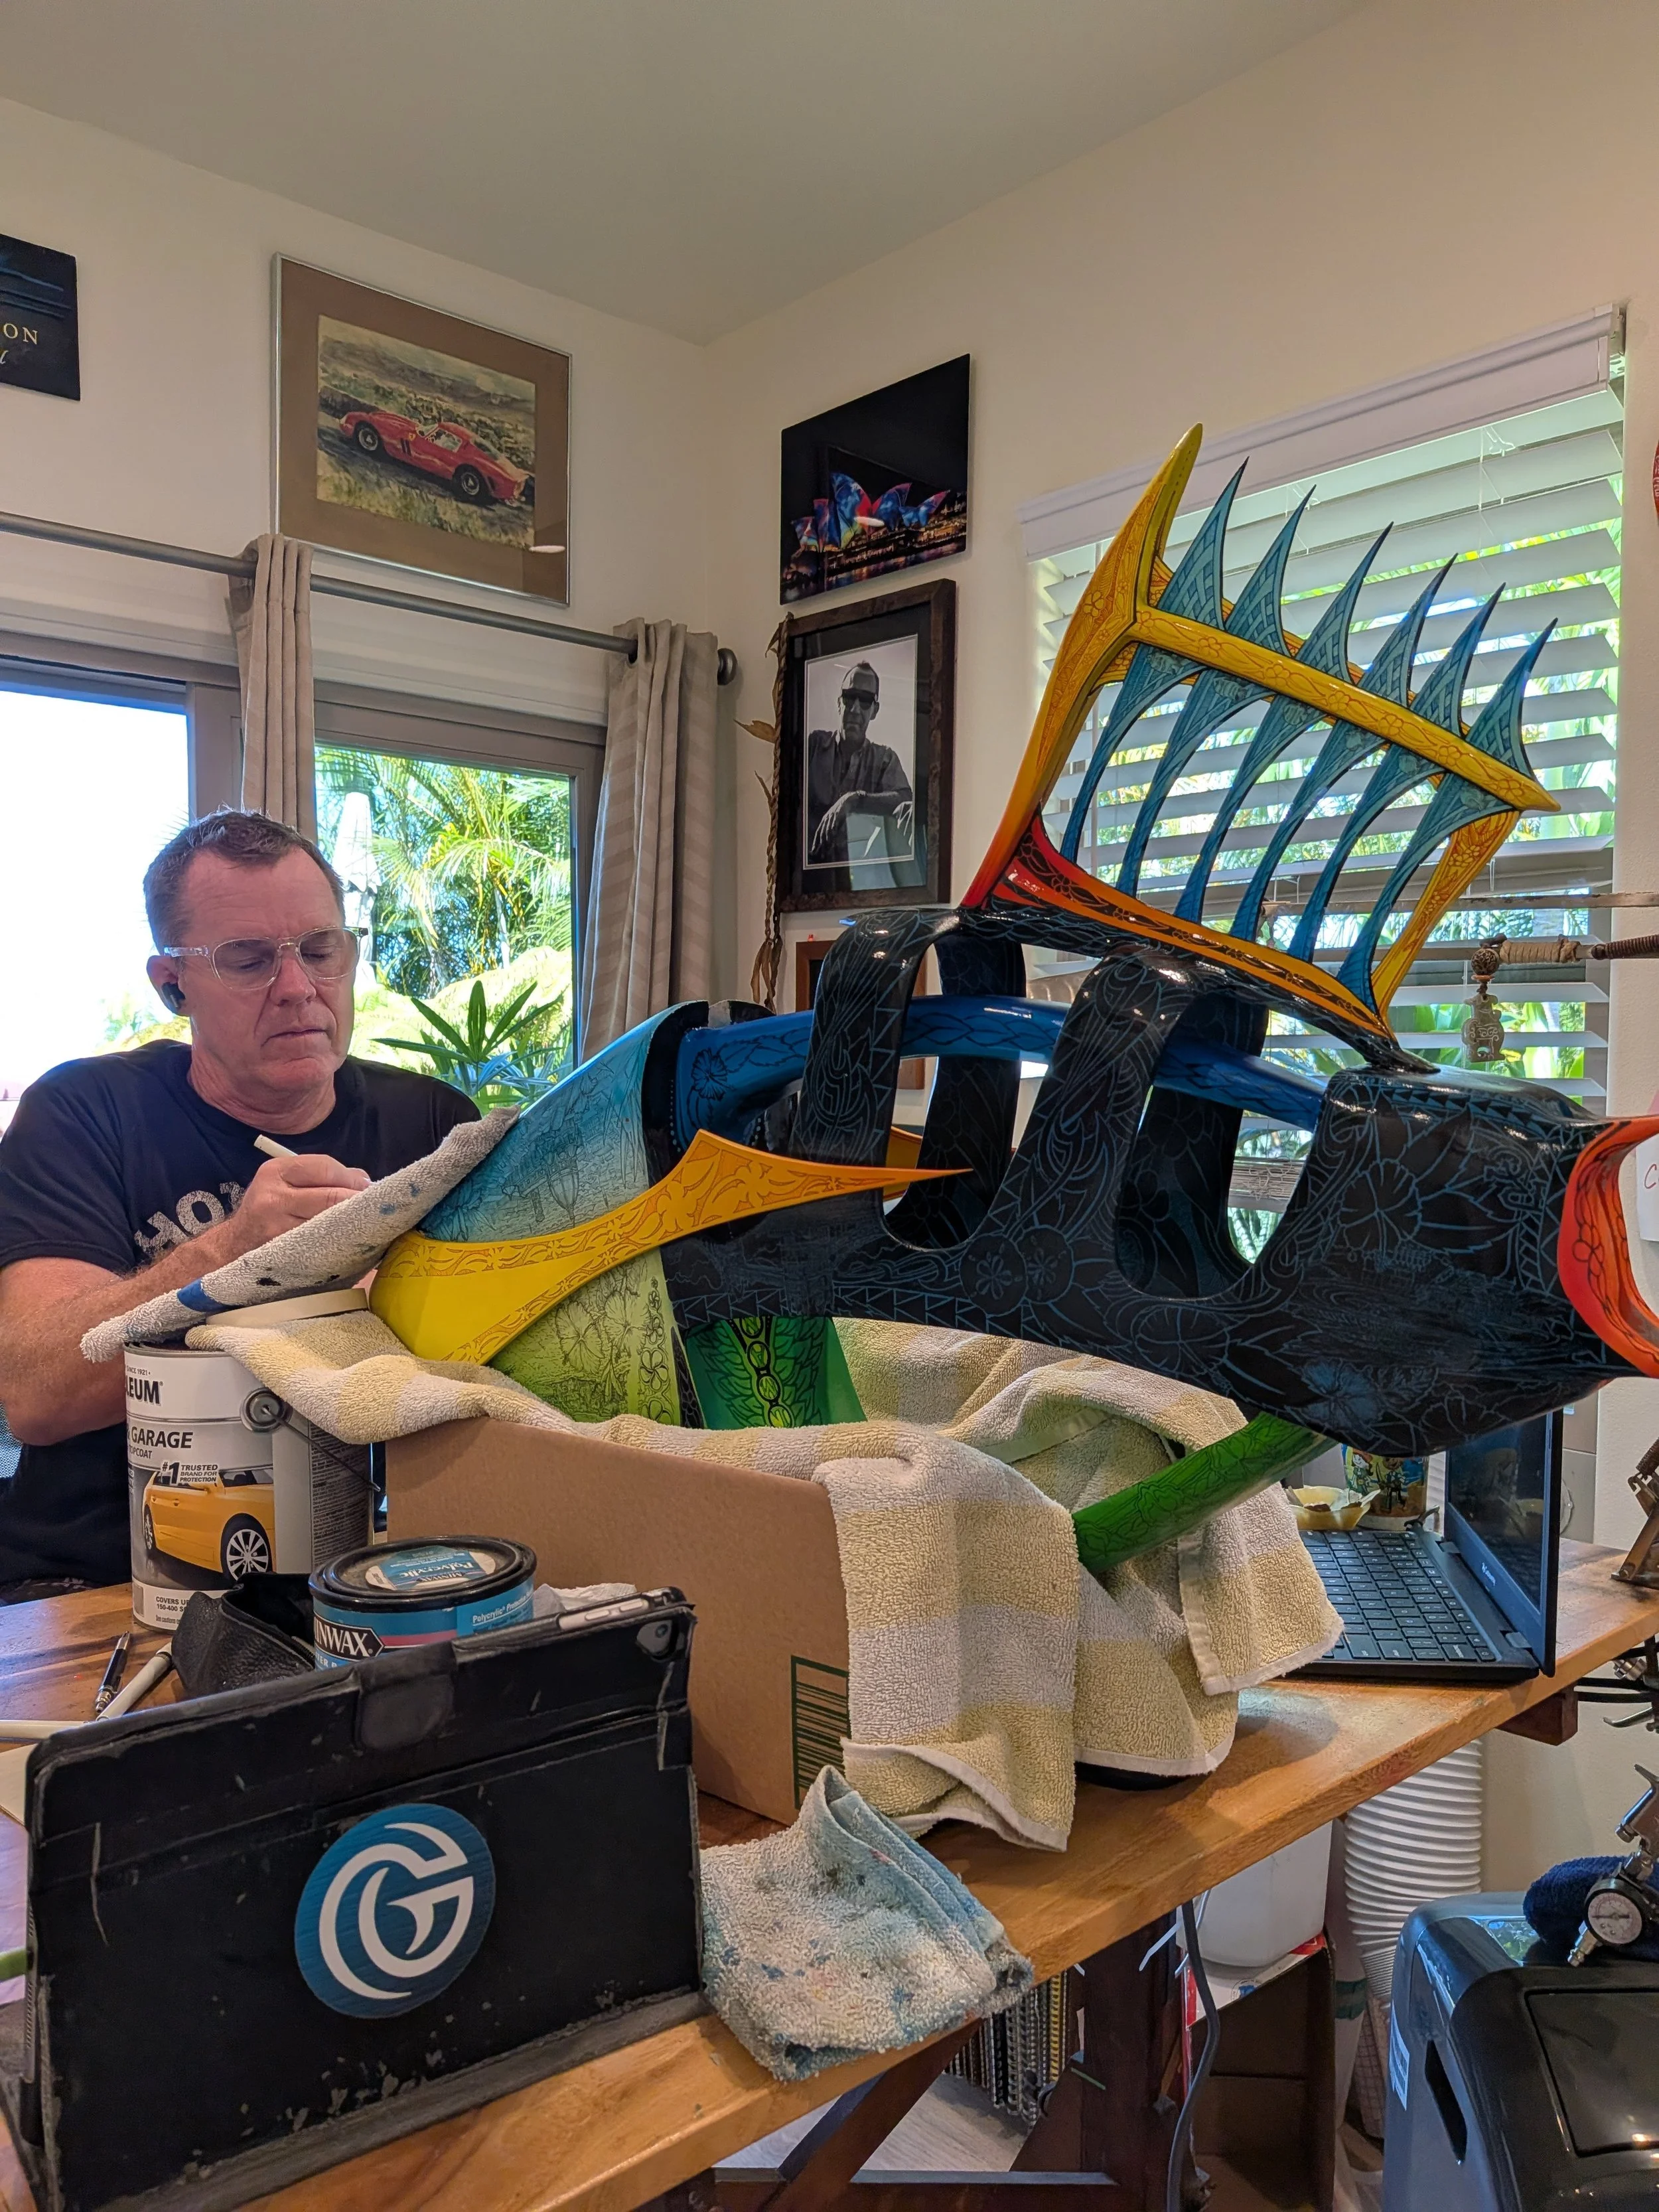
In every piece that I make, there has to be that pen & ink finishing touch to make it feel like my own. When I’m adding pen & ink to a fish sculpture of this size, there are so many surfaces to add scenes, patterns and other details into! I want every commission piece to be personal, and this piece is no different. I can show you a few different close-ups of moments within the piece that really stand out to me, but only this family could tell you the significance or all the stories behind each part. In that pen & ink, I always hide my three-eyed fishy, Bob. Keep a lookout for him in any of my work, whether it be painting, sketch or sculpture.
Pen & Ink
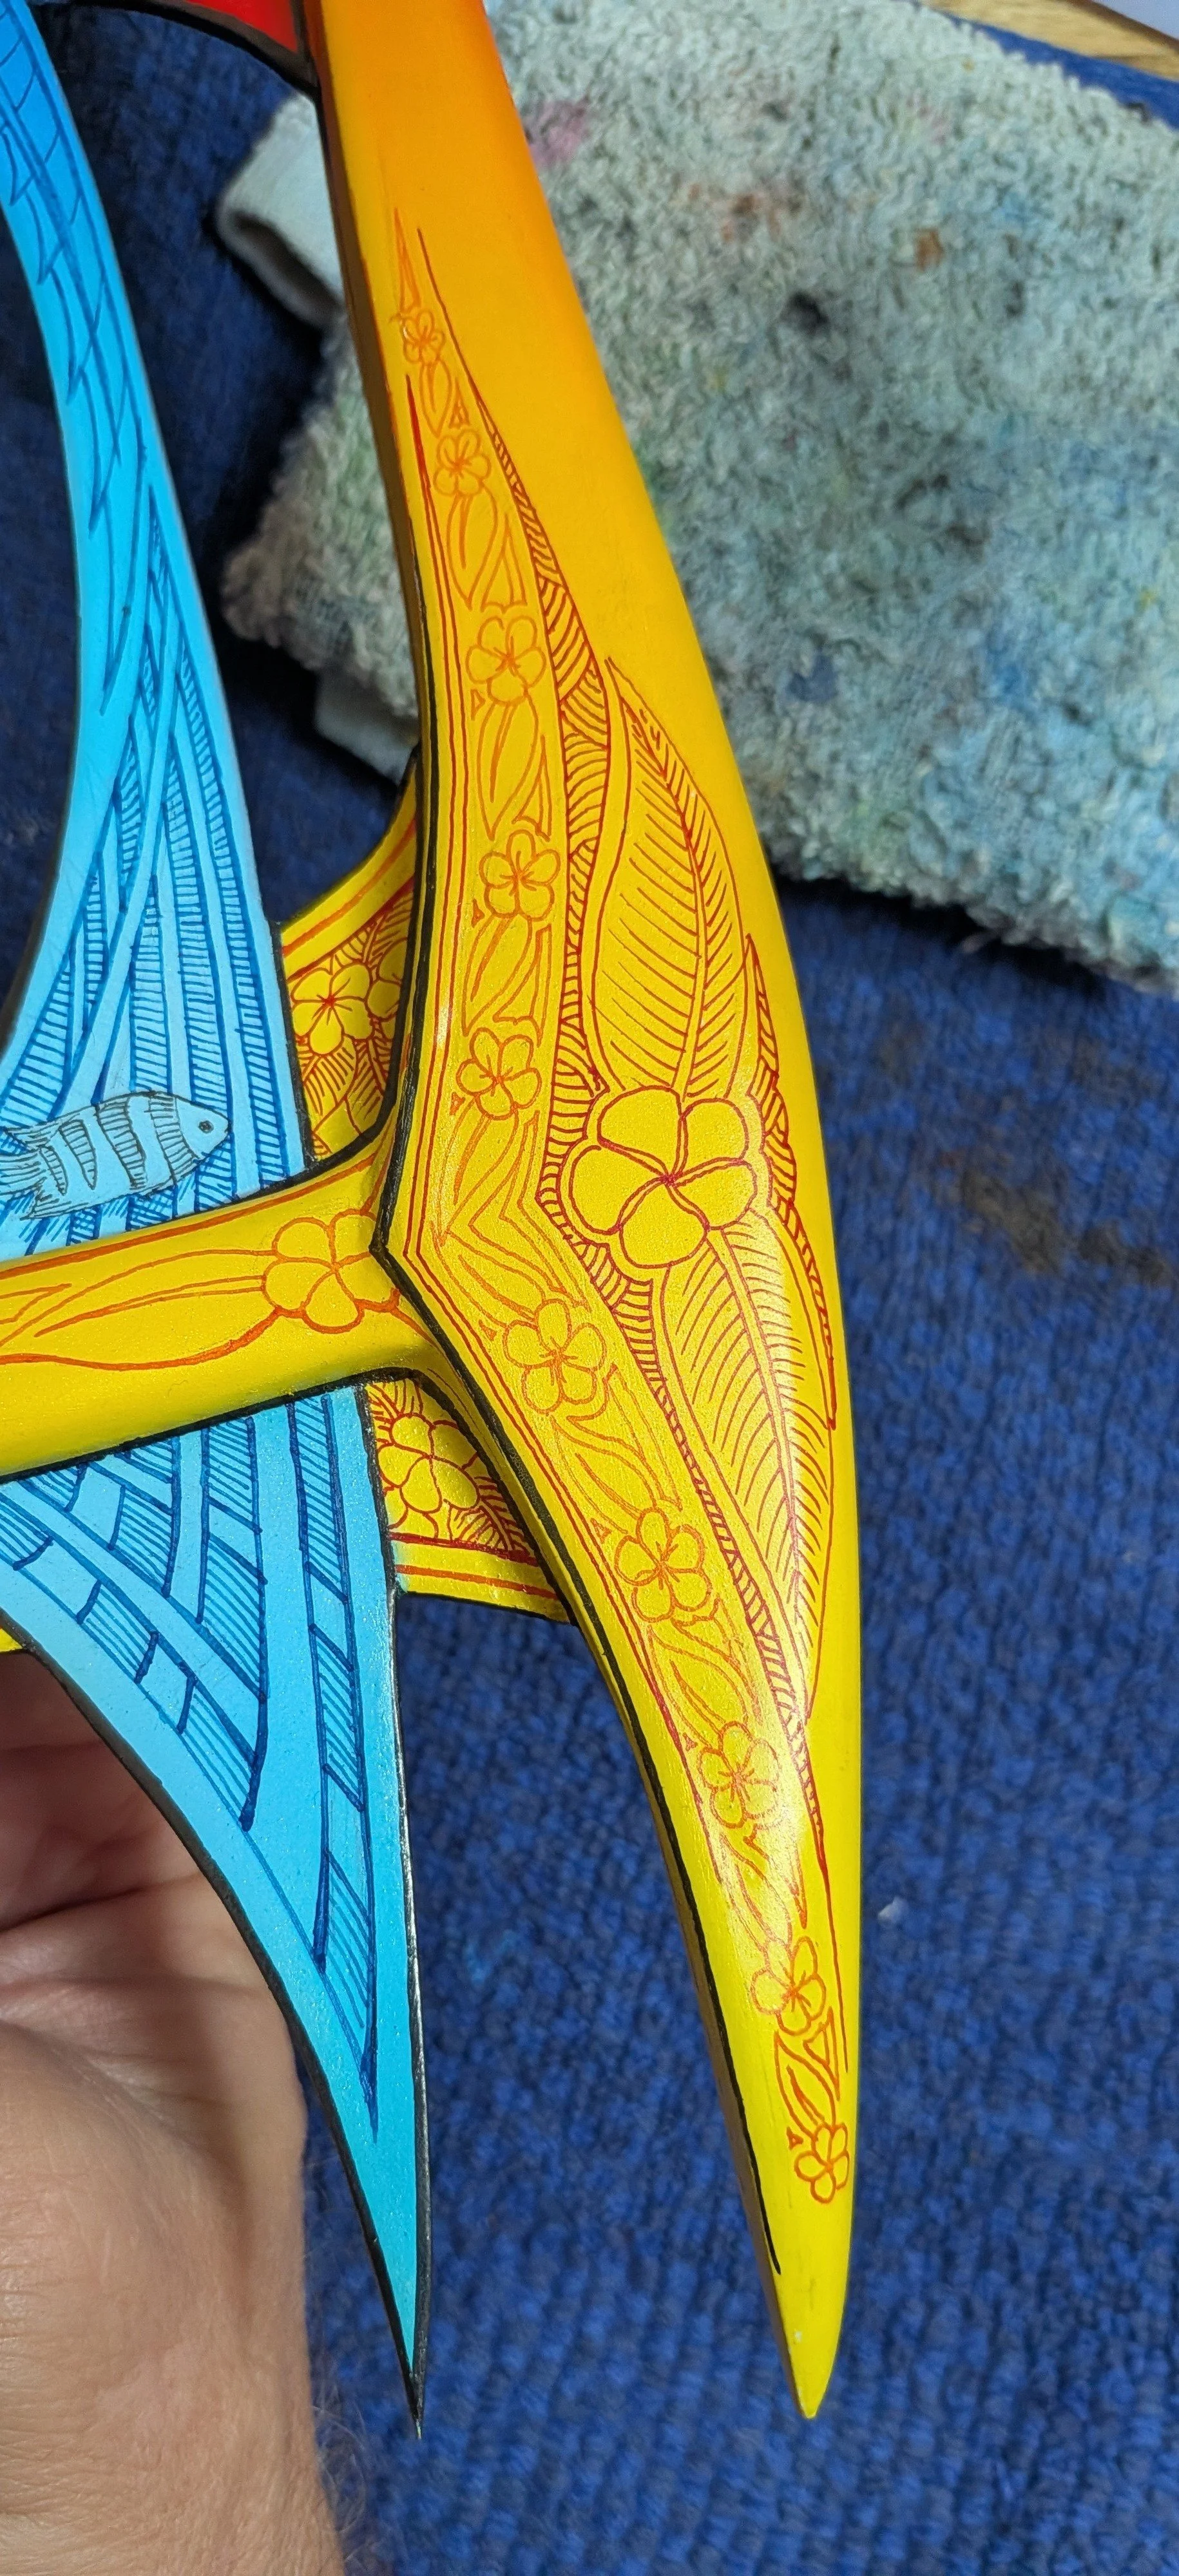
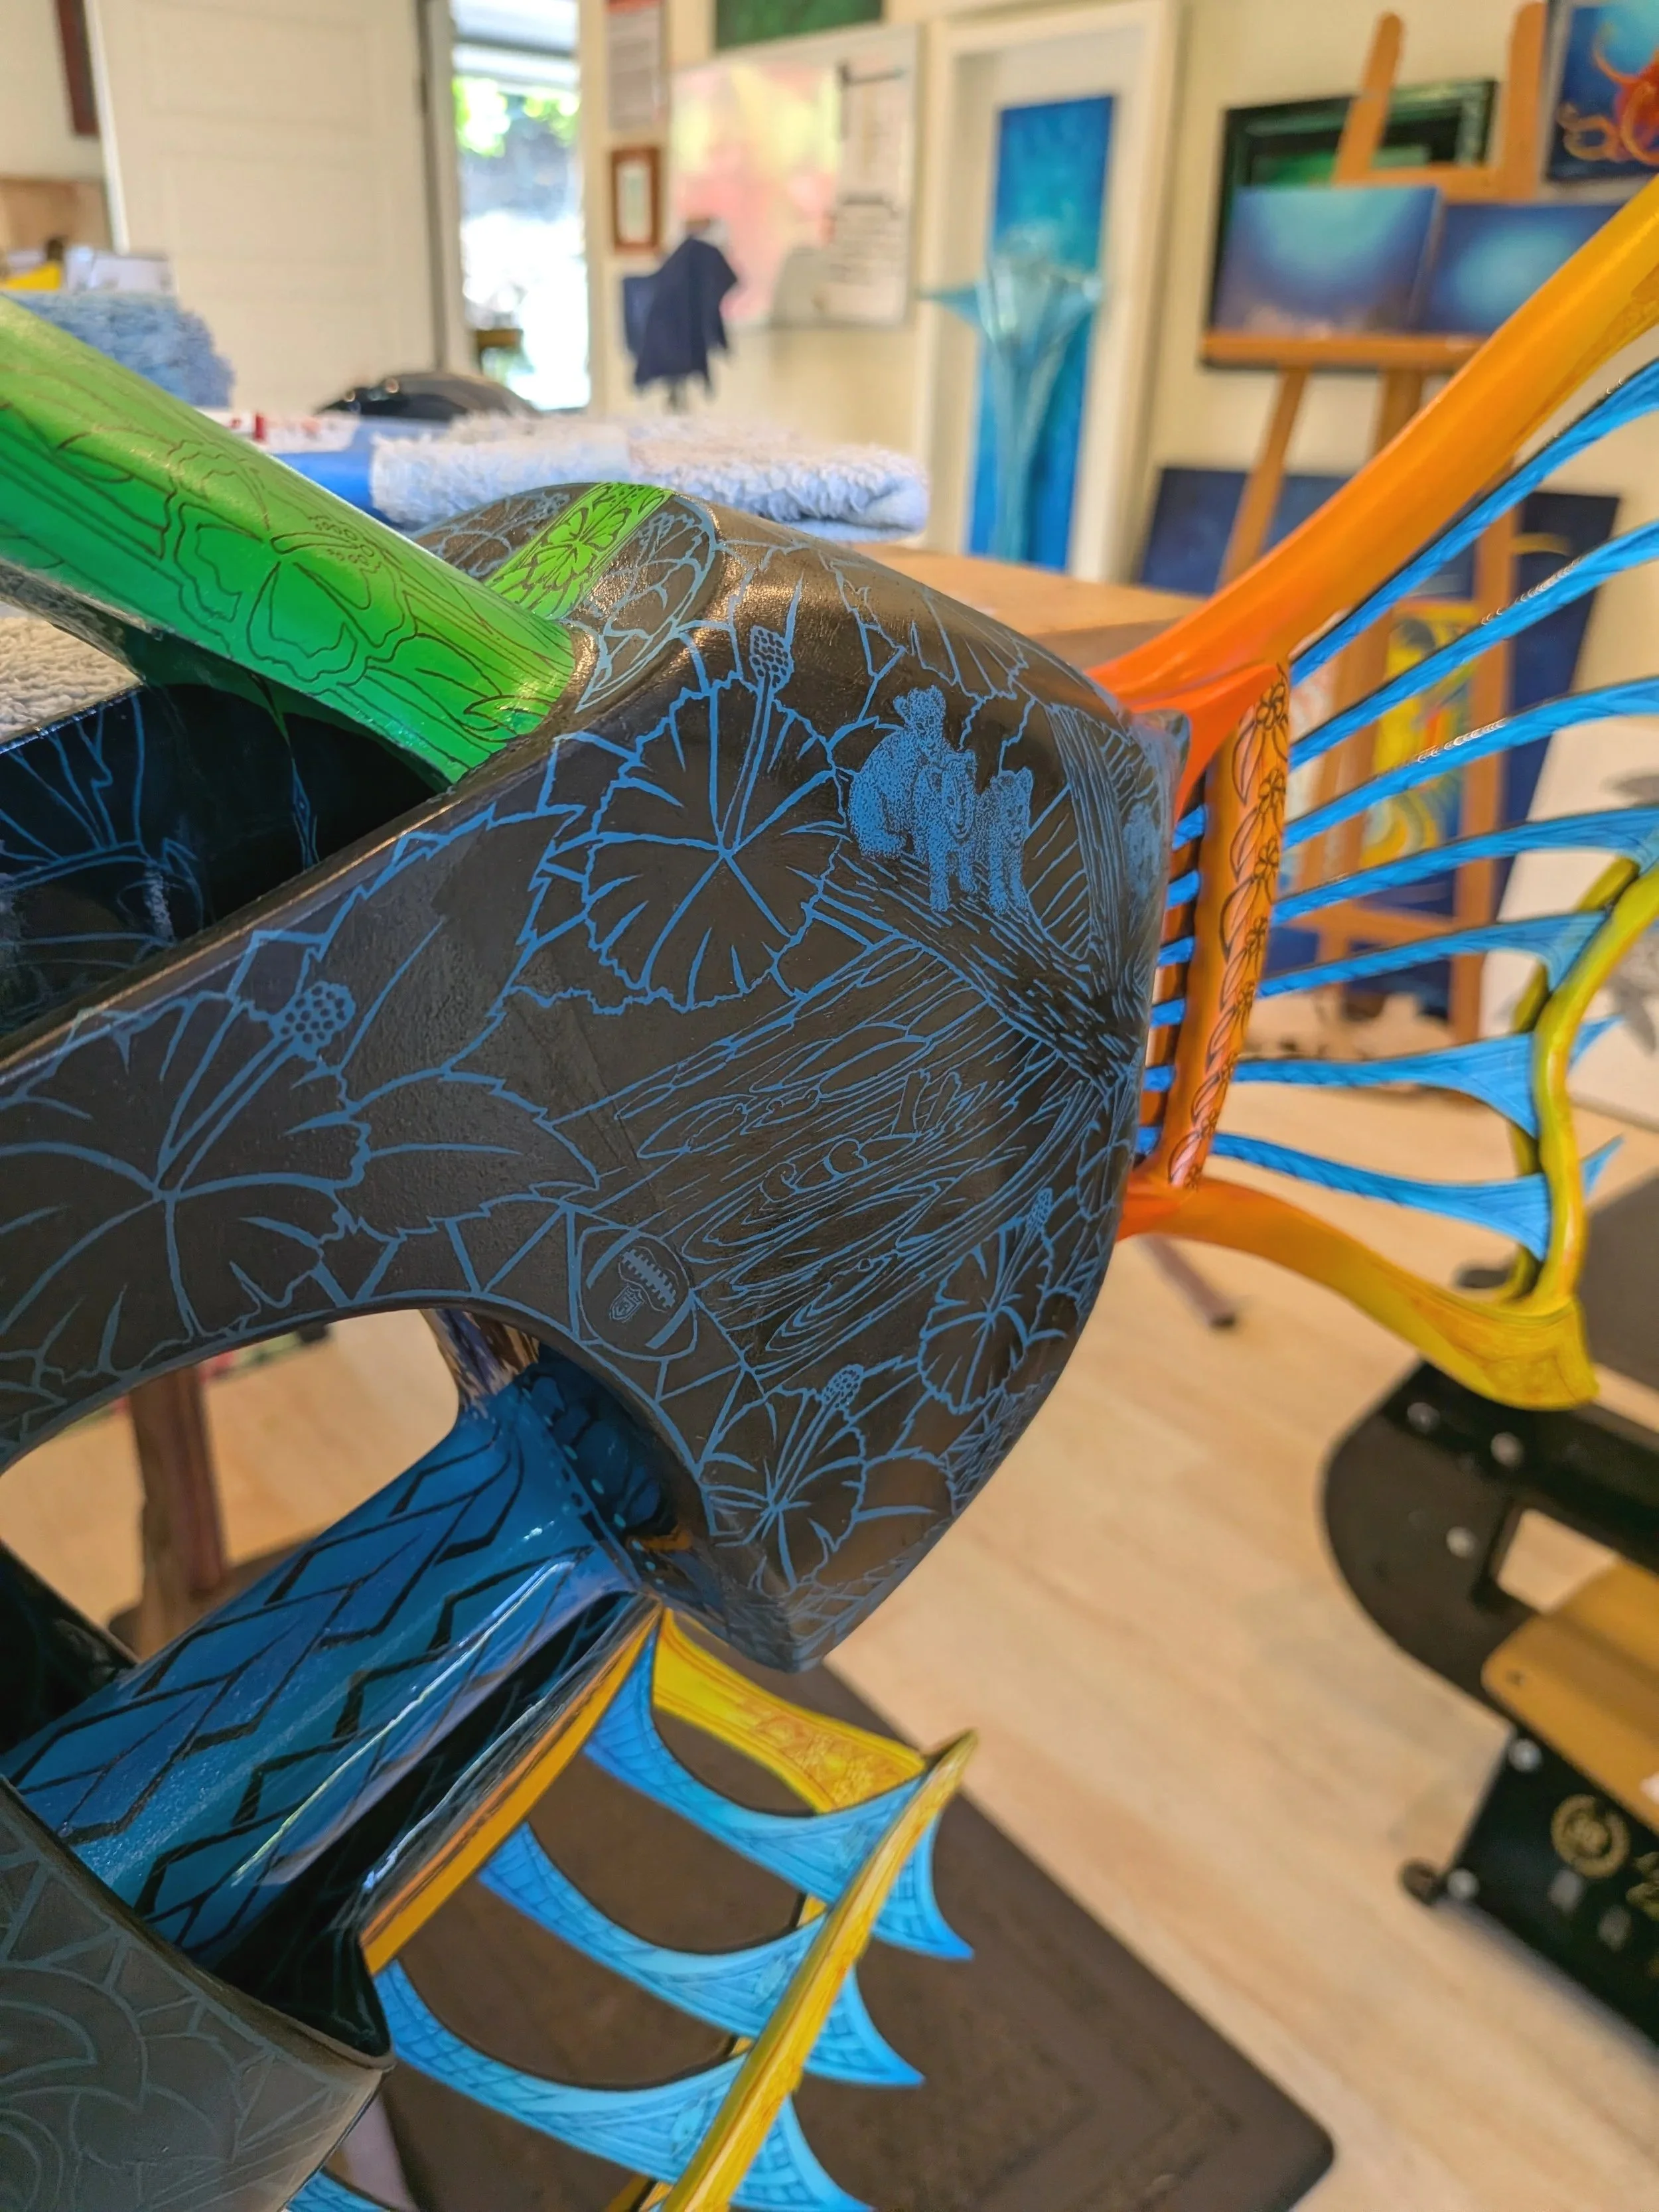
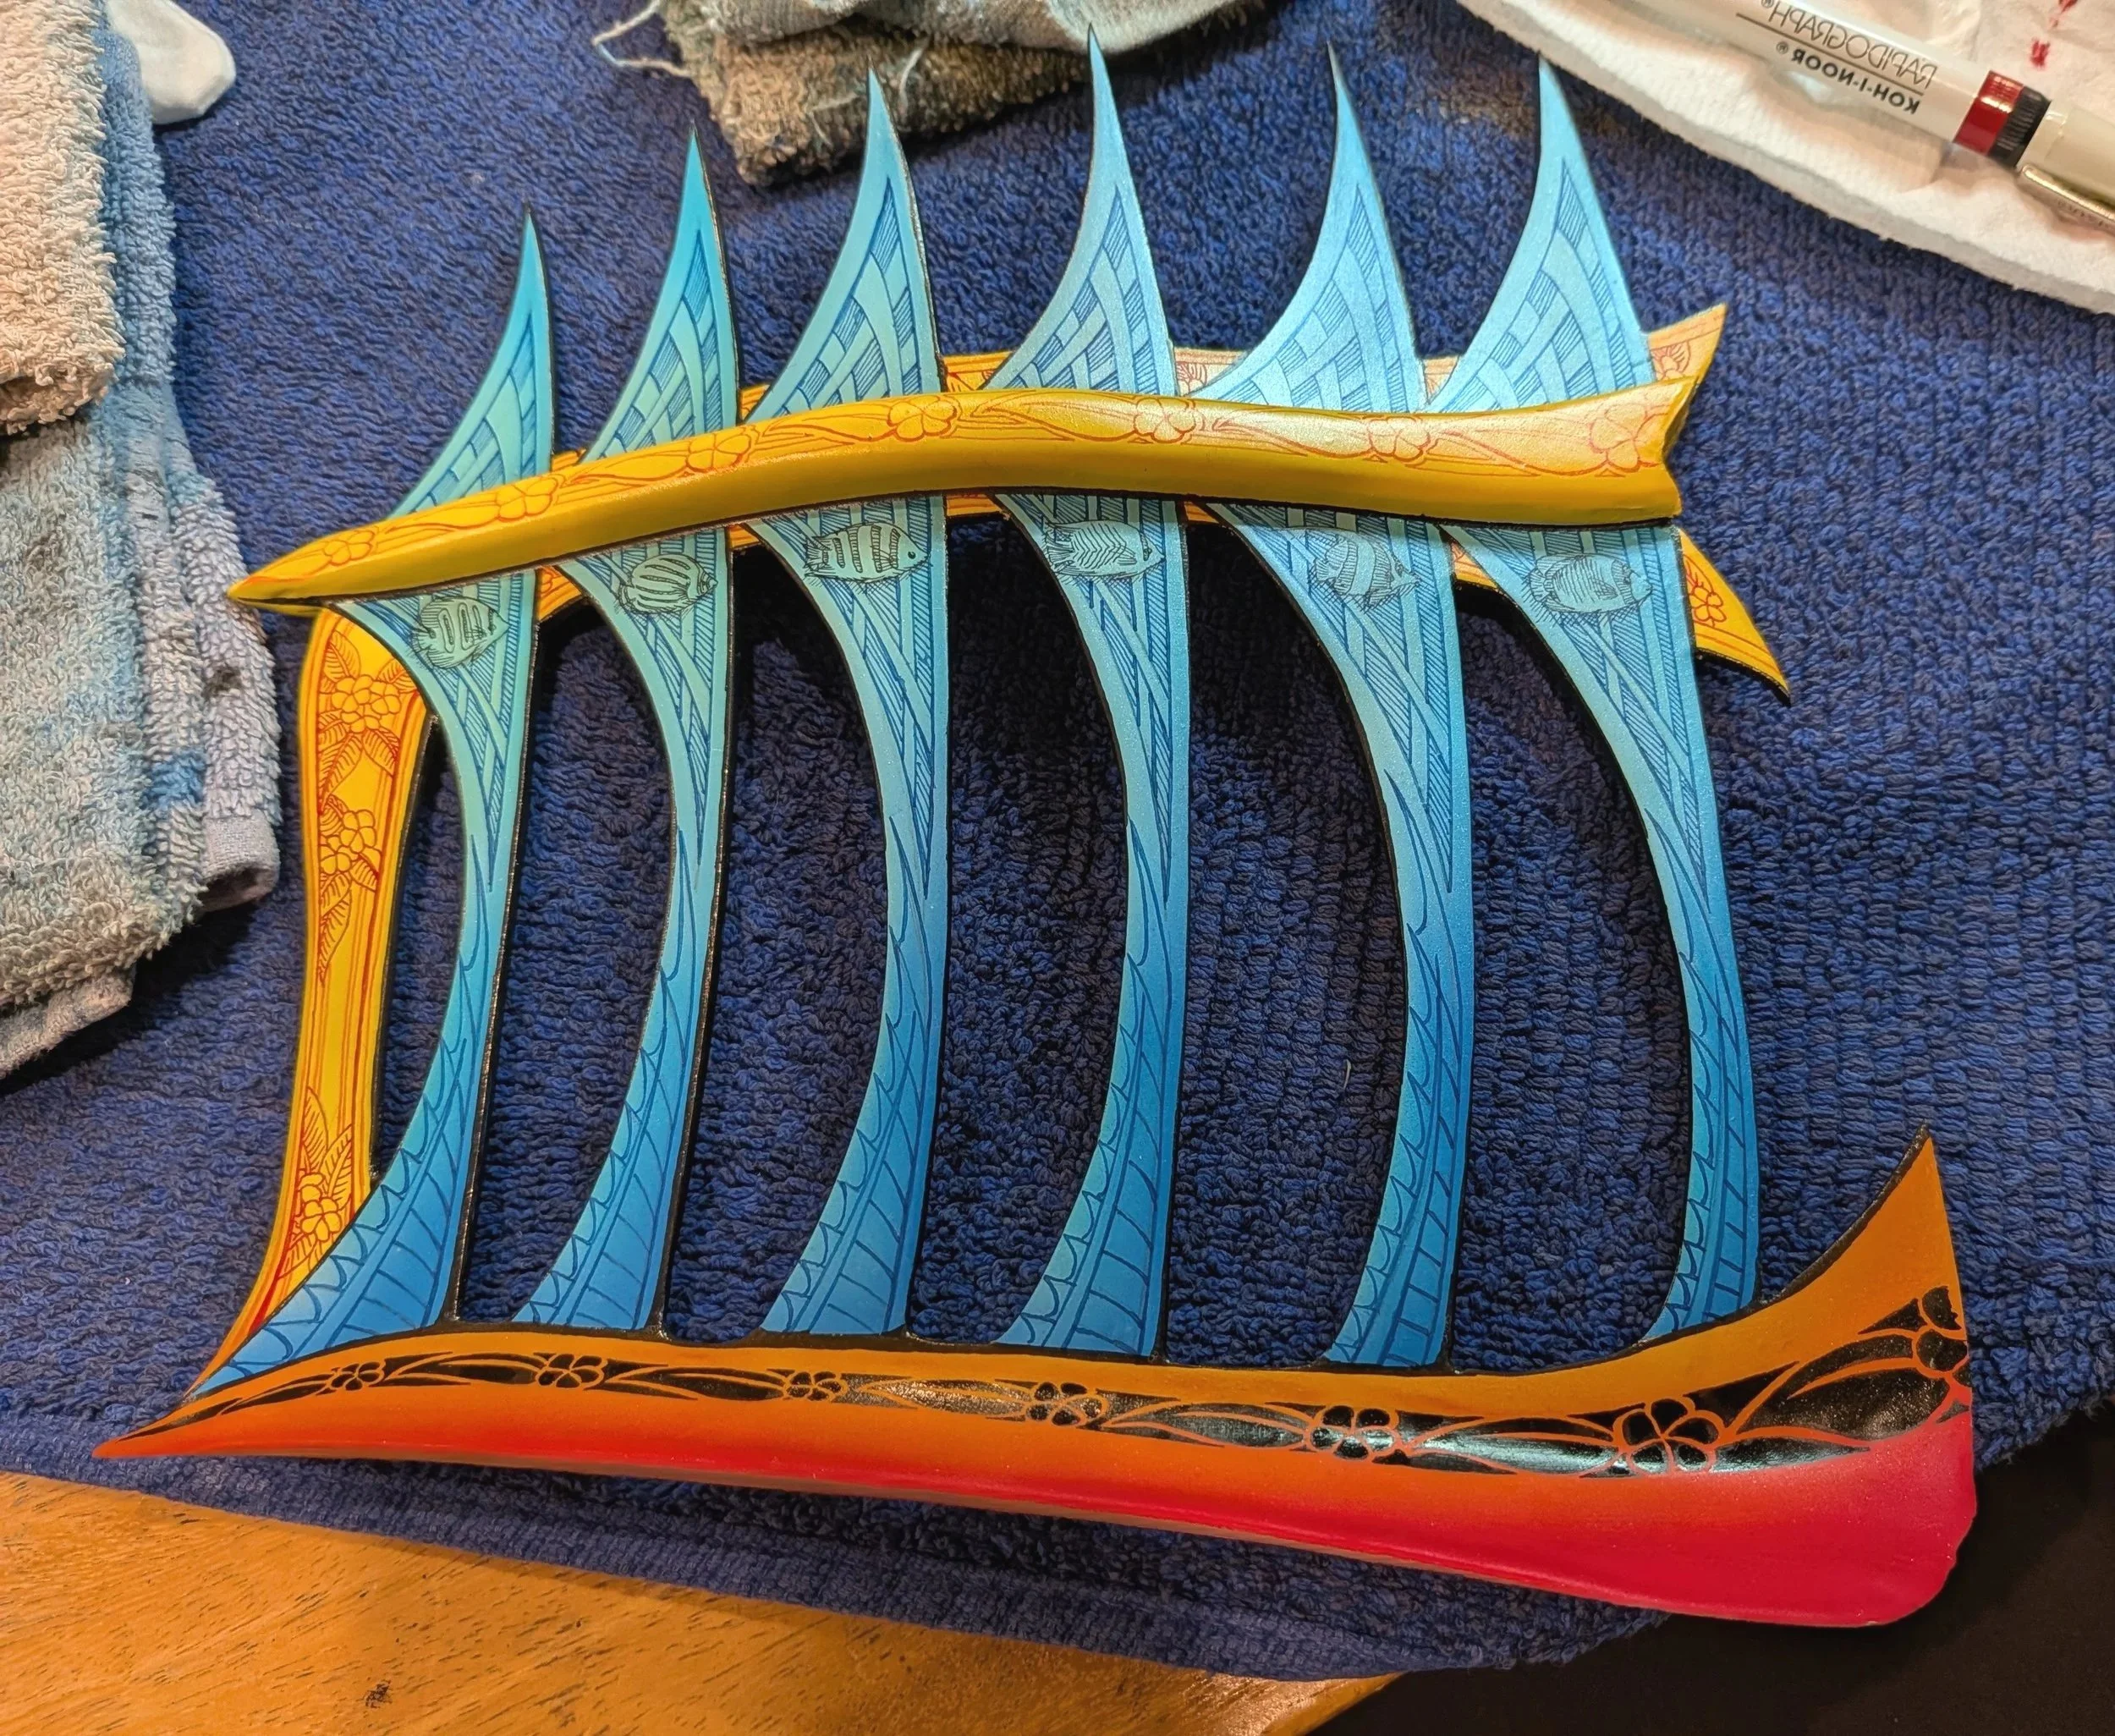
Making sure that the pieces are carved, painted and pen & inked to my liking is one thing, but actually screwing and gluing everything into its final position was a little nerve wracking! After pouring so many hours into each piece that needed to be attached, the pressure was on to get everything right.
Top Coat & Finishing Touches
I used to always finish my artwork with a varnish or resin top coat, but lately I have been using automotive clear to give my work that smooth shiny finish. I love how it looks and it can be applied seamlessly without the challenges of poured resin. The pieces with this top coat will be easy to maintain and will stand the test of time. Last thing was to affix it to its final base, and thanks to Tai Lake, we had a gorgeous one on which to mount it!
Thanks for following the process and ALOHA!